Create a form from scratch with AI
Describe the form you need and let AI build it. Restyle it, add e-signatures and email alerts, then publish a link that works on any device.
Forms 4 min read Updated
This guide shows you how to build an online form with AI: describe what you need, edit the fields, style it, publish it, and collect responses.
You already know what you want to collect. Typing every field out by hand is the slow part. Describe the form in a sentence or two instead, and start from a finished draft.
Describe the form you need
Open the form generator, keep the Classic style selected, and write what the form should collect. Mention the fields you care about and any rules, like which answers are required. Then generate.
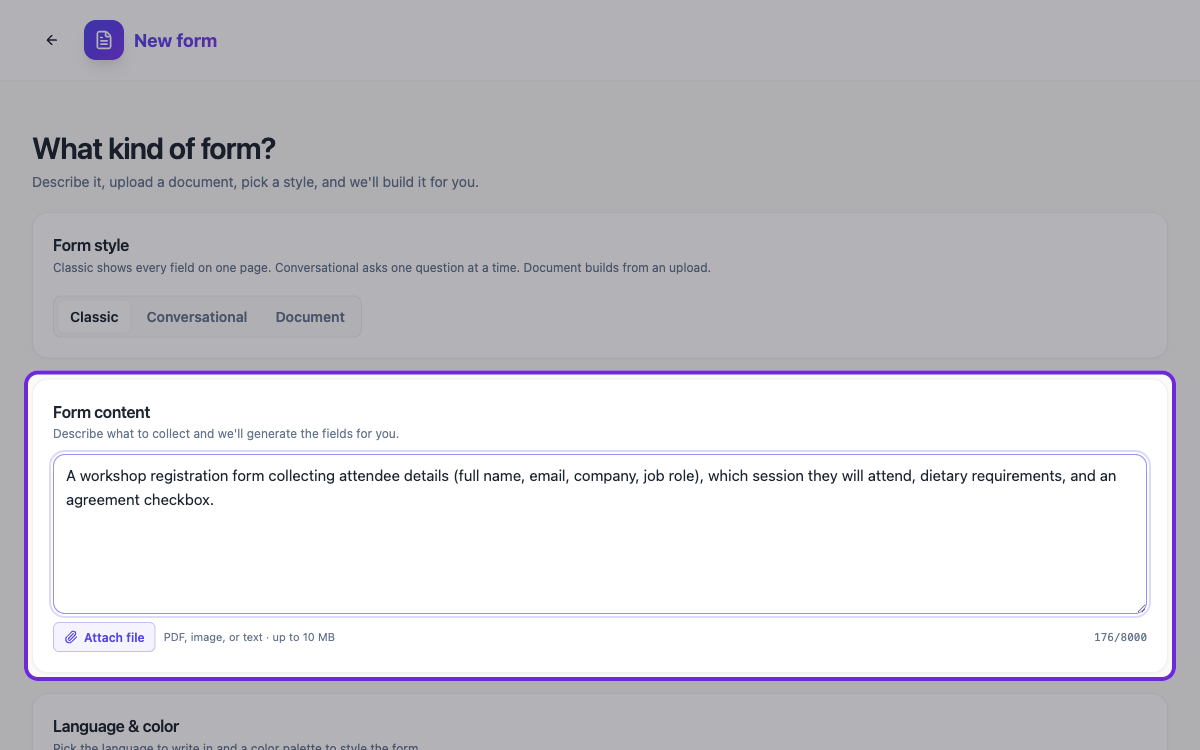 One or two sentences is enough. AI generates the fields from your description.
Edit the fields in the builder
A few seconds later your form is in the builder, organised into sections with sensible field types already chosen. From here it works like a canvas. The panel on the left holds every component you might want, from headings and text inputs to dates, dropdowns and file uploads. Drag anything in, reorder questions, and click any field to adjust its label, placeholder or validation.
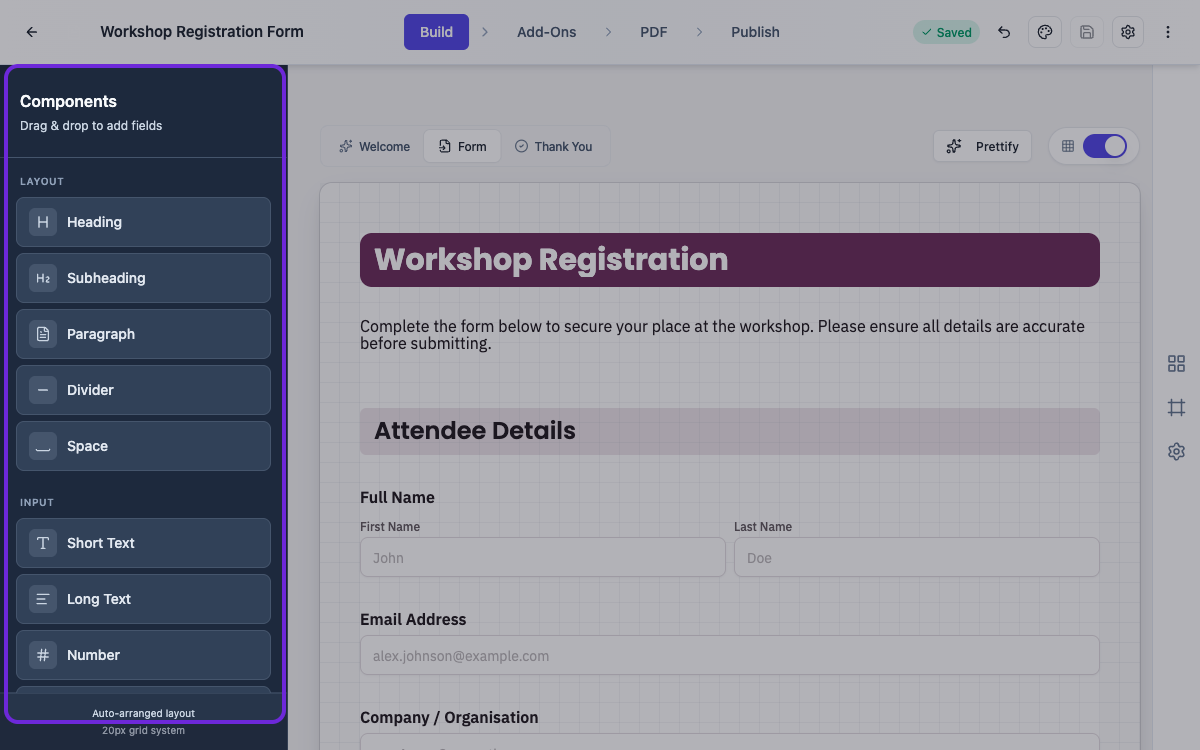 Everything on the left drags onto the form. Click any field to edit it.
Style your form with a theme
Click the Theme button in the top bar to open Theme Studio. Pick one of the built-in themes and the whole form restyles instantly. Want more control? The Colors and Fonts tabs let you tune the palette and typography to match your brand.
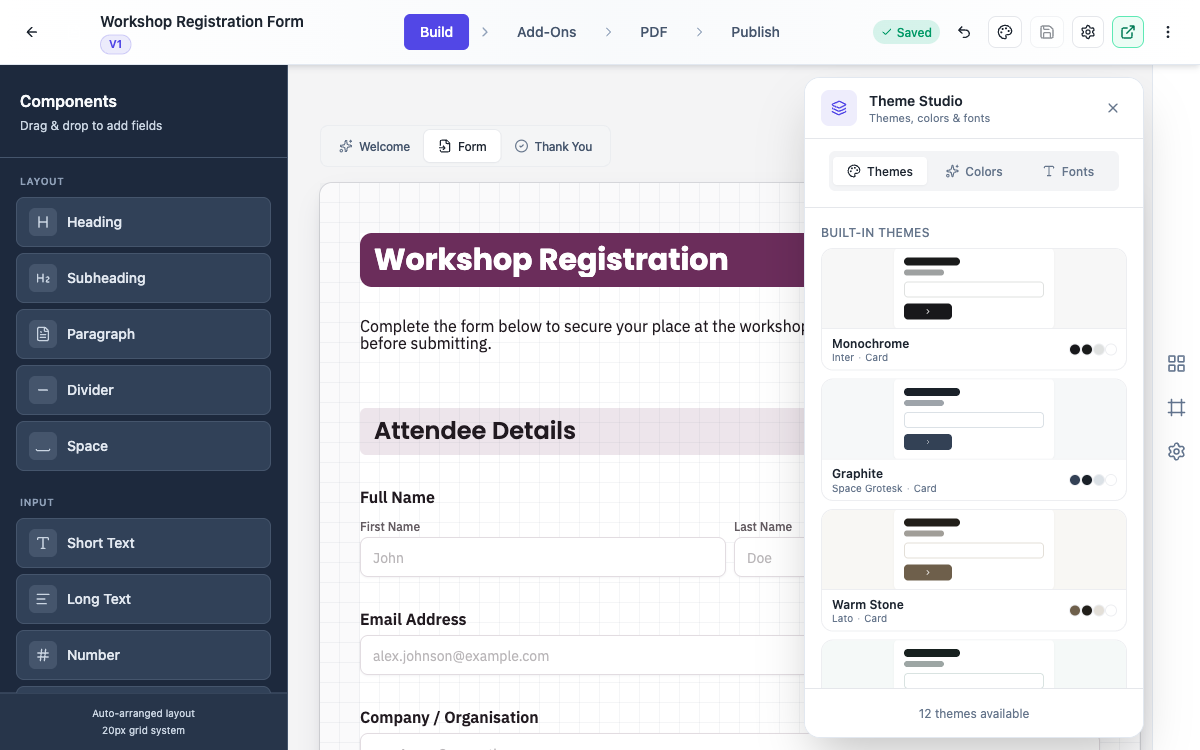 Theme Studio: pick a theme, or shape the colours and fonts yourself.
Add email alerts, webhooks and e-signatures
The Add-Ons tab is where your form gets its superpowers. Turn on Email Alerts to get a message the moment someone submits. Add Webhooks to send responses to your other tools. And if the form needs a signature, drag in an E-Signature component from Electronic Signing.
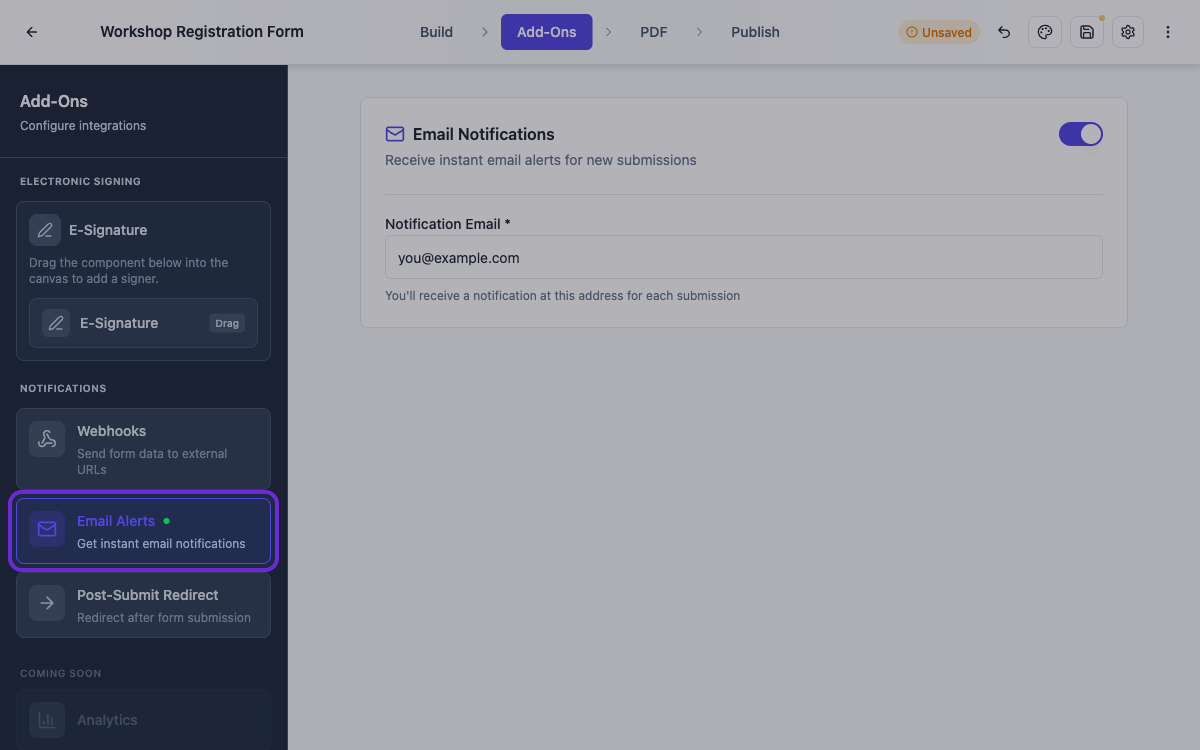 Email alerts, webhooks, redirects and e-signing all live in Add-Ons.
Download a fillable PDF
Some forms still end up printed or emailed as attachments, and that’s covered. Open the PDF tab to see your form laid out as a document, tidy it up if you like, then open the menu in the top corner. You get two options. Download PDF gives you a clean, print-ready file. Download Fillable PDF gives you a real PDF form people can type into on their computer and send back, no website needed.
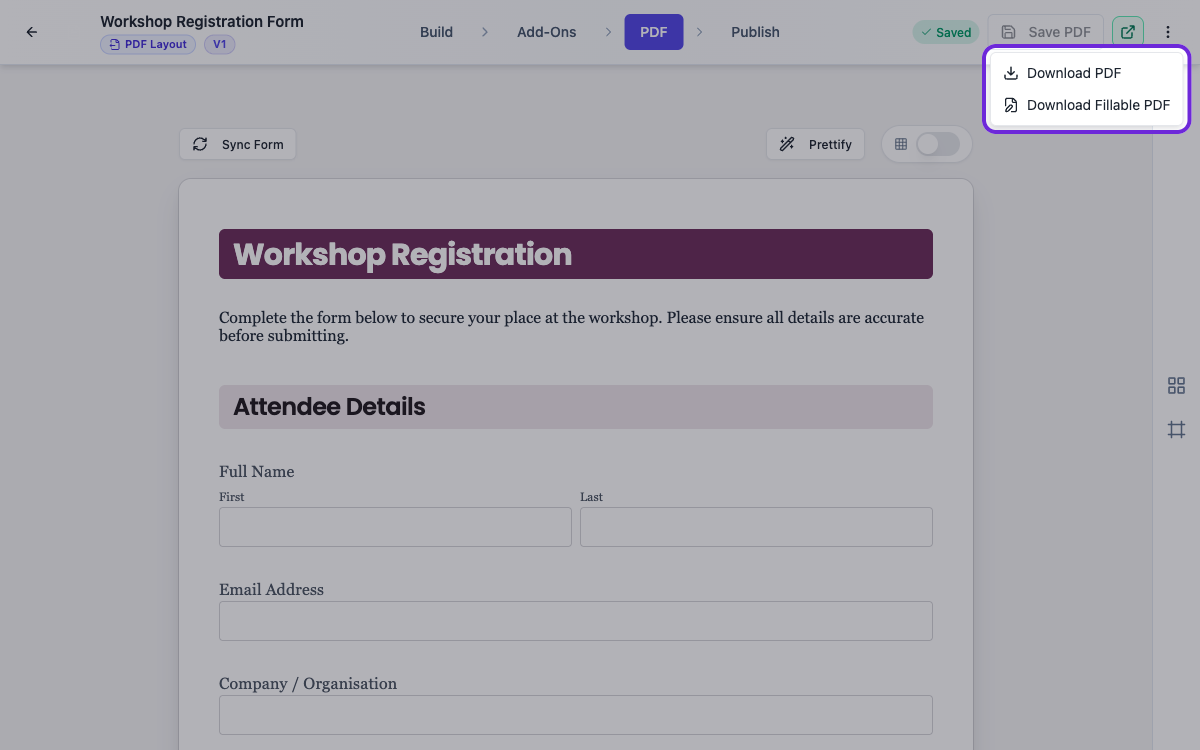 Two PDF exports: a print-ready file, or a fillable PDF people complete on screen.
Publish your form and share the link
When the form is ready, head to the Publish tab and click Publish Form. You get a public link right away, along with access controls if you want to limit who can fill it in. Copy the link, open it, or embed the form on your own site.
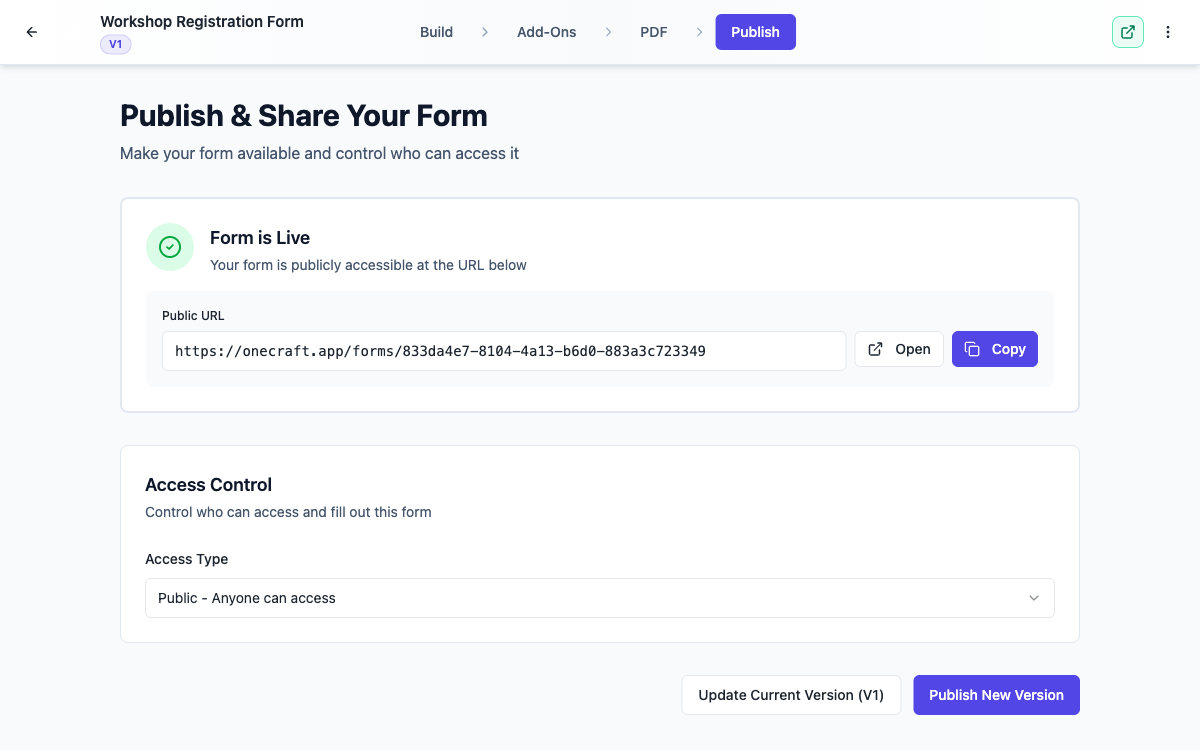 One click and your form is live, with the public link ready to share.
Your form works on mobile
There’s nothing extra to do for mobile. The published form adapts itself to whatever screen it opens on. On a laptop, fields sit side by side where it makes sense. On a phone, everything stacks into a clean single column that’s easy to fill with a thumb.
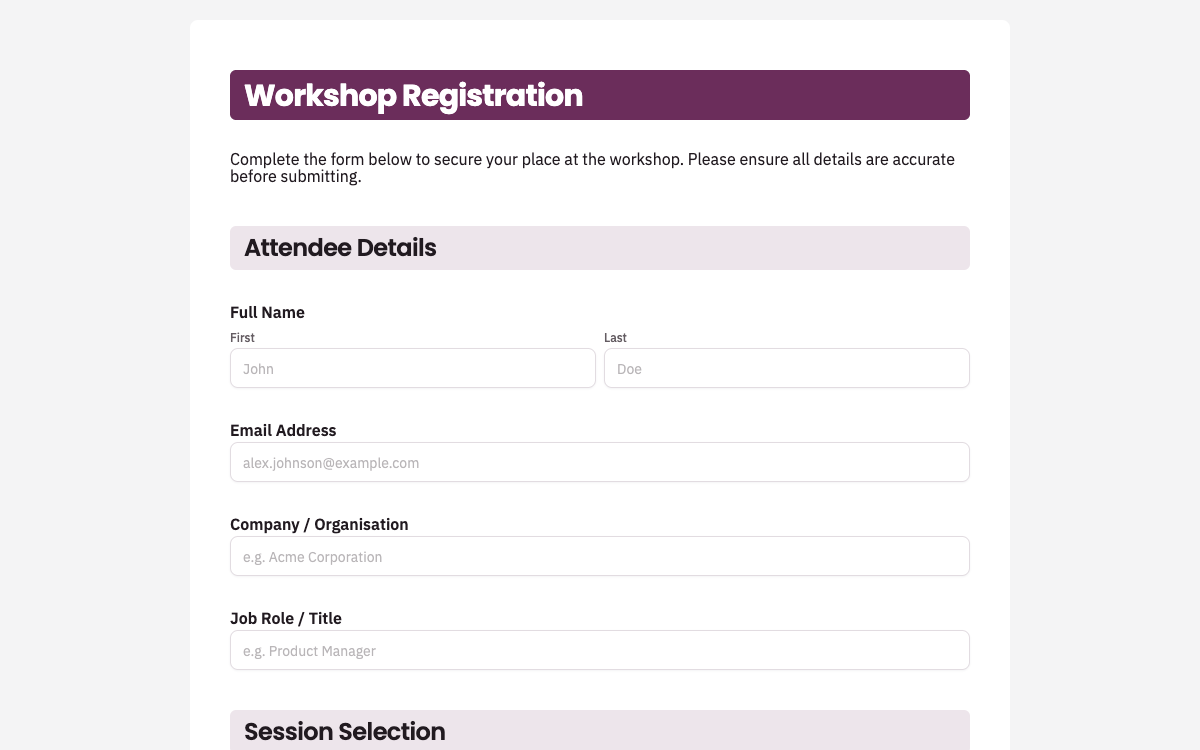 The published form on desktop, with fields side by side.
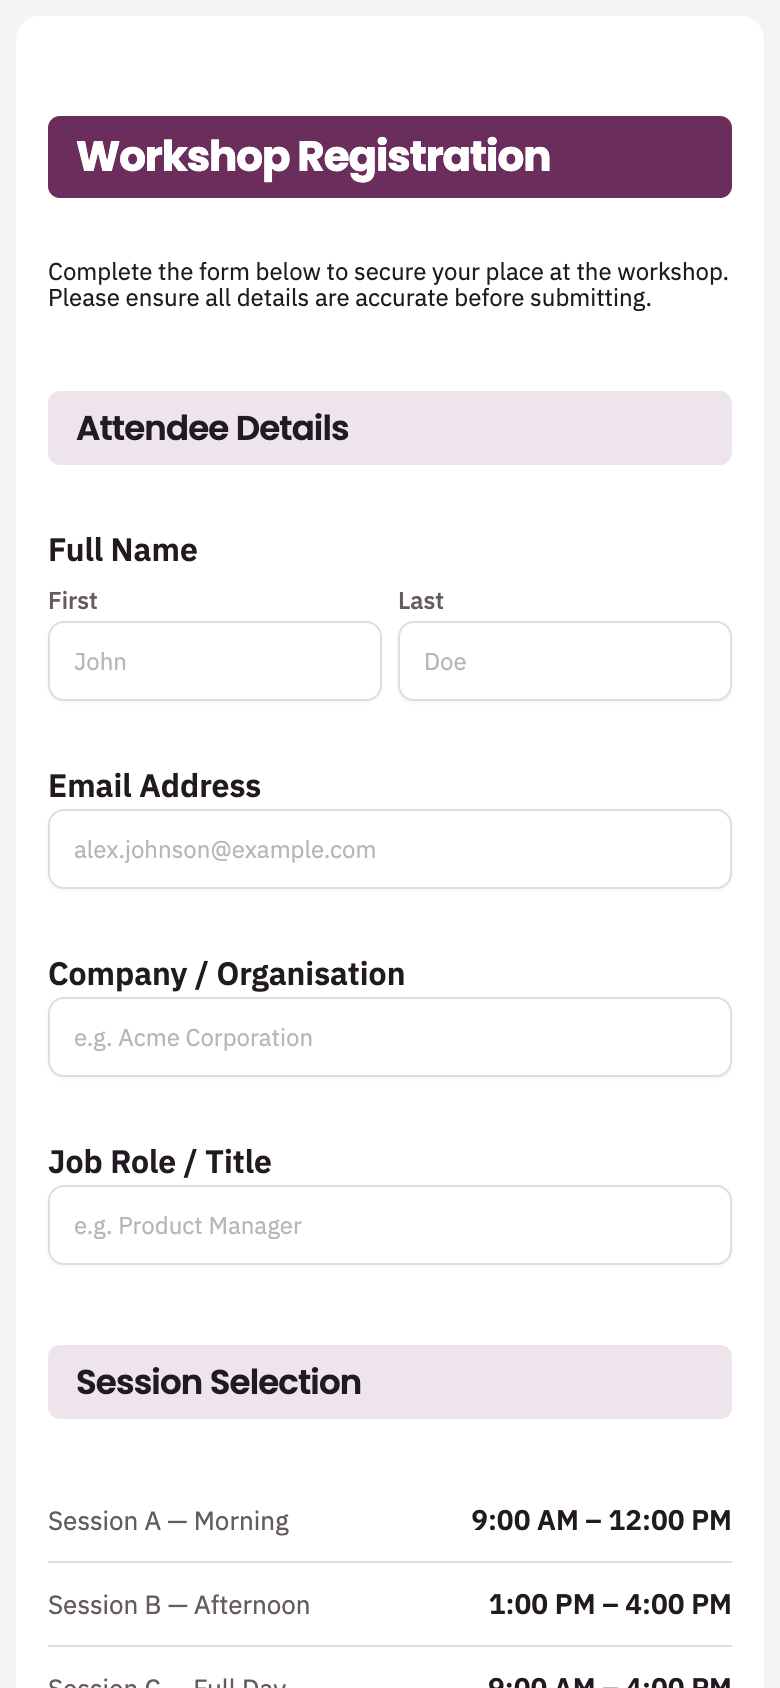 The same form on a phone. Same style, stacked for small screens.
View and export your responses
Every submission lands in one place. On the dashboard, once a form is published, its card gets a Responses option in the card menu. Open it to see submissions in a table, with a column for each field. Open any single response in full, download its PDF, or export everything as a CSV for your spreadsheet.
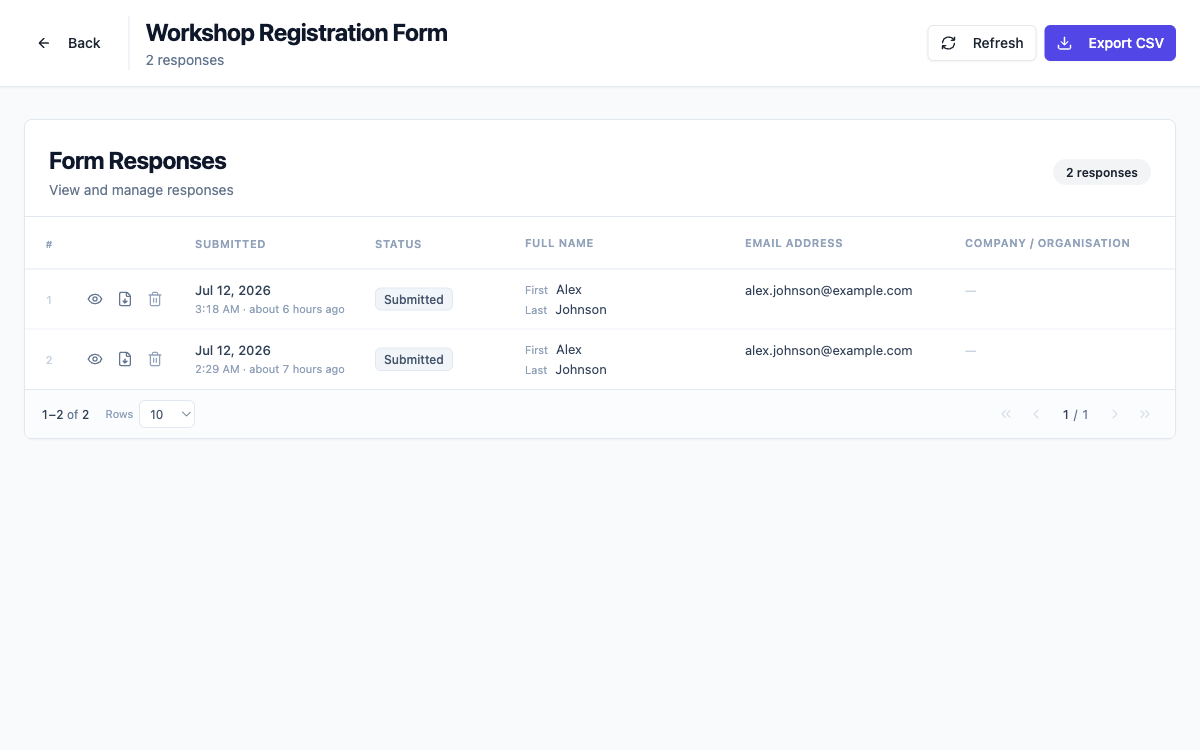 Each submission is a row. View one in full, or export them all as CSV.
Ready to try it yourself?
Start free. Describe what you need and let AI do the first draft.
Get startedMore forms tutorials
- Add e-signatures with multiple signers Add signature fields to a form, choose how each signer's email is collected, set the order people sign in, and collect legally clear, time-stamped signatures.
- Automate your form with add-ons Connect webhooks, get instant email alerts for new submissions, and send people to your own page after they submit.
- Classic vs conversational forms Understand the two ways to present a form, all fields on one page or one question at a time, and choose the right one for your audience.