How to
Send a document for signature
Add a signature block, name the parties, then send the document so each signer gets their own private link and signs in order.
Documents2 min readUpdated
This guide shows you how to send a document for signature: add the signature block, name the parties, then send it so each person gets their own link.
A contract is only finished when it is signed. You do not need a separate signing tool for that, because the document you just wrote can go out for signature from the same screen.
Add a Signature block
Open the component toolkit and find Signature block in the Design group. Drop it where signatures belong, which is normally the end of the document.
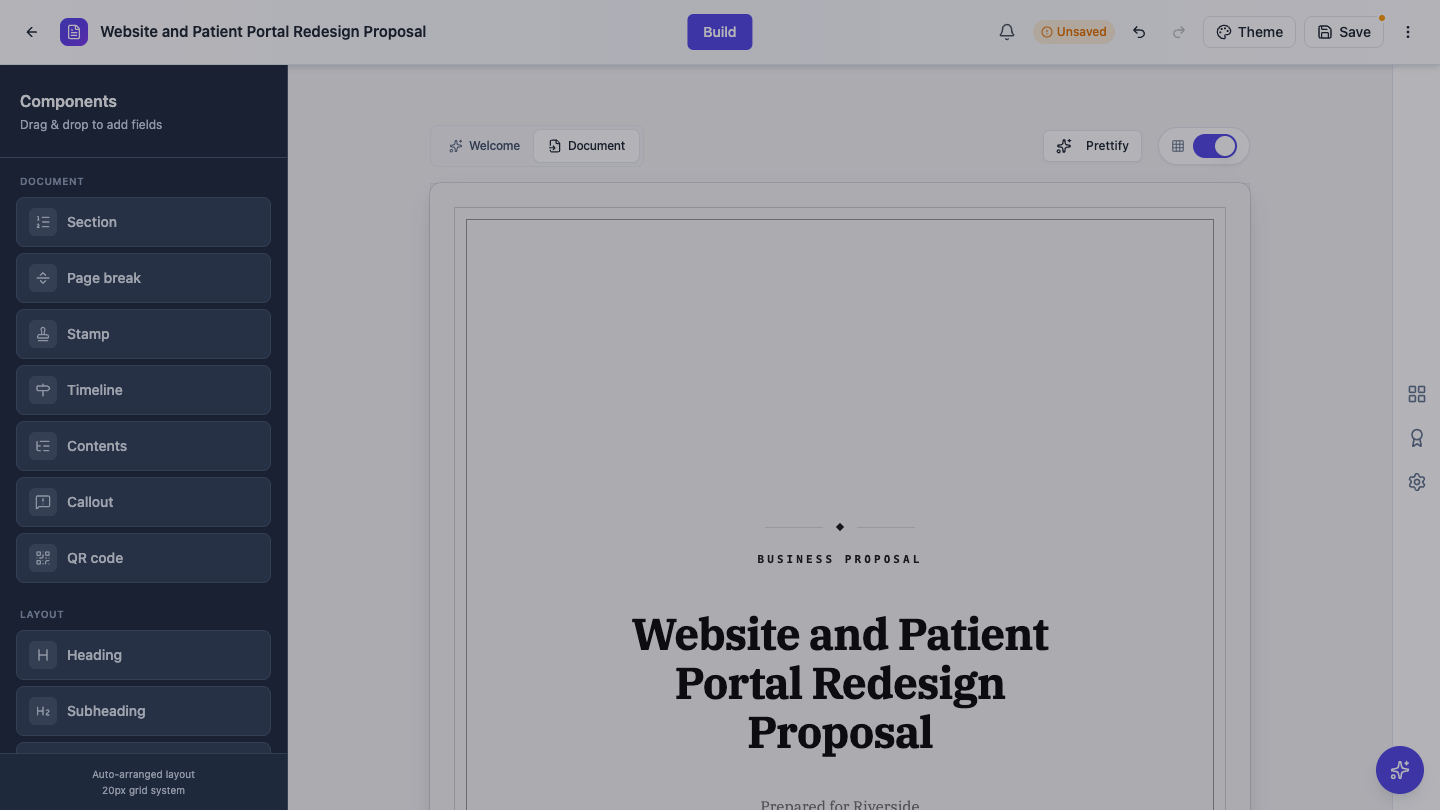 One signature block can hold every party who needs to sign.
Name the parties
Select the block and look at Parties in the panel on the right. Each party is one signer. Give it a label, like Client or Provider, and use Add line for the lines under the signature, such as Name, Title and Date. Add party gives you the next signer.
Send it
Open the three dot menu in the builder header and choose Send for signing. The dialog lists one row per party, so what you set up above is what you fill in now.
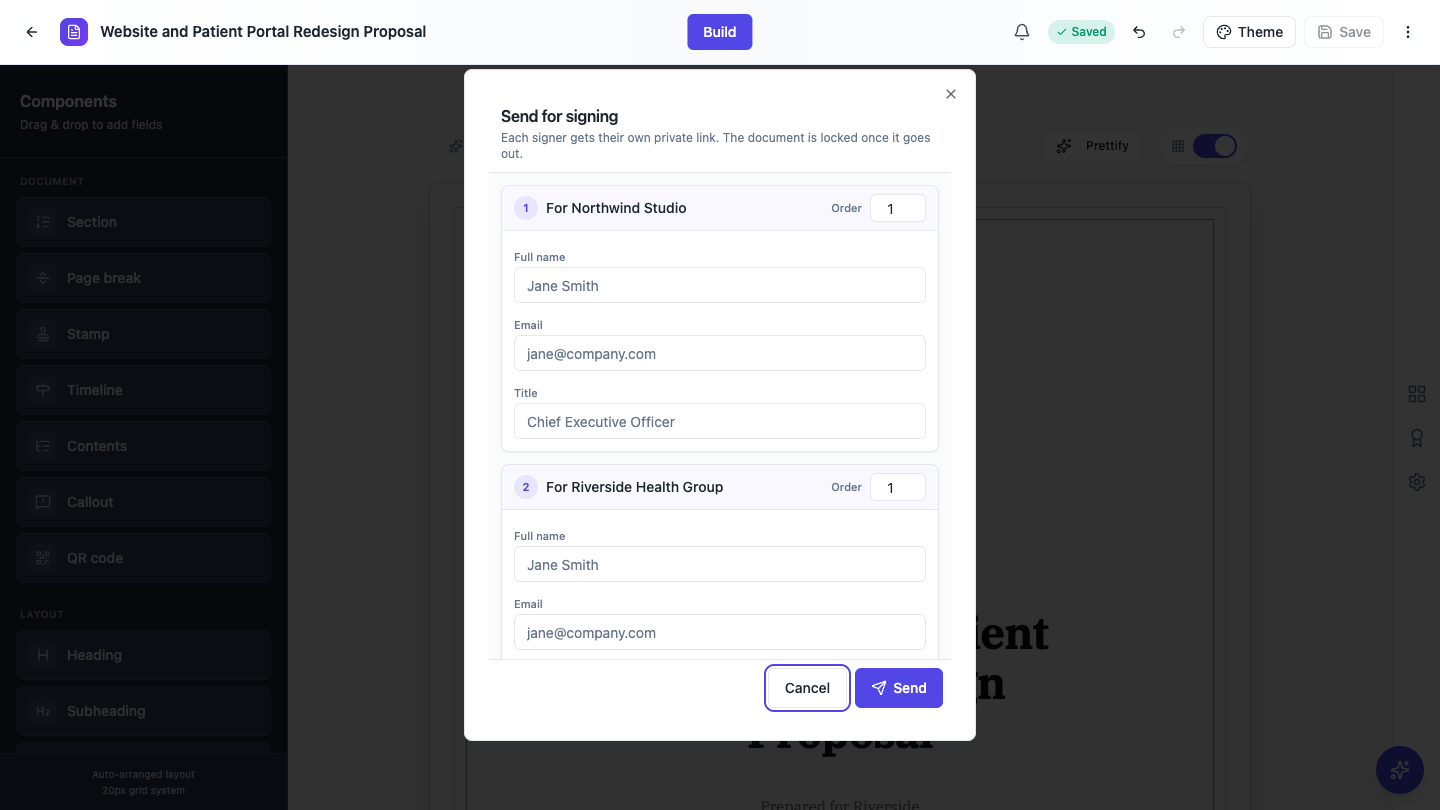 Each signer gets their own private link. The document is locked once it goes out.
Give every signer a Full name, an Email and a Title. With more than one signer you also get an Order box: set 1 for the person who signs first, 2 for the next, and so on. Then press Send.
What happens next
Signer 1 gets an email with a private link. They open it, sign in the browser, and the next person is invited automatically. There is nothing to install and they do not need an account.
The document locks when it goes out, so the copy people sign is the copy you sent. If something needs changing after that, duplicate the document and send the new one.
Signatures are stamped into the finished PDF, so the signed file stands on its own once everyone is done.
Ready to try it yourself?
Start free. Describe what you need and let OneCraft do the first draft.
Get startedSee it in the product
More documents tutorials
- Add a cover page to your documentTurn on the cover page, pick one of seven layouts, and set the title, eyebrow, date and who it was prepared by.
- Add and generate images in a documentUpload your own picture or describe the figure you need, then caption it so it numbers itself in the finished PDF.
- Create a document with AIDescribe the document you need, or upload a file to build from, and get it written and laid out on clean A4 pages. Edit every section, restyle it, and download a PDF.