How to
Create a flyer for Instagram and print
Generate a flyer from a short description, customise it with new items and library templates, then export it as a PNG for social or a PDF for print.
Flyers5 min readUpdated
This guide shows you how to make a flyer with OneCraft, then export it for Instagram and for print.
A good flyer has to work in two very different places: on a phone screen while someone scrolls past, and on paper pinned to a wall. You design it once and it handles both.
Describe the flyer you need
Tell the flyer generator what you’re promoting. A sale, an event, a class, a grand opening, anything. Include the details that matter, like the date, the offer and how to get in touch. OneCraft takes it from there. If those details already sit in a menu or a price list, make a flyer from a PDF or a photo instead of retyping them.
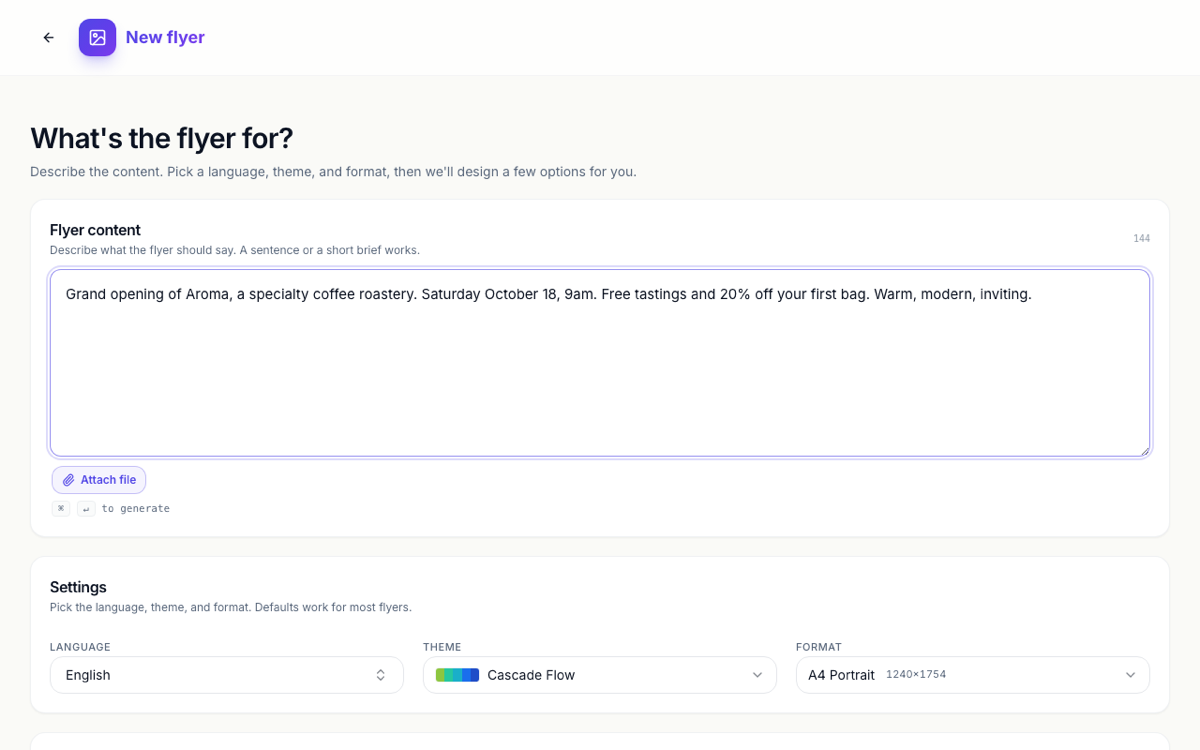 Describe the flyer, then pick a language, theme and format.
Let OneCraft design the flyer
What comes back is a composed flyer, not a blank canvas. Your headline, supporting text, contact details and imagery are already arranged with real visual hierarchy. You even get a couple of design options to choose between.
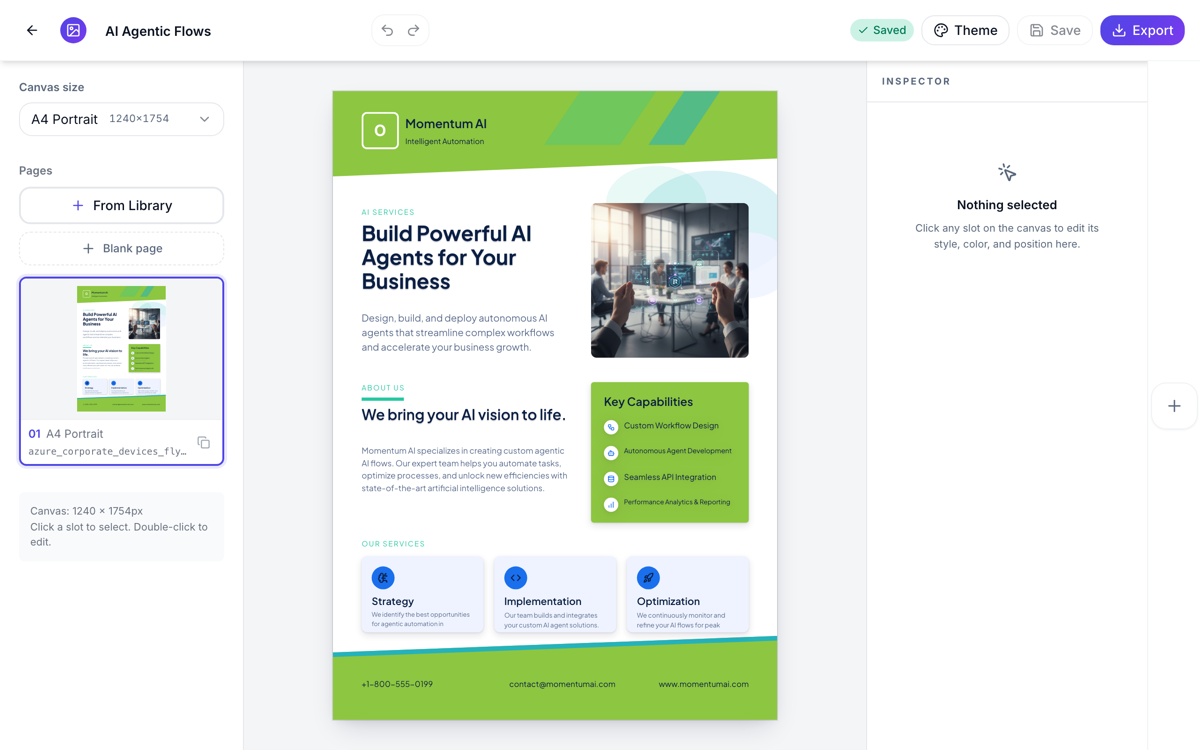 A composed flyer with a headline, photo, key numbers and contact details, all editable.
Add text, images and other items
Open Add items from the toolbar on the right and everything comes as a ready-made tile: text blocks, badges, boxes, cards, lists, stats and callouts, plus real data components, ten chart types, diagrams like funnels and Venn, SWOT matrices, tables, Gantt timelines and maps. Click a tile to insert it, then place it wherever it looks best. The data components get their own walkthrough in add charts and diagrams to a flyer.
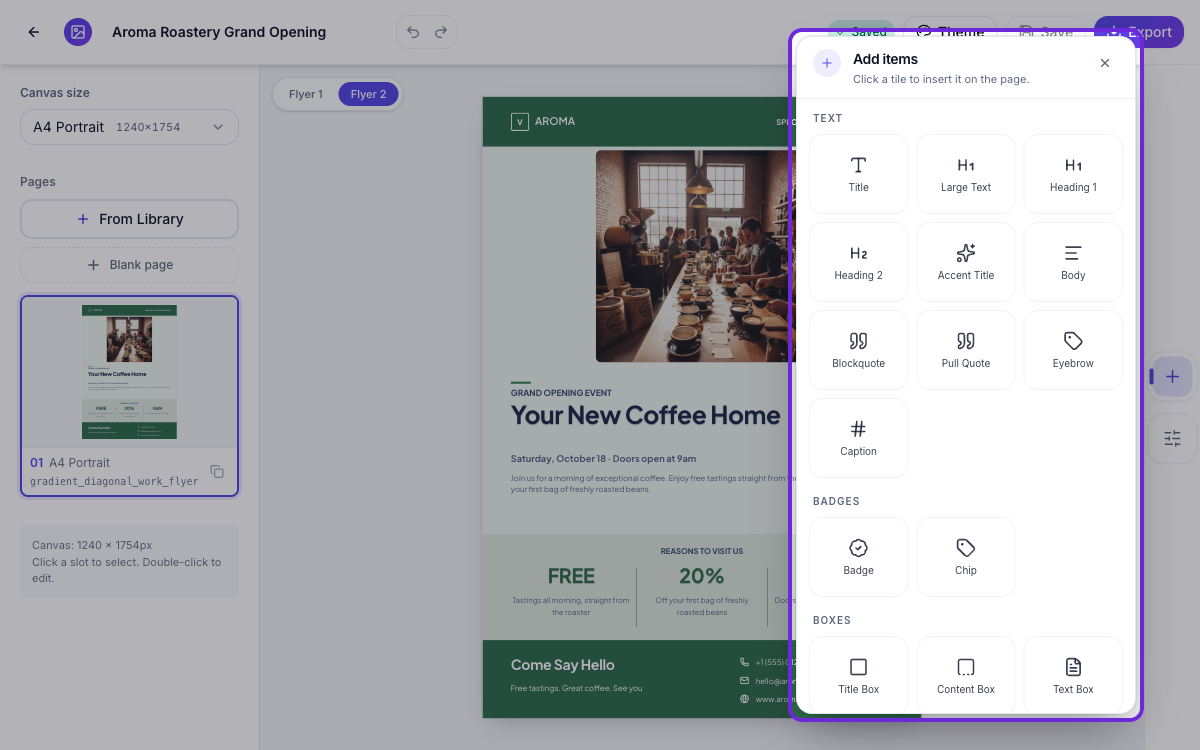 Add items: click a tile and it lands on your page, ready to edit.
Use designs from the template library
You’re not limited to what OneCraft generated. Click From Library in the Pages panel and browse the full flyer template library. Pick any design and it comes in wearing your theme’s colours, so it still matches the rest of your flyer. There’s also Blank page when you’d rather start from nothing.
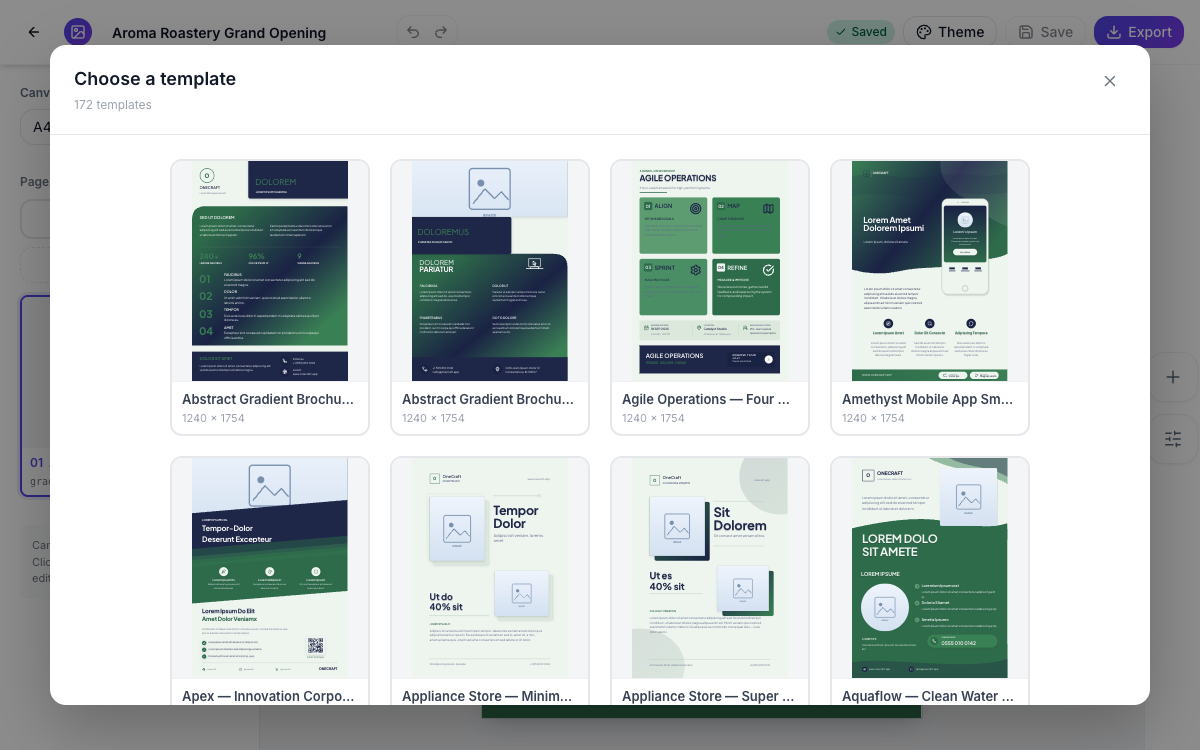 From Library: over a hundred designed flyer templates, all restyled to your theme.
That is also how you build a back page. Make a multi-page or double-sided flyer covers the whole set, including which export carries every page.
Swap the pictures
Click any photo on the flyer and the inspector gives you three ways to change it: describe the picture you want and OneCraft generates one at the right shape, upload your own, or reuse an image already in this flyer. Add or replace the images in a flyer goes through it.
Rewrite the copy by asking the AI assistant
Open the AI assistant from the sparkle button in the bottom corner and tell it what to change in plain words. “Make the headline punchier.” “Change the date to 12 September.” “Make the body copy friendlier.” “Rename this flyer to Spring Open Day.”
It reads the flyer first, so you rarely have to say which bit you mean. It also respects the space each slot has, so a rewritten headline still fits the design instead of overflowing it.
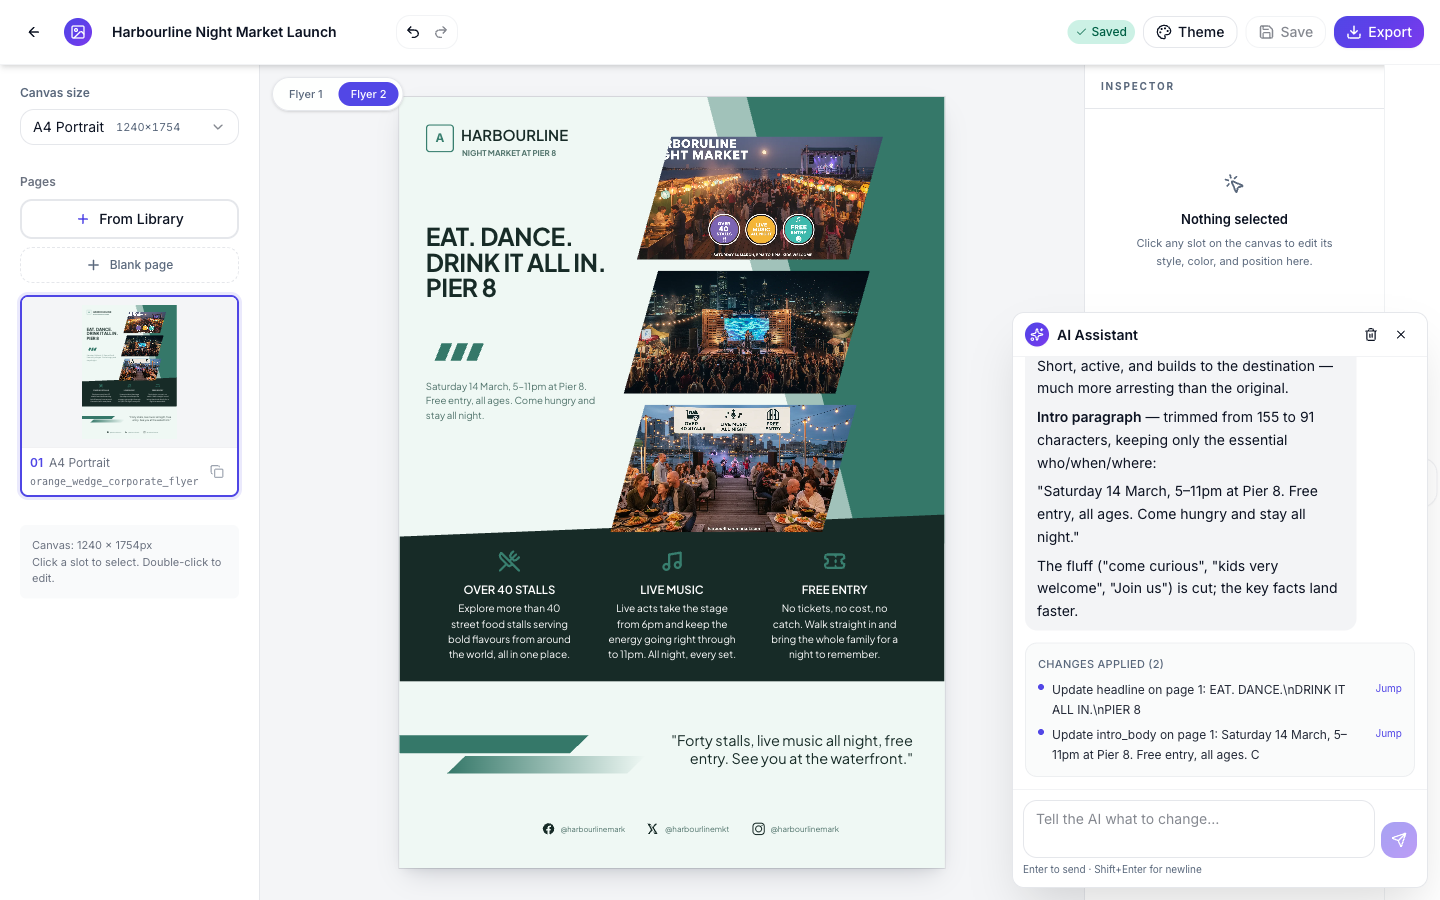 It rewrote the headline and trimmed the intro from 155 characters to 91.
Every edit lands on the canvas straight away and is listed under Changes applied, with a Jump link that takes you to the exact slot it touched, so you can check the work rather than hunt for it.
It can also look things up. Ask for a figure or a date it cannot know from the flyer alone and it runs a web search rather than inventing one. Ask it to reword or restructure and it skips the search entirely.
What it will not do: the assistant handles words and the flyer’s title, nothing else. It cannot add, delete or reorder pages, change a layout, swap the theme, or touch your images. Do those with the panels described above and below. One undo takes a whole turn back.
Change the theme, colours and fonts
Swap the theme and the whole flyer recolours in one go. Backgrounds, accents and text stay readable because every colour comes from a coordinated palette, not from fixed values. The typeface can be swapped on its own too. There are 21 themes and 27 fonts, and change a flyer’s colours and fonts with themes walks through both.
Export for Instagram and for print
Open Export in the top bar and pick your format. Grab a PNG or JPG when you’re posting to Instagram or dropping it in a chat, and a PDF when you need a clean file for the printer. Same flyer, both worlds.
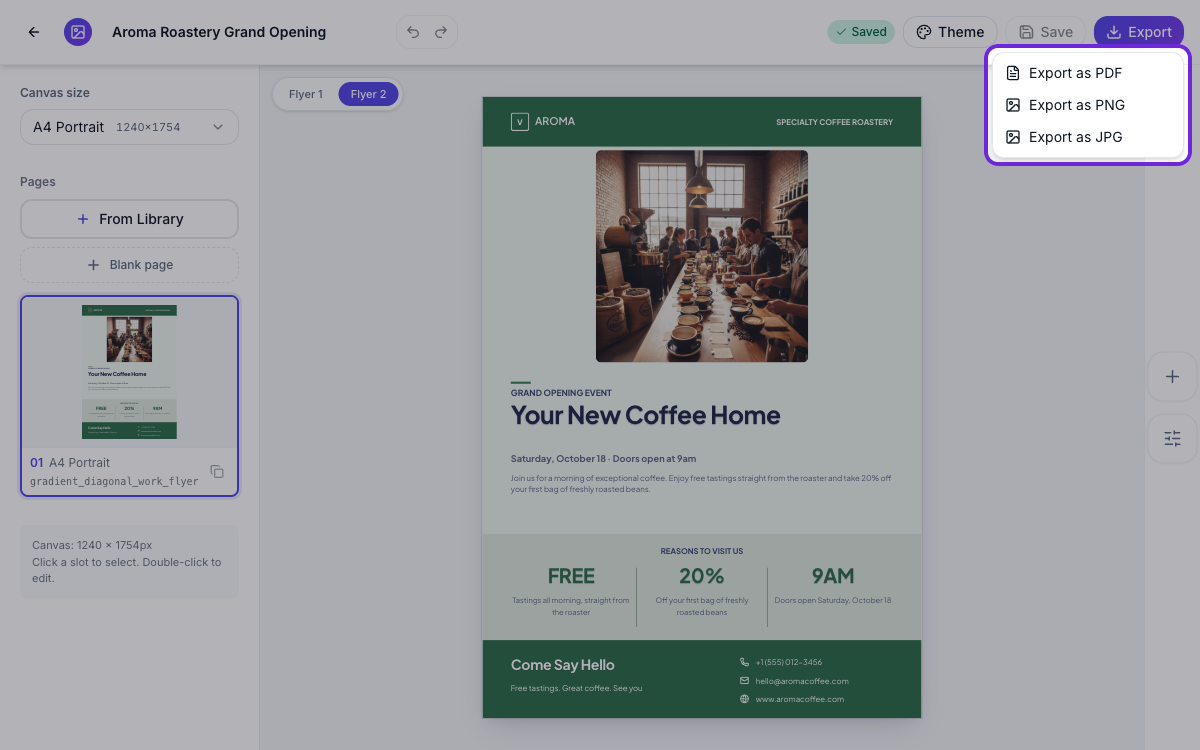 Export as PDF for print, or PNG and JPG for social and messages.
And if you need the same flyer in another shape, open the canvas size menu and switch between print and social sizes. The design re-lays itself out for each one; resize one flyer for every social size walks through it.
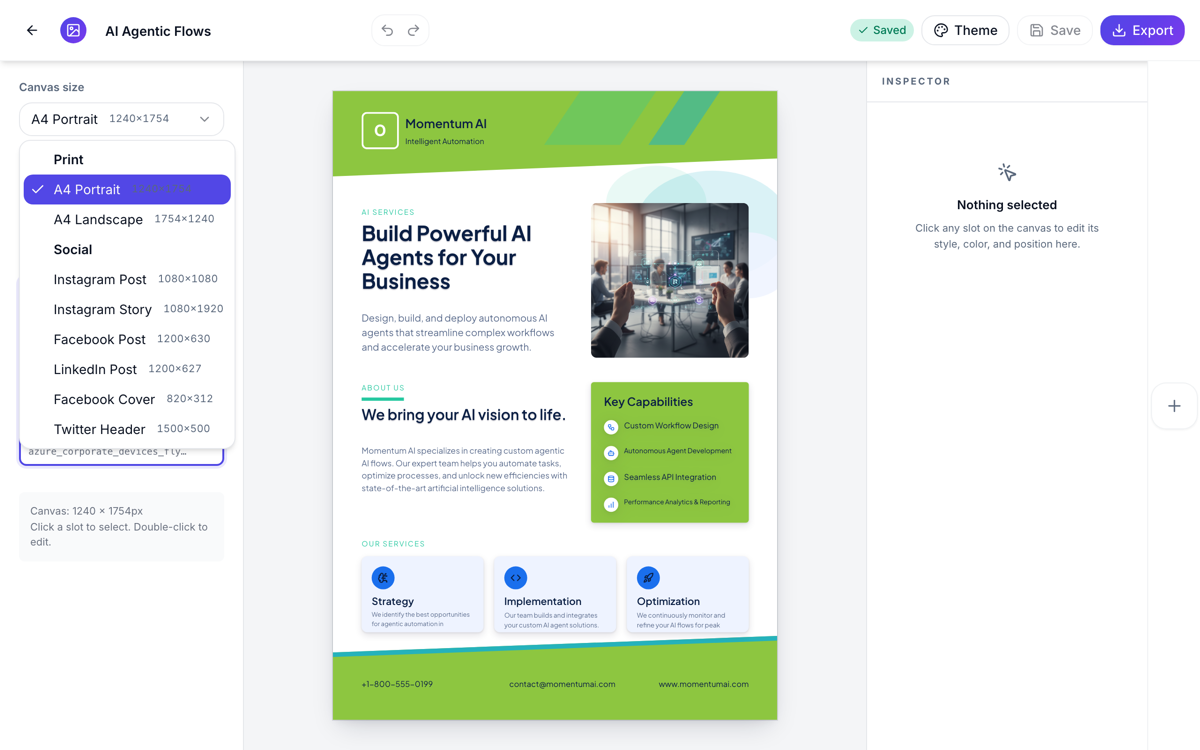 One flyer, many sizes. A4 for print, Instagram Post and Story, and more.
Ready to try it yourself?
Start free. Describe what you need and let OneCraft do the first draft.
Get startedSee it in the product
More flyers tutorials
- Add charts and diagrams to a flyerPut real data on a flyer. Ten chart types, SWOT and 2x2 matrices, funnels, Venn diagrams, org charts, Gantt timelines and world maps, all editable and styled by your theme.
- Add or replace the images in a flyerDescribe the photo you want and OneCraft generates it at the right shape for the slot, or upload your own. Every image you make stays in the flyer to reuse.
- Change a flyer's colours and fonts with themesOne click recolours the whole flyer. 21 themes over 88 palettes, plus 27 fonts you can swap independently, and every element restyles together instead of one box at a time.