How to
Choose the template, theme and size for your flyer
The flyer generator has four choices above the Generate button: language, theme, format and an optional template. Here is what each one changes, and what you get back.
Flyers5 min readUpdated
This guide shows you what the four choices on the flyer generator actually do, so the first flyer that comes back is close to the one you wanted.
Most people type a brief and hit Generate. That works. But the settings under the box decide the language, the colours, the shape and the design, and getting them right up front saves a lot of editing later.
Start with the brief
Everything begins in Flyer content. Describe what the flyer should say, in a sentence or a short brief, up to 10,000 characters. Include the things a reader needs: the offer, the date, the address, what to do next.
If the details already live in a document, use Build from files instead of retyping them. It takes PDFs, text files and images up to 25 MB each, five files per flyer, and reads the words out of them. It reads the content, not the design, so an old flyer becomes the source of your copy rather than a copy of its layout. Building from files needs the Starter plan or above.
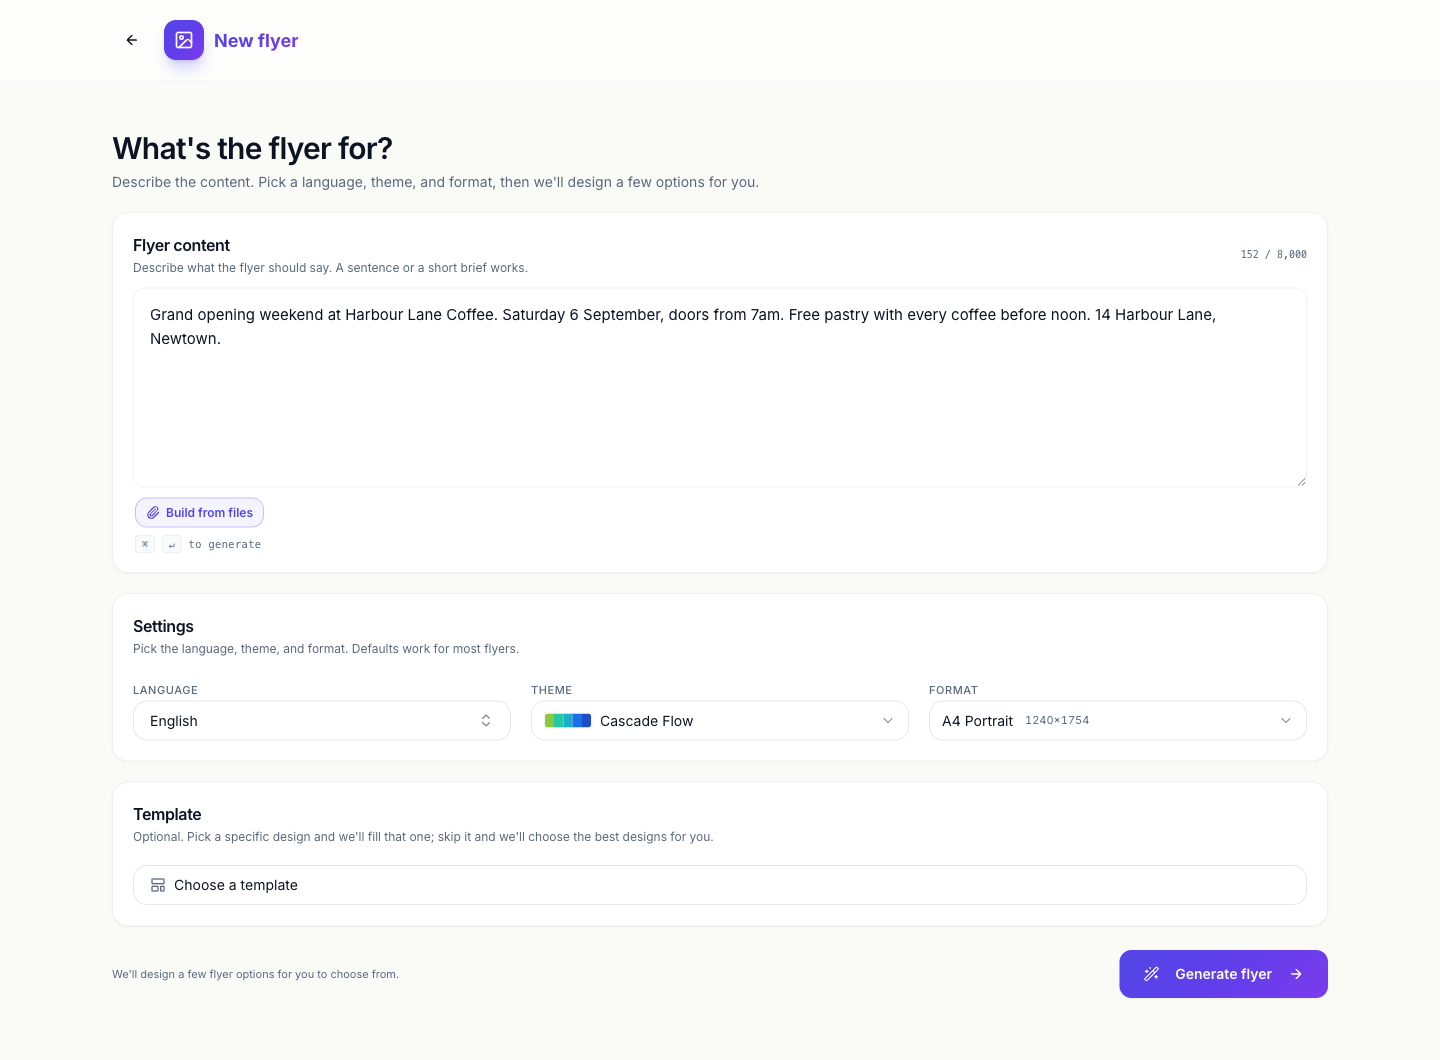 One screen: the brief, three settings, an optional template, and Generate flyer.
Language
Language decides what language the flyer is written in, not what language you write your brief in. So you can brief it in English and get a flyer in Spanish.
There are 32 languages in the list, each with its native name, and you can type any other language into the box and use it. Auto-detect is there too, which matches whatever language your brief is in.
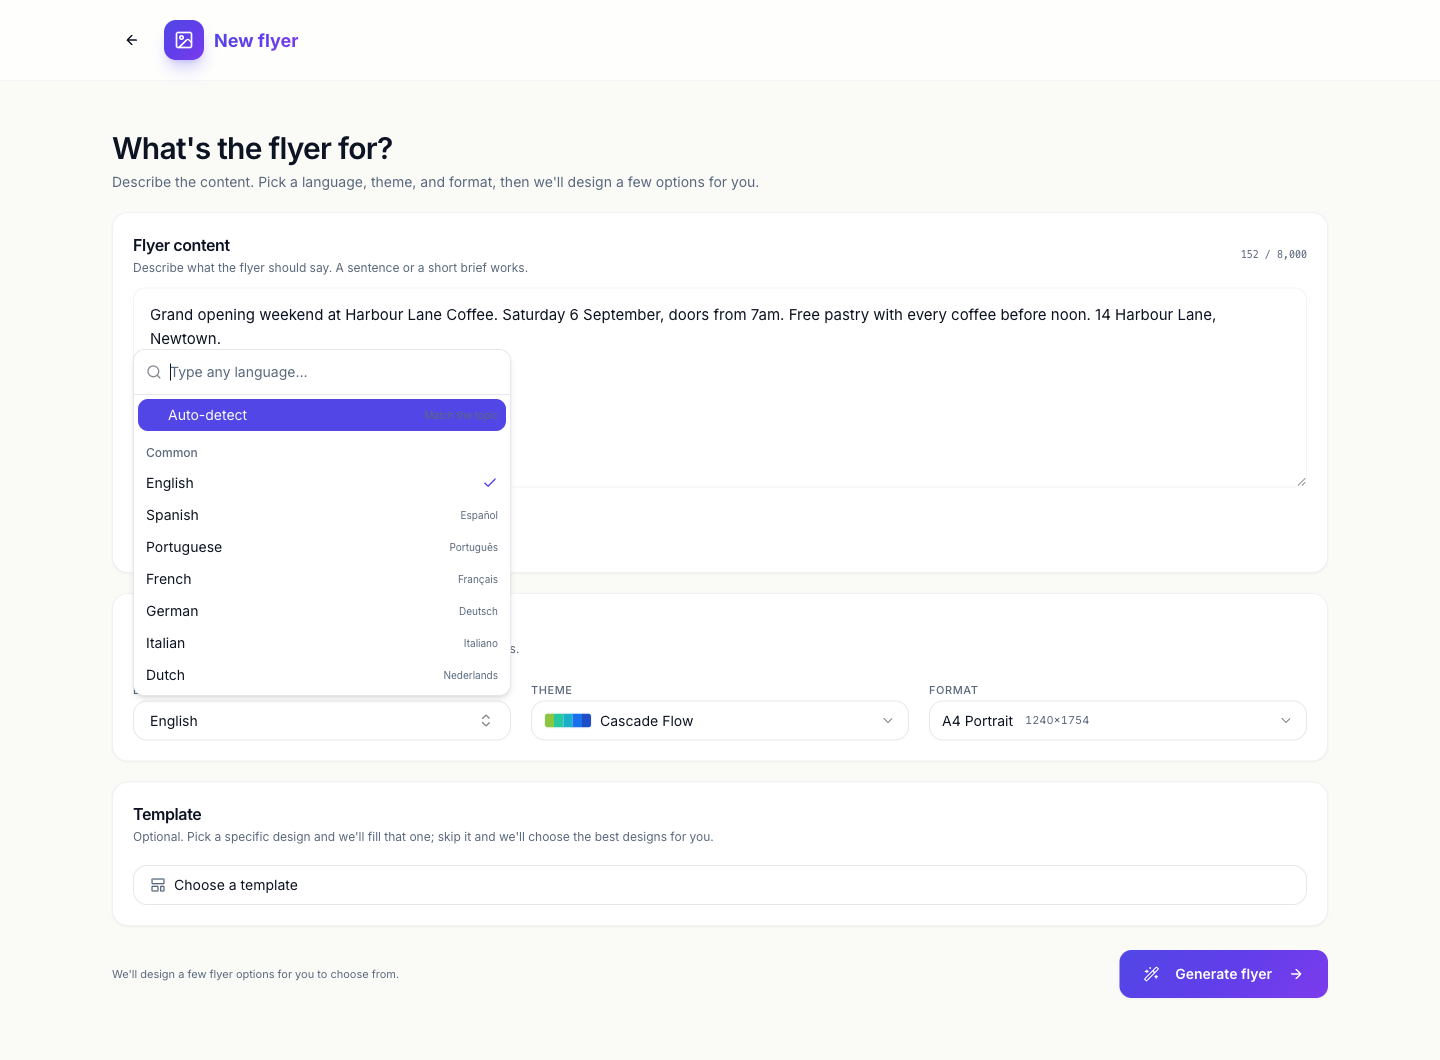 Pick from the list, or type a language that isn’t in it.
Theme
Theme is the colour and type palette the whole flyer wears. The swatch strip next to each name shows the colours you’ll get, so you can judge it before you commit. There are 21 named themes and 88 palettes behind them, and every colour on the flyer comes from the one you choose, which is why swapping it later recolours everything at once and still stays readable.
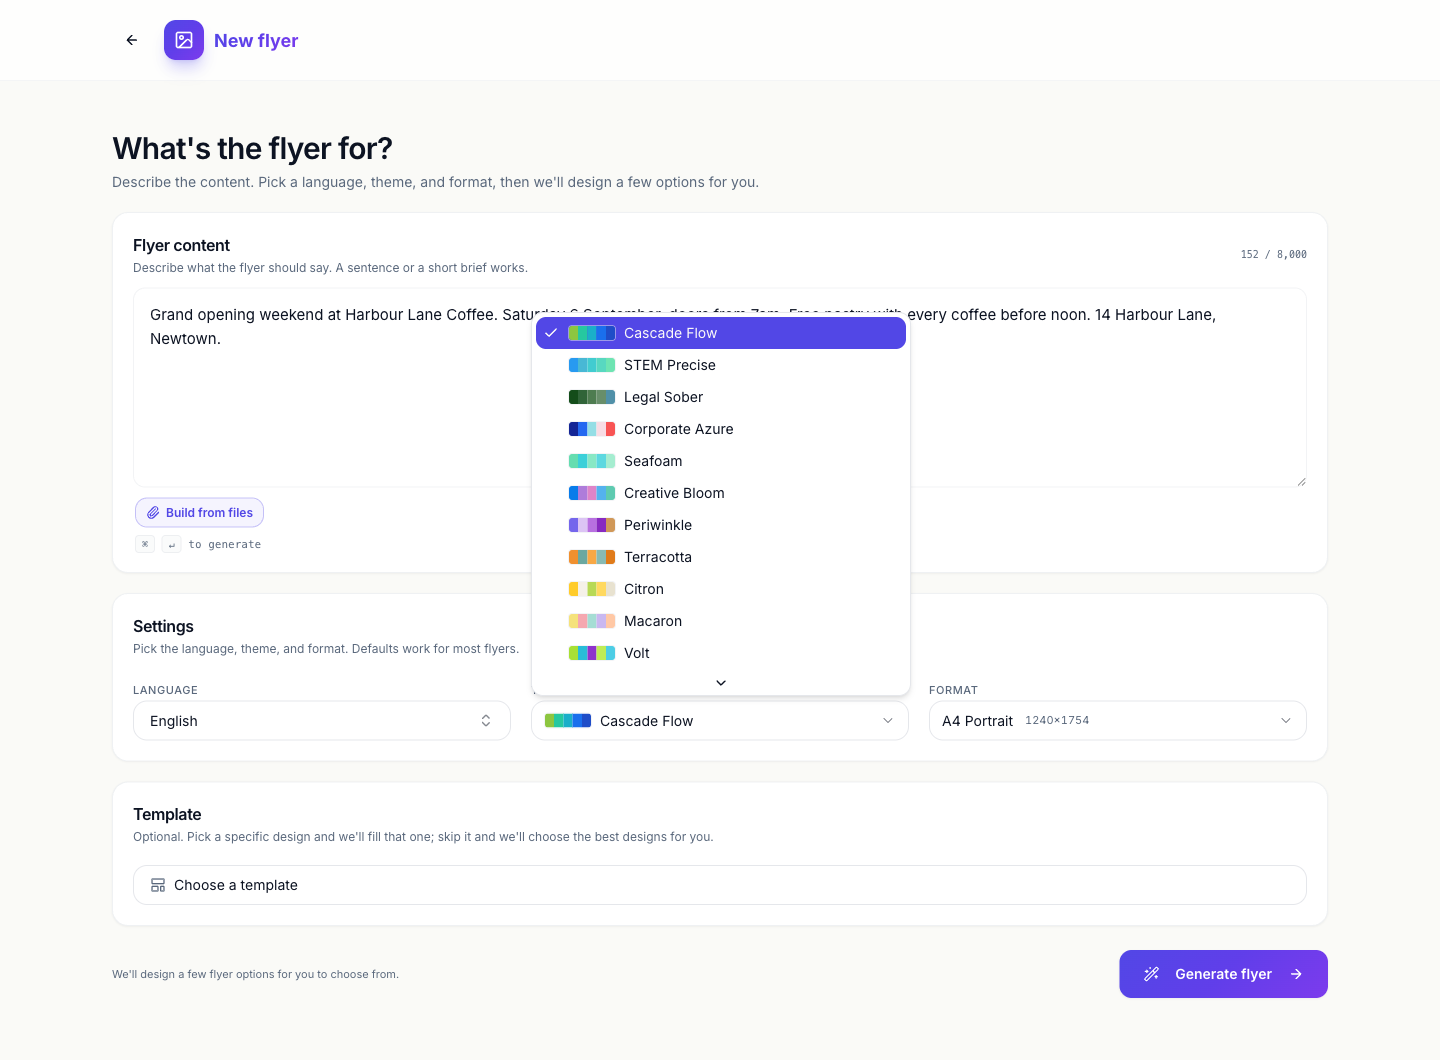 The strip is the palette, so you can pick on colour rather than name.
Format
Format is the shape and pixel size of the flyer, grouped into Print and Social:
| Group | Sizes |
|---|---|
| A4 Portrait 1240×1754, A4 Landscape 1754×1240 | |
| Social | Instagram Post 1080×1080, Instagram Story 1080×1920, Facebook Post 1200×630, LinkedIn Post 1200×627, Facebook Cover 820×312, Twitter Header 1500×500 |
Pick the one you’ll use most. You are not locked in: the canvas size menu in the builder switches between the same sizes afterwards, and the design re-lays itself out rather than stretching. That is covered in resize one flyer for every social size.
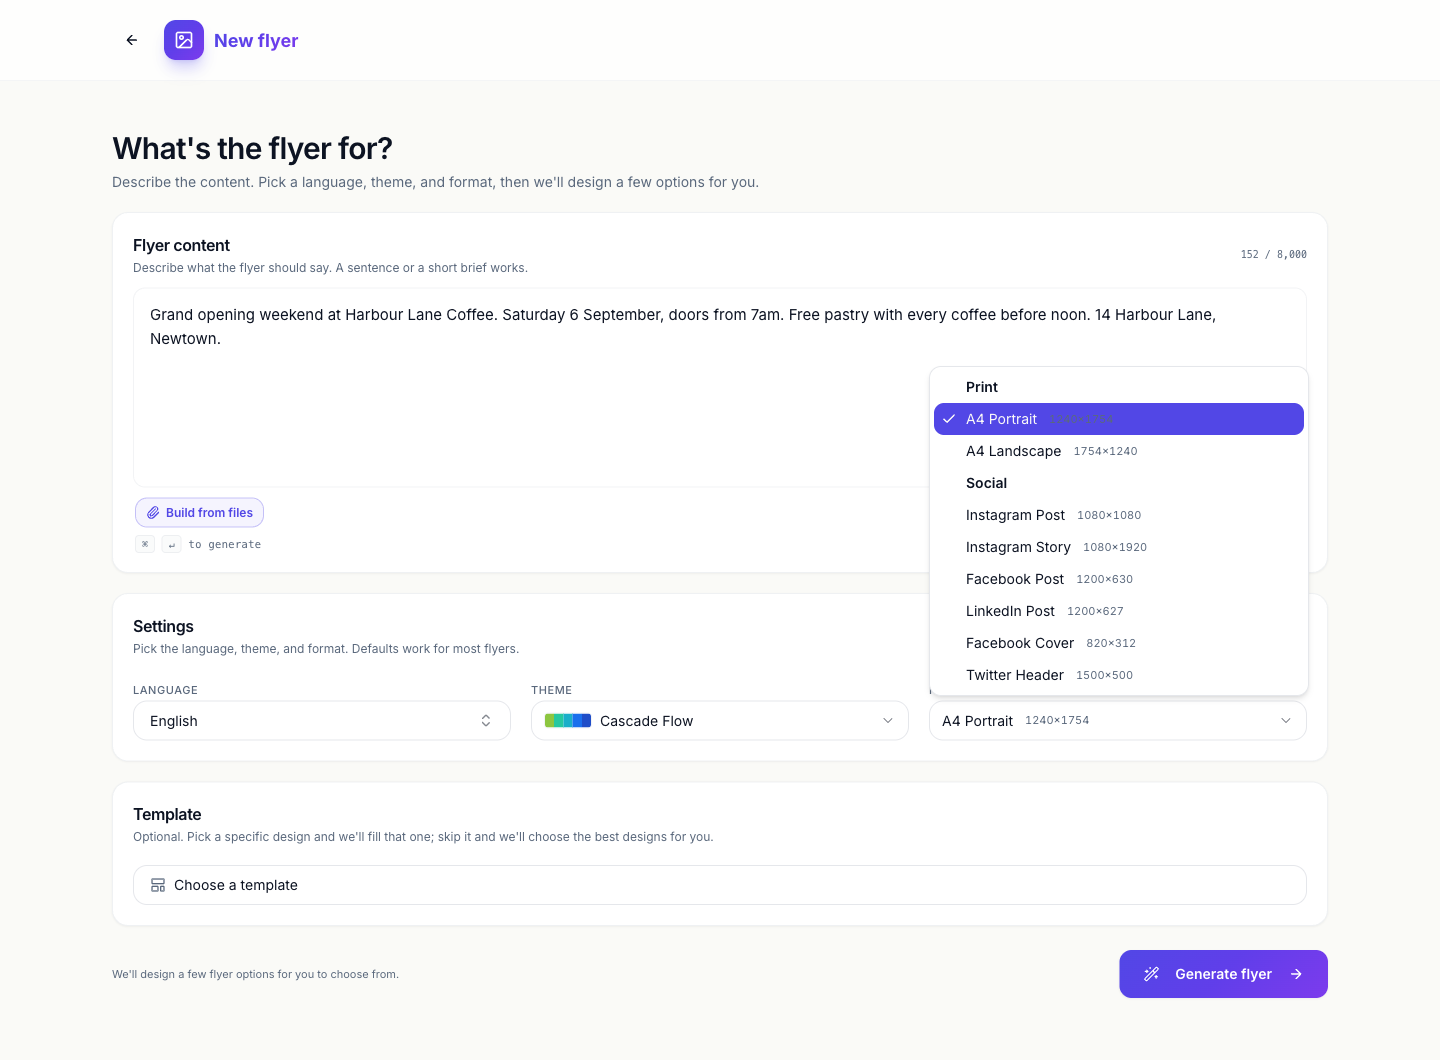 Two print sizes and six social sizes, with the exact pixels next to each.
Template, or no template
The Template section is optional, and it is the one that changes what you get back.
Leave it empty and OneCraft chooses designs that suit your brief. Click Choose a template and you get the library for the format you picked, 172 designs for A4 Portrait, every card a live preview wearing your theme with its name and pixel size underneath. Scroll and the rest load in.
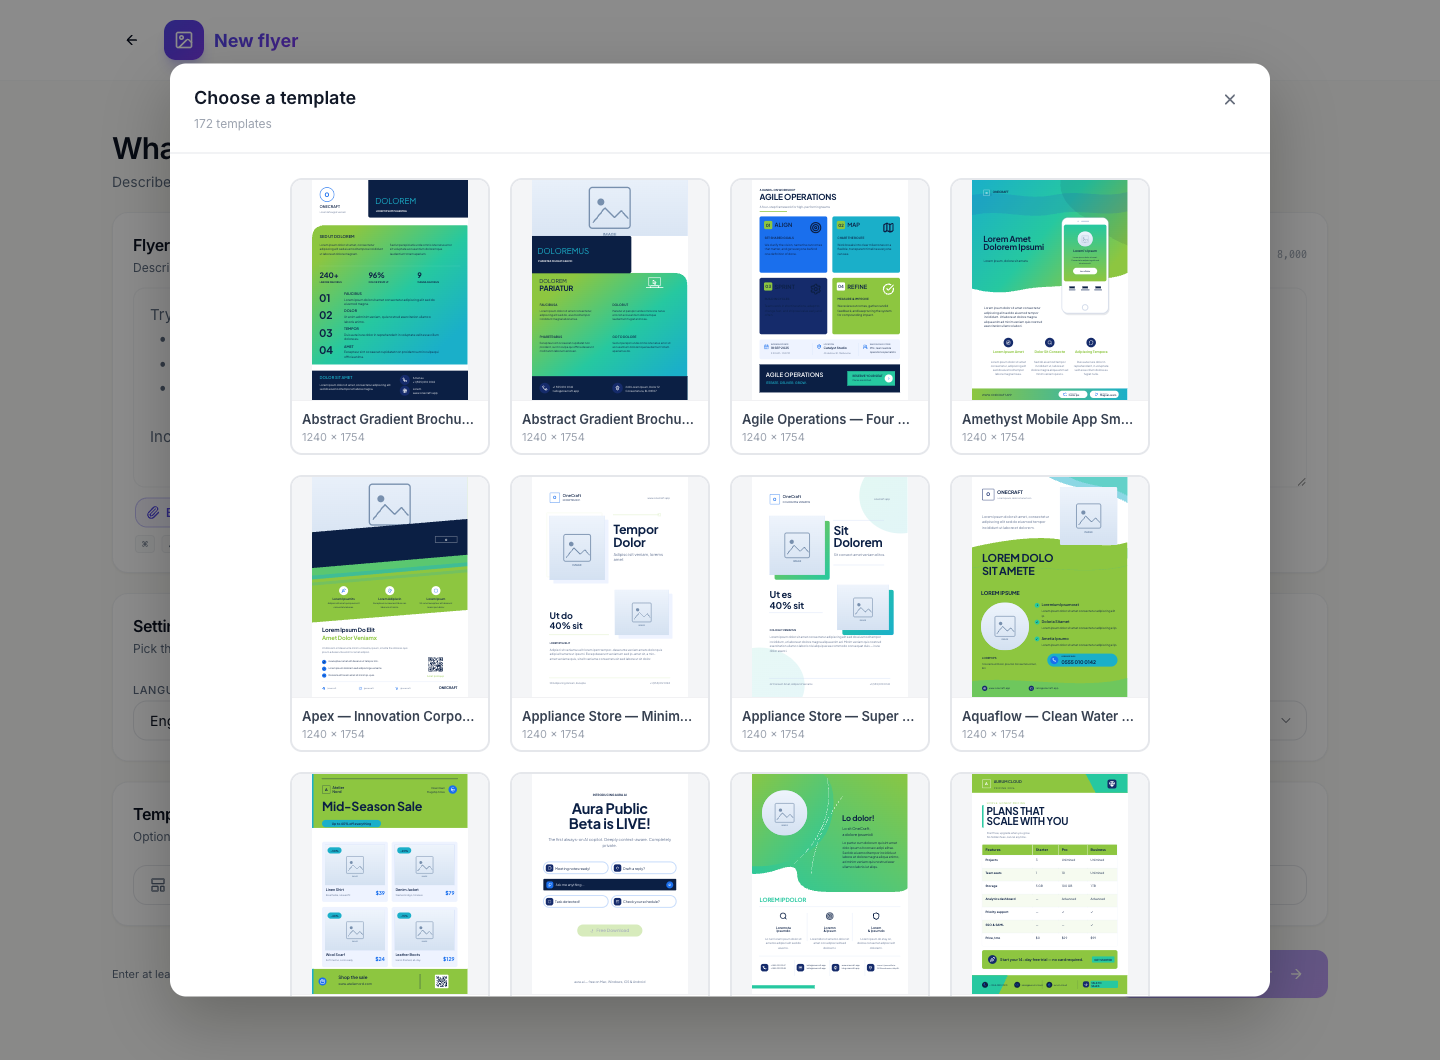 Every card is the real template rendered in your theme, not a stock thumbnail.
Pick one and it appears as a chip in the Template section with Change and a remove button, and the line above Generate changes to “We’ll fill the template you picked”.
One thing to know: changing Format clears your template choice, because designs are authored per size. Set the format first, then pick the template.
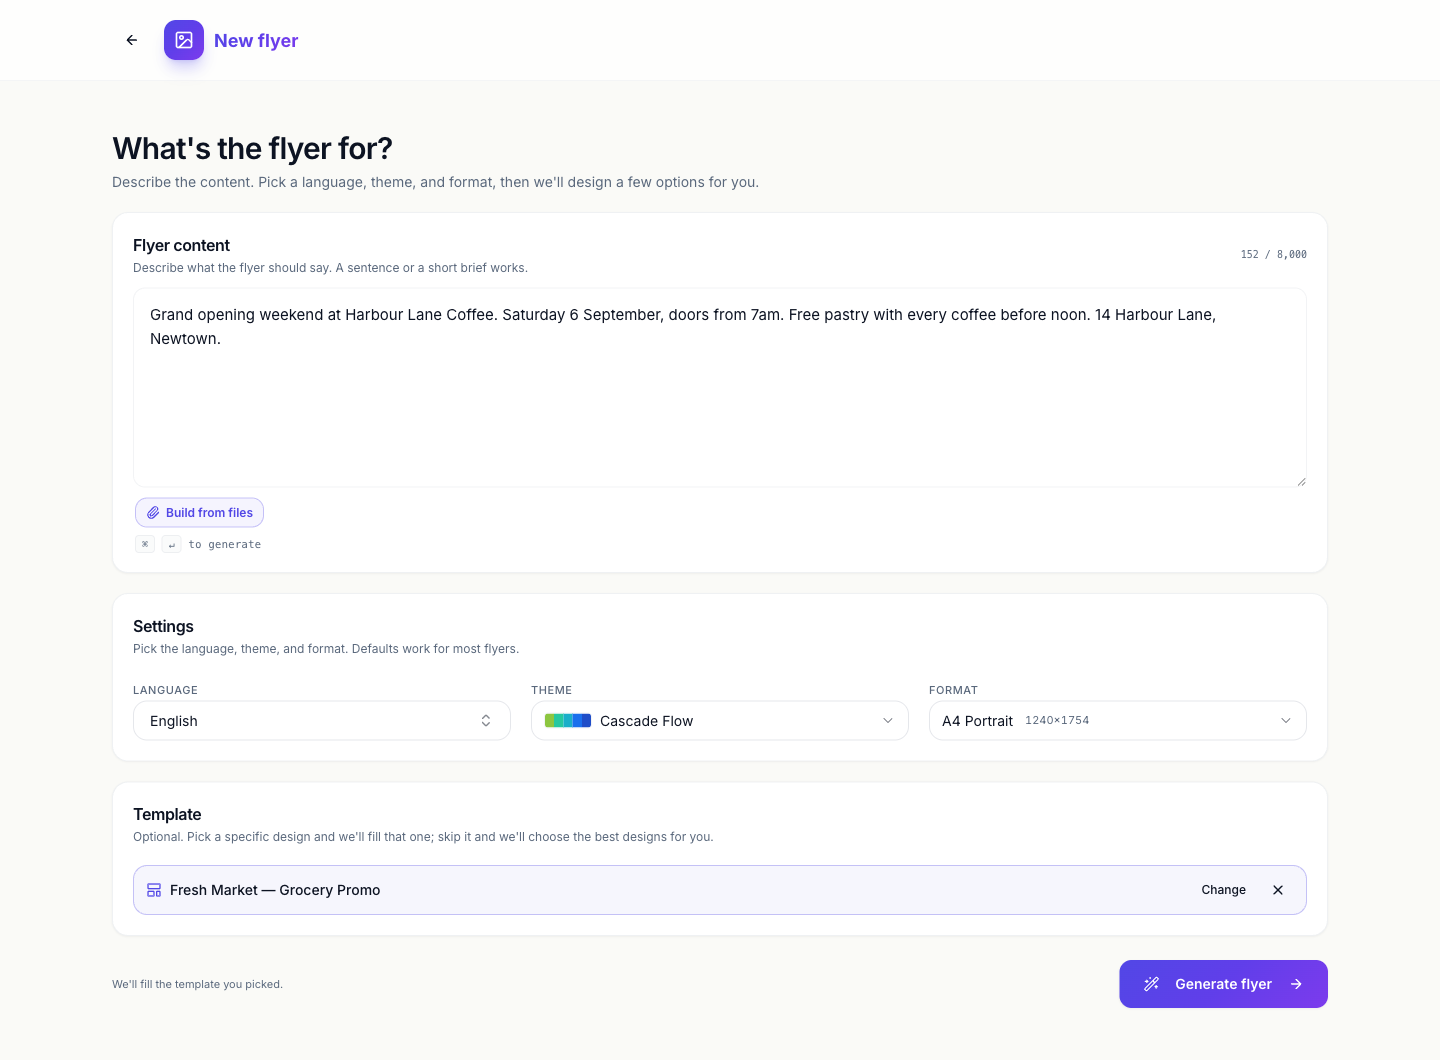 A picked template, and the line above the button telling you what happens next.
What comes back
Skip the template and OneCraft designs two options and asks you to Choose a design. Both are fully built flyers from your brief, in your theme, at your size. Pick one and it opens in the editor.
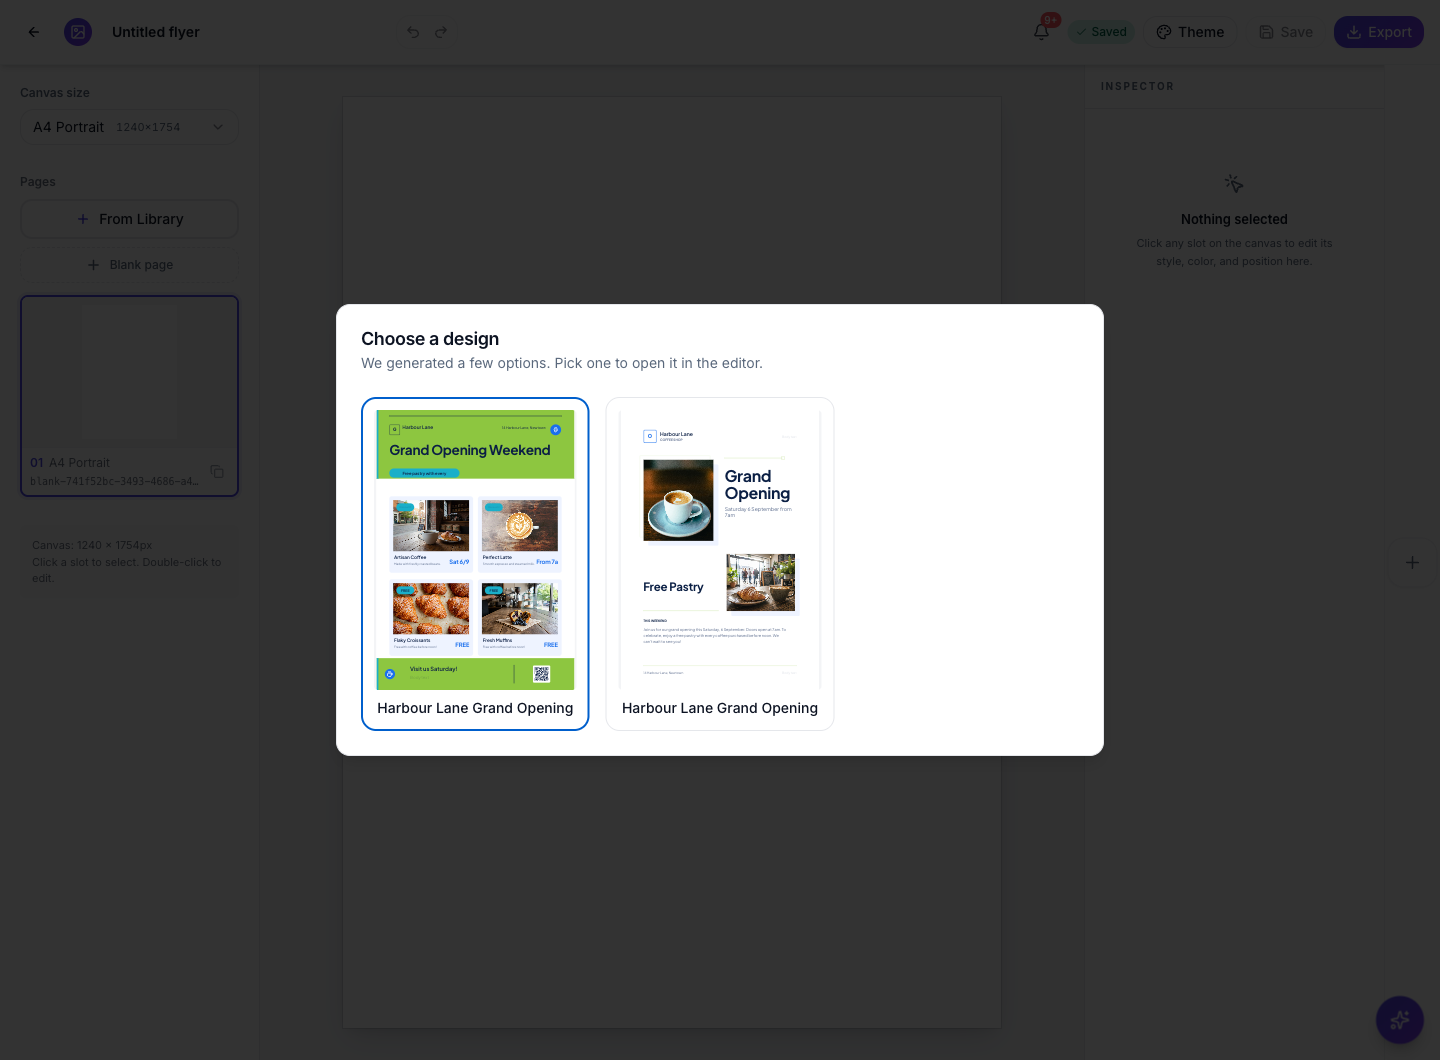 Two designs from one brief. Click the one you want.
Pick a template up front and there is nothing to choose between, so the flyer opens straight in the editor. From there, create a flyer for Instagram and print picks up the editing and exporting.
Flyers with a QR code
Some designs in the library carry a QR code, usually in a footer strip next to a line like “Scan for Prices”. If you want one, choose one of those templates, because the QR code is part of the design and cannot be added to a flyer that doesn’t have one.
Once the flyer is open, click the code and the inspector shows QR data. Type your link into Link or text to encode and the code on the canvas redraws as you type. The code starts on the template’s placeholder link, so replace it before you print. If you already have a code from somewhere else, Upload QR image takes a PNG, JPEG or WebP up to 10 MB and uses that instead.
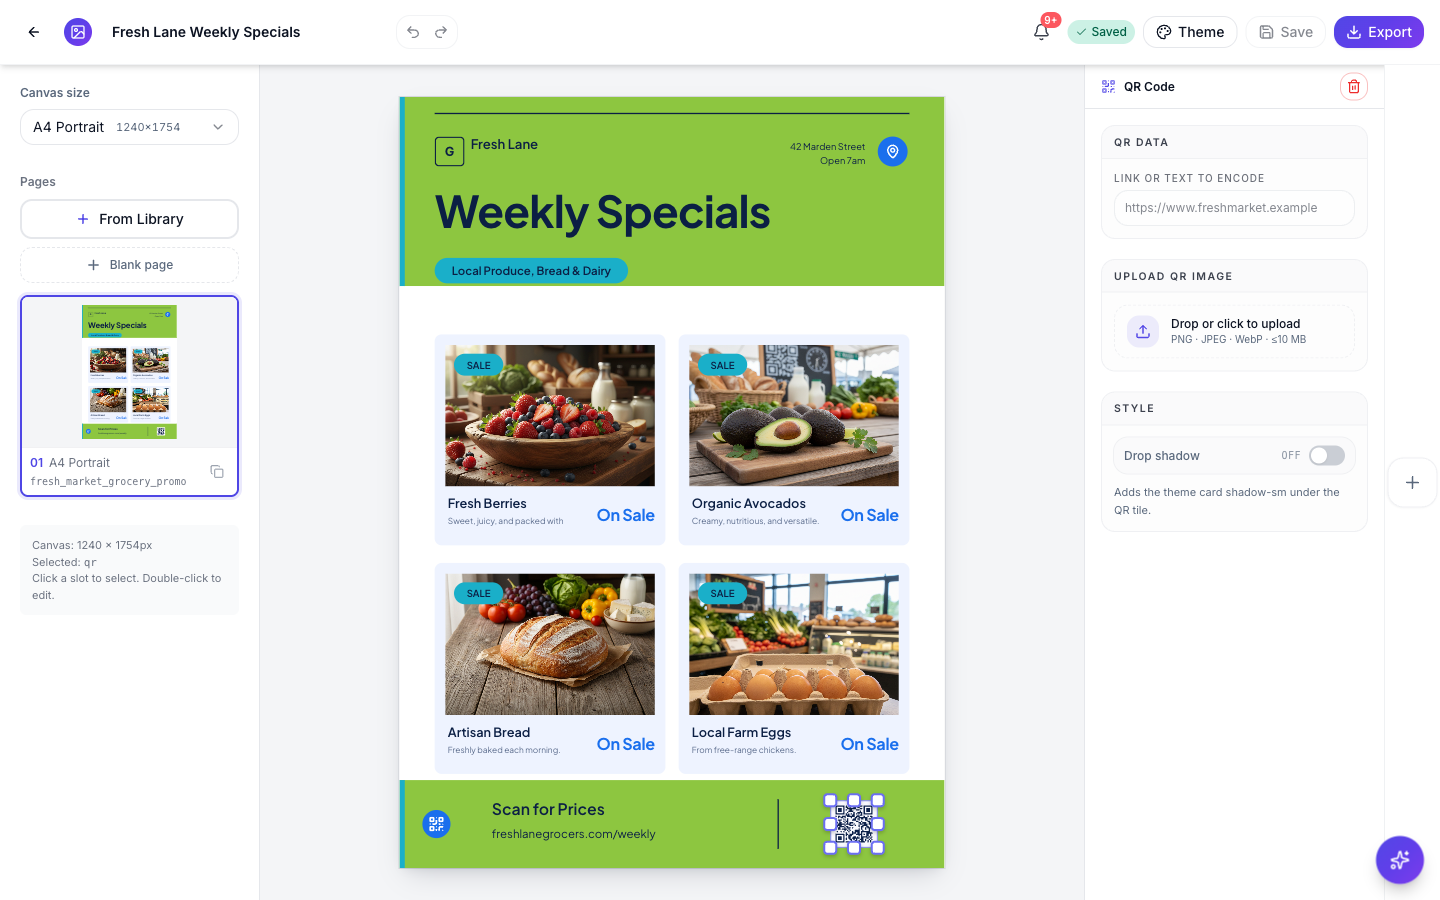 Click the code, type your link, and it redraws on the flyer.
Ready to try it yourself?
Start free. Describe what you need and let OneCraft do the first draft.
Get startedSee it in the product
More flyers tutorials
- Add charts and diagrams to a flyerPut real data on a flyer. Ten chart types, SWOT and 2x2 matrices, funnels, Venn diagrams, org charts, Gantt timelines and world maps, all editable and styled by your theme.
- Add or replace the images in a flyerDescribe the photo you want and OneCraft generates it at the right shape for the slot, or upload your own. Every image you make stays in the flyer to reuse.
- Change a flyer's colours and fonts with themesOne click recolours the whole flyer. 21 themes over 88 palettes, plus 27 fonts you can swap independently, and every element restyles together instead of one box at a time.