Flyers
Edit a flyer image by rebuilding it
To edit a flyer image, attach the JPG or PNG to the flyer generator and let it rebuild the words into a new design. The picture is read for its text, and that text is placed into a real template, so every line can be selected, rewritten, recoloured and moved to another size afterwards. A flyer you only have as a photograph is a picture of text, and tracing it would only give you another picture.
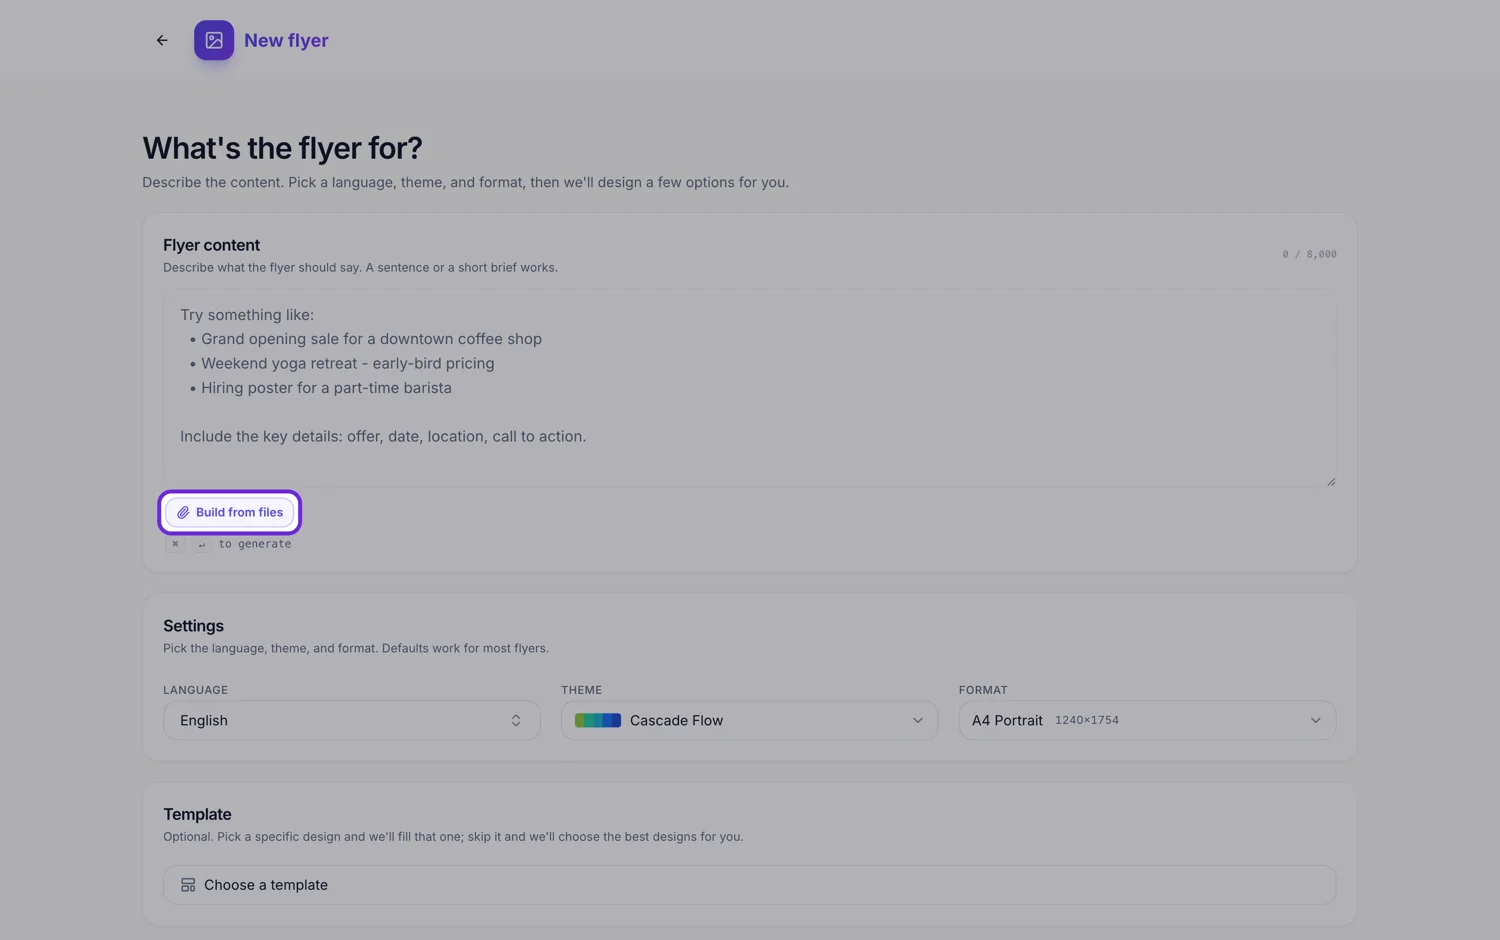
The image is read for content, never traced
An attached picture is read by a vision model under one clear instruction: transcribe every visible word verbatim, in reading order. Alongside that transcript it reports the document type, the language, a summary, the topics, the key points and every labelled field as a label and value pair. That structured read, not the pixels, is what the flyer writer receives. So the phone number, the price list and the opening hours arrive as text it can place.
Nothing visual comes across, on purpose
No fonts, no colours, no positions, no logo artwork. The design of the new flyer comes from the template you or the picker chose and the theme you set, which is what makes every element on it editable and recolourable afterwards. If you wanted the old look preserved exactly, keep the old file. What you are buying here is a flyer you can change.
Blurry corners cost you facts, not looks
A clear, straight photograph transcribes better than a skewed one taken at an angle in bad light. When the read is poor the failure mode is a missing line rather than a mangled design, because the writer will not print a value it is unsure of. Shoot the flyer flat, fill the frame, and check the small print survived before you build anything on top of it. A screenshot beats a camera photo for the same reason.
Say what has to stay word for word
One sentence in the prompt does most of the work: keep the prices exactly, keep the section order, keep the phone number. The extracted text is treated as part of your request, so an instruction alongside it is honoured rather than overridden. Without that instruction the writer is free to tighten wording to fit the slot budgets of the new design.
Which sizes come with it
The rebuild lands on a real template, and all 259 designs in the library exist natively at all eight canvas sizes. Content built on one of them moves to an Instagram story or a Facebook cover from the size picker with a layout authored for that shape, so a print sheet and its story come from the same design. If you already know you need a story as well as a print sheet, check both sizes before you settle on a design, because the arrangement changes with the shape.
Two designs back unless you choose one
Leave the Template field empty and the generator returns two options, shown as Flyer 1 and Flyer 2, and both stay independently editable, so you can finish either. Choose a template and it returns exactly one. When the field is empty the pick is made from a sample of at most 50 designs that fit the chosen size, so running the same photo twice can surface different layouts. That is useful when the first pair does not suit the content, and it is also why a template you liked last time is worth choosing by hand.
How it works, in three steps
Step 1
Attach the picture
PNG, JPG, WebP or GIF, up to five files at 25 MB each. Photograph the flyer flat and in focus.
Step 2
Say what must not change
Name the values that have to survive word for word. Prices and phone numbers are the usual two.
Step 3
Check the small print
Open the finished flyer and read the detail strips against the original before you export anything.
The full walkthrough with screenshots is in the guide Make a flyer from a PDF or a photo.
Limits worth knowing
- Attaching a file is a Starter plan feature. Free accounts see the upgrade dialog on the Build from files button.
- Five files maximum, 25 MB each, and each file's extracted text is capped at 50,000 characters.
- Only the words are imported. Fonts, colours, spacing, logo artwork and photographs from the original are not.
- A photograph is read by a vision model, so faint or angled small print is the first thing to go missing.
- Web research is skipped whenever a file is attached, since the file already grounds the content.
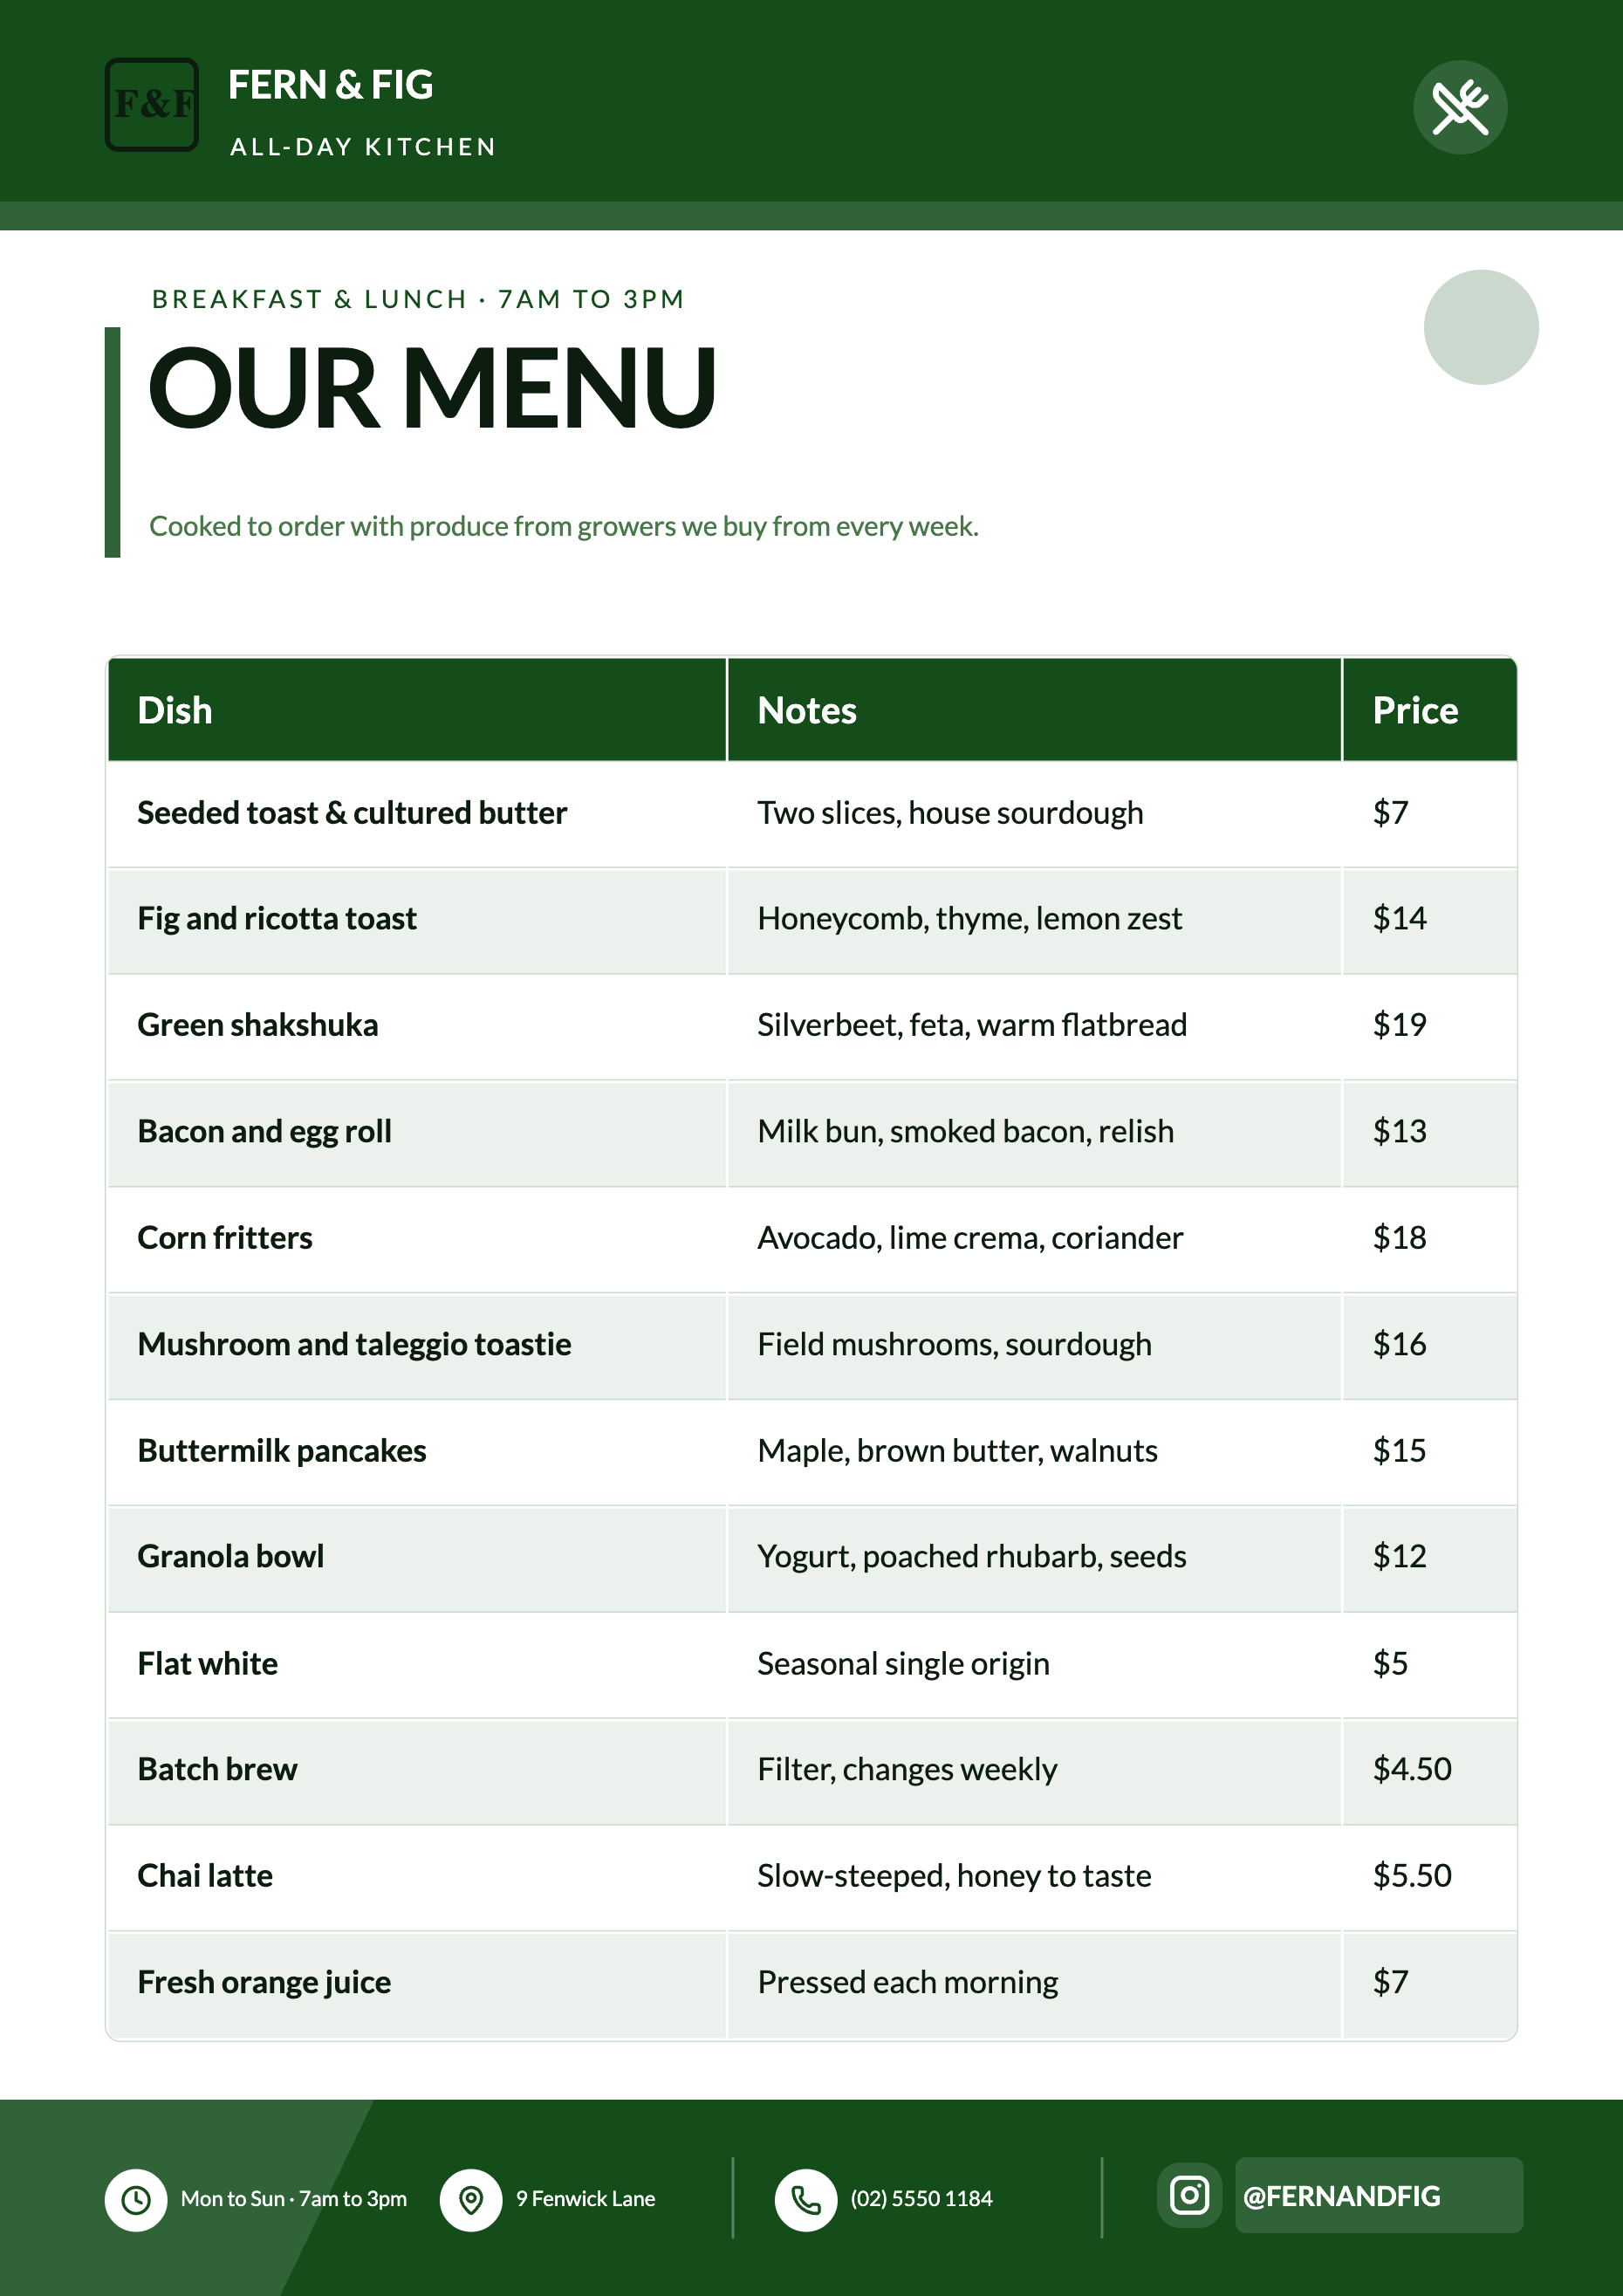
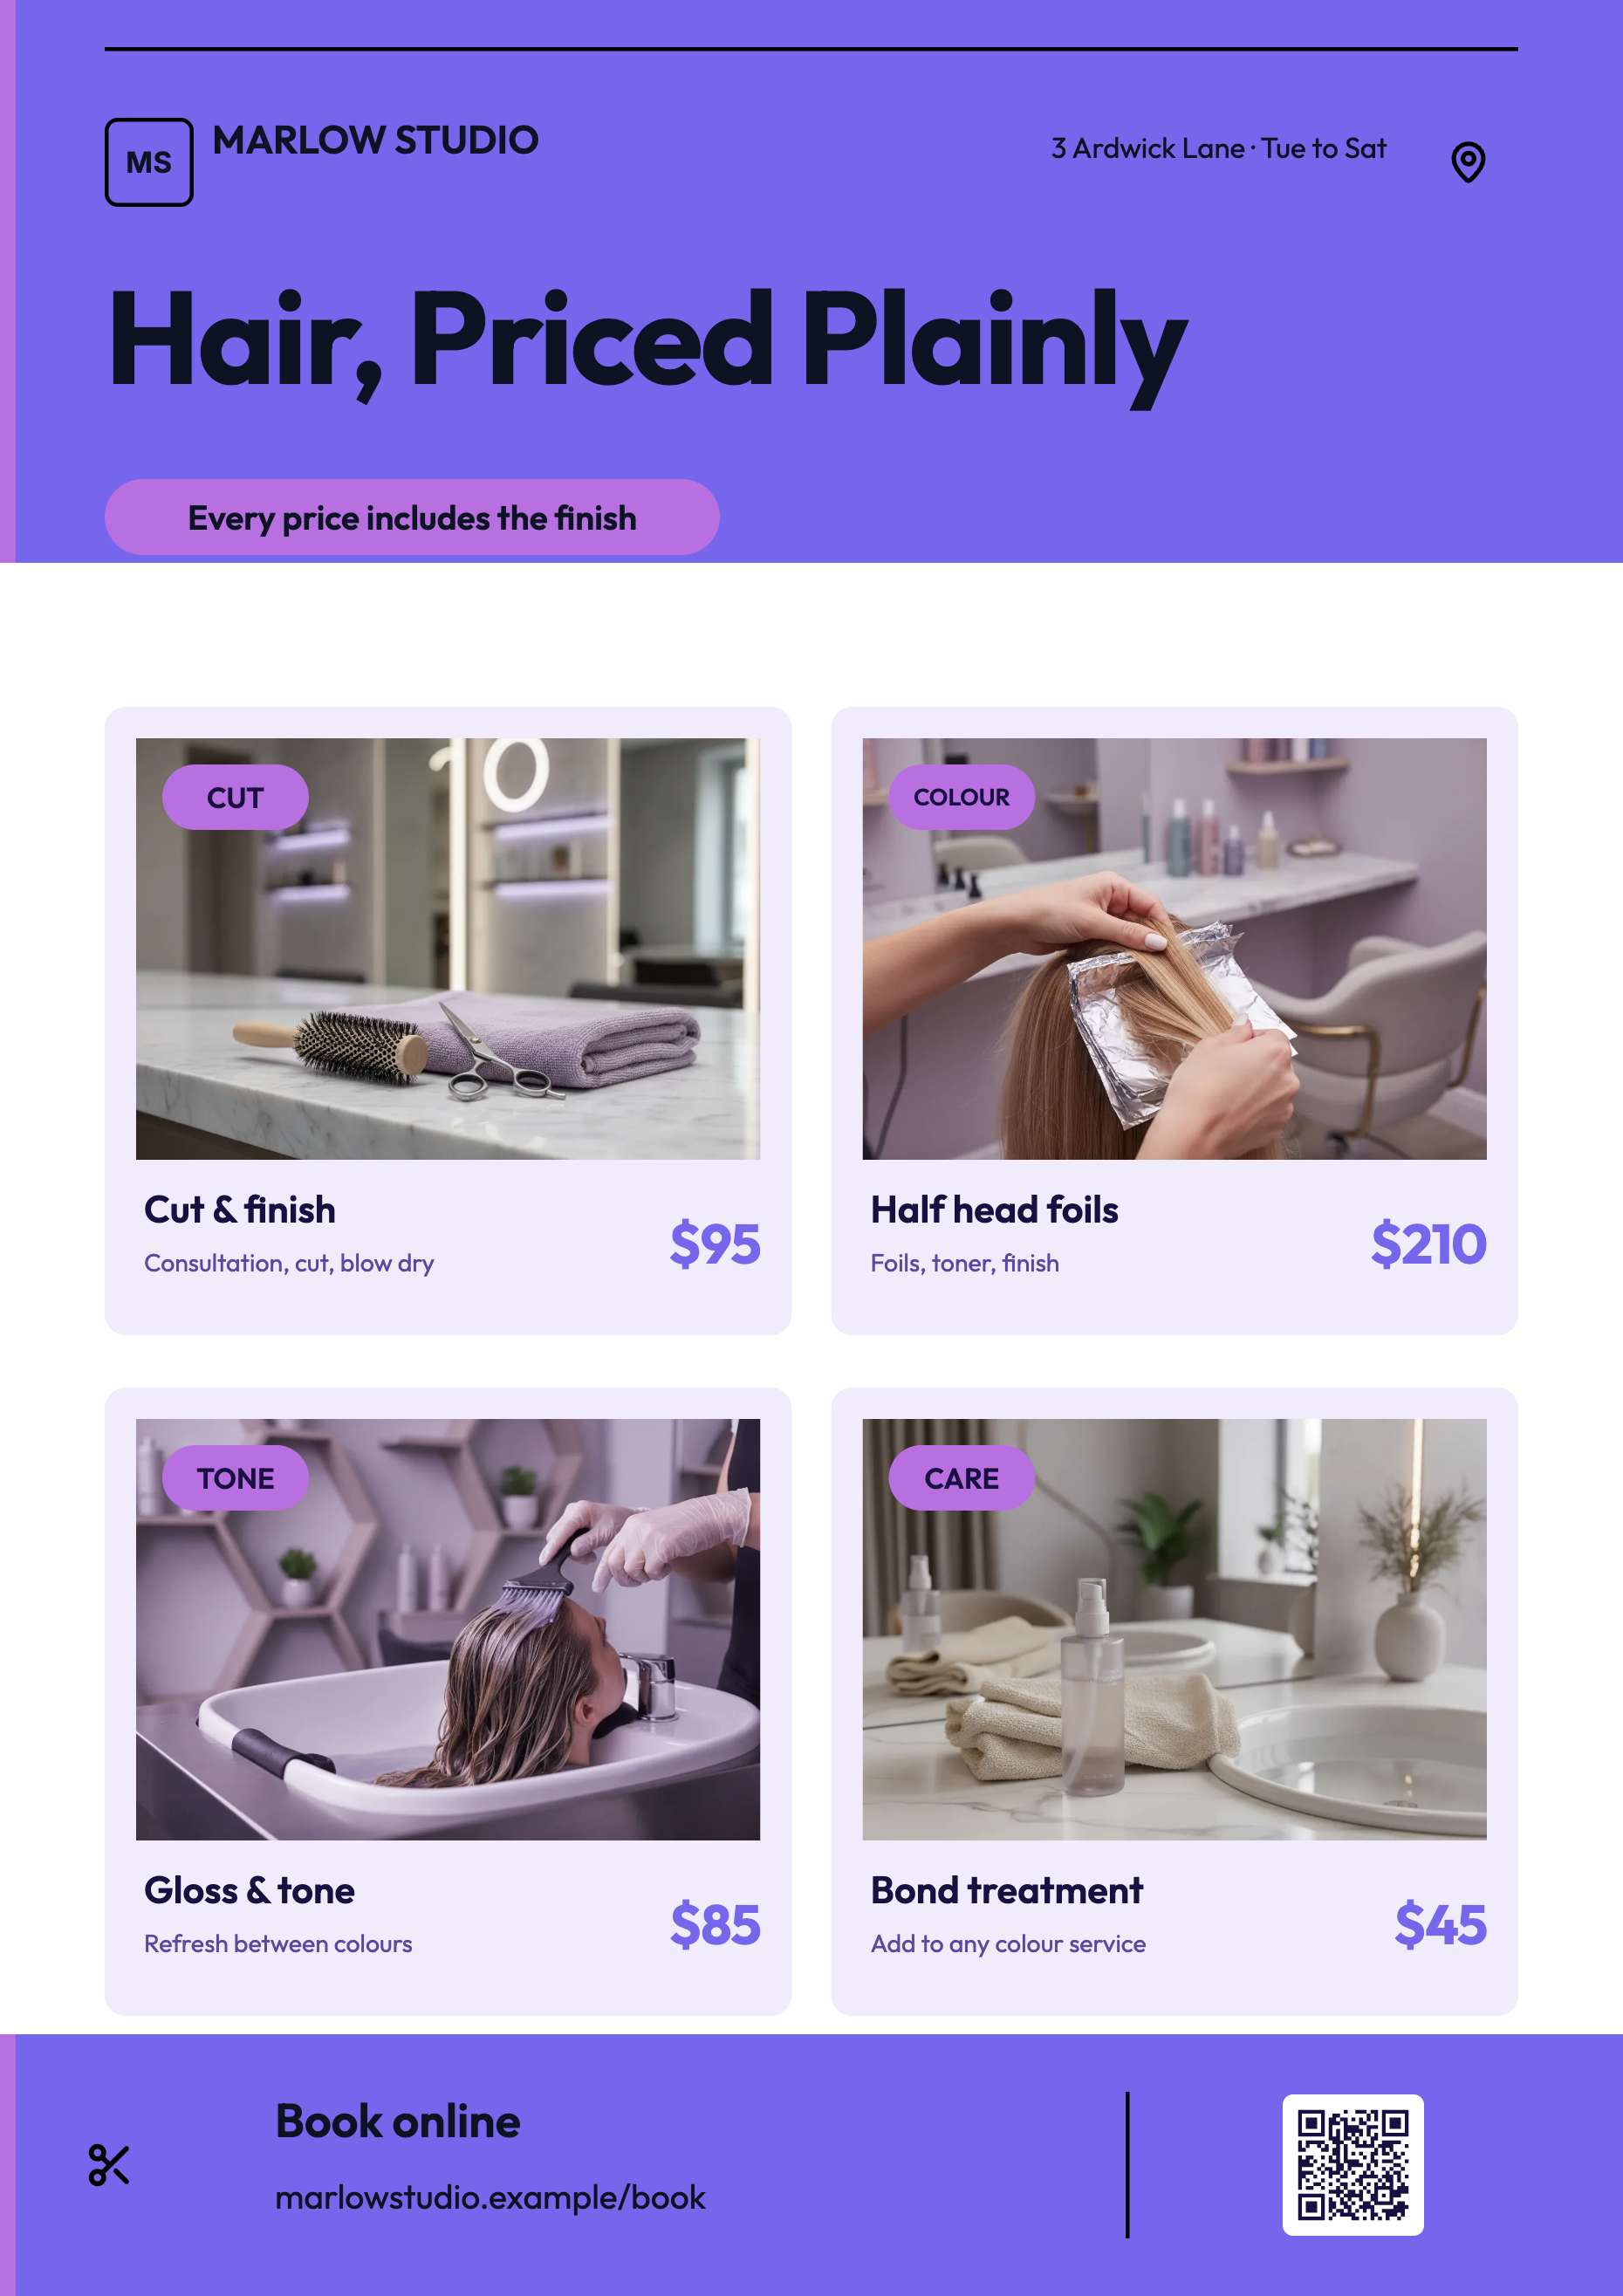
See it on a finished piece
Questions people ask
Will the rebuilt flyer look like the photo I attached?
No, and it is not trying to. The words are carried into a template you choose or the generator picks, and the fonts, colours and spacing come from that template and the theme you set. Exact visual fidelity would mean keeping the picture, which is the thing you wanted to get away from. If the old look matters, pick a theme with similar colours and adjust the fonts in the Theme panel afterwards.
Can the logo be lifted out of a flyer photo?
No. Nothing visual is cut out of an attachment, and logo slots are never filled by image generation. Upload the logo file into the logo slot in the builder instead. The image picker takes JPEG, PNG, WebP or GIF up to 10 MB, and the flyer has to be saved once before an upload is accepted. A logo slot can also show initials, capped at 20 characters, when you have no file to hand.
Should I attach a screenshot, a camera photo or the PDF of the flyer?
A screenshot first, a flat camera photo second, the PDF last. An image is transcribed word for word, while a PDF is turned into page pictures and returned as a summary, key points and labelled fields rather than a full transcript. If the only copy you have is a PDF and the exact wording matters, screenshot each page and attach those images instead of the file itself.
What happens to a price or date the photo shows unclearly?
It is usually left out rather than guessed. The writer is told the request is the source of truth and is forbidden from inventing prices, dates, phone numbers, addresses or statistics, and an optional slot is dropped rather than padded. So a blurred price tends to become a missing line. Type any value the camera could not catch into the prompt, and it is placed like the rest of the text.
Can the rebuilt flyer be sent to a print shop at A4?
Yes, with two things to tell the printer. An A4 page exports at 2480 by 3508 pixels, which is A4 at 300 DPI, as a PDF, PNG or JPG. The export is RGB with no bleed and no crop marks, so a printer who needs either has to add it or trim inside the edge. The PDF holds page images, so its text cannot be selected by the print shop either.
Can one flyer photo become a two page flyer?
Not in one generation. Every generated option is a single page. Once the first page exists, add a second in the builder with From Library, which offers templates at the active page size, or Blank, which is always an A4 portrait page with no slots. Copy the leftover text from the original image into the new page by hand, or ask the flyer chat to rewrite a slot.
Make your own flyer
The button opens the generator with this use case already described. Change the wording to match yours, generate, then edit anything you like.
Create a flyer with OneCraftRelated pages
Convert a PDF to an editable document
To convert a PDF to an editable document, attach it in the document generator and it comes back as editable blocks in a theme you can change. The file is read as page images, so sections, headings, numbering and labelled fields carry over reliably, while long paragraphs are rewritten from that reading rather than copied word for word.
AI images for a flyer
Generating a picture for a flyer is not the same as generating a picture. The slot already has a shape, a place in the composition and a job to do, and the generator is told all three before your words are added. That is why the result drops into the design instead of sitting on top of it.
Add your logo to a flyer
A logo slot is a different kind of box from a photo slot. It shows an uploaded image if there is one, and a monogram built from your name if there is not, and there is no generate button on it at all.
More finished work of this kind is on the flyer examples hub.
Written and checked by the OneCraft team. Last checked .