Presentations
Make slides from screenshots
To make slides from screenshots, attach them to the slide generator with a line saying what each screen is for, and the deck is written from the words they contain. Then place the screenshots themselves on the slides in the builder, because the generator reads a picture and never pastes it. There are two different jobs hiding in this request, and mixing them up is why people are disappointed.
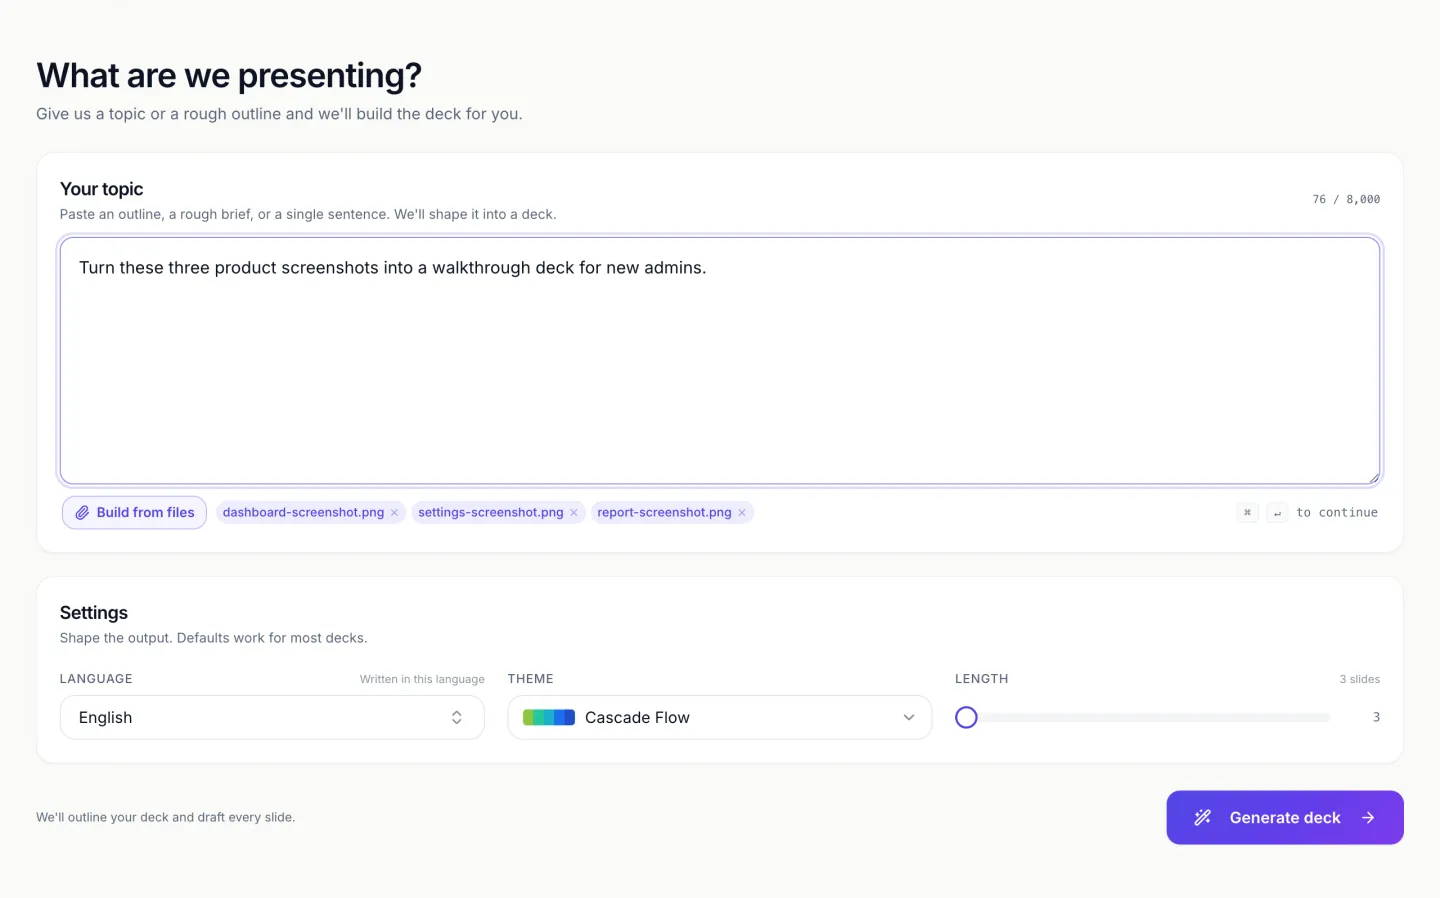
Attached images are read, not placed
When you attach a PNG, JPG, WebP or GIF at generate time, a vision model is told to transcribe all of its visible text verbatim, in reading order, and to report a summary, key points and any labelled fields beside it. That read joins your prompt as source material. The image file itself never lands on a slide from this path. It is worth stating plainly because the reasonable expectation is the opposite, and the mismatch is the most common surprise here.
Which makes it good for one specific thing
Turning interface labels into a walkthrough. A screenshot of a settings page contains the exact field names, button labels and menu items, and having those read out gives you a deck that uses the product's real vocabulary instead of an approximation. The same applies to a photographed slide from someone else's deck, a printed agenda or a whiteboard.
Putting the picture on the slide
That happens in the builder afterwards, in the image panel on any slide with a picture box. Upload takes JPEG, PNG, WebP and GIF, and the picture is cropped to fill its box. Corner radius, a frame of 6, 12 or 20 pixels in one of four theme colours, and a drop shadow are all set from the same panel. Pictures you have uploaded appear in the panel as recent images, so a screenshot used on one slide is quick to reuse on another.
How accurate the read is
Interface text at normal resolution reads well. Small print, low contrast dark mode captures, dense tables and anything photographed at an angle read less well. Numbers are where a misread does damage, since a wrong digit in a figure looks exactly as confident as a right one. Check every number a screenshot contributed before you present the deck, and crop a busy screen to the part that matters before capturing it.
A screenshot often beats the PDF
If the same content exists as a PDF, the screenshot is usually the better input. An attached PDF is rendered to page pictures and read back as a summary, key points and fields, with no verbatim transcript, while an image is transcribed word for word. So a screenshot of a page keeps its exact wording better than the PDF of the same page. Text you can copy is better still: pasted into the prompt box, up to 10,000 characters, it is used exactly as written.
How it works, in three steps
Step 1
Attach the screenshots
Up to five files at 25 MB each, in PNG, JPG, WebP or GIF. This needs a Starter plan.
Step 2
Say what each screen is for
The image read gives labels, not intent. One line per screen naming the task turns labels into a walkthrough.
Step 3
Add the pictures in the builder
Open a slide's image panel, upload the screenshot, then set its corners, frame and shadow.
The full walkthrough with screenshots is in the guide Add and generate images in slides.
Limits worth knowing
- Attached images are read for text only. They are never placed on a slide by the generator.
- Attachments are a Starter feature, five files at 25 MB each.
- The read can miss small or faint text. Verify every figure a screenshot supplied.
- Image uploads in the builder accept JPEG, PNG, WebP and GIF.
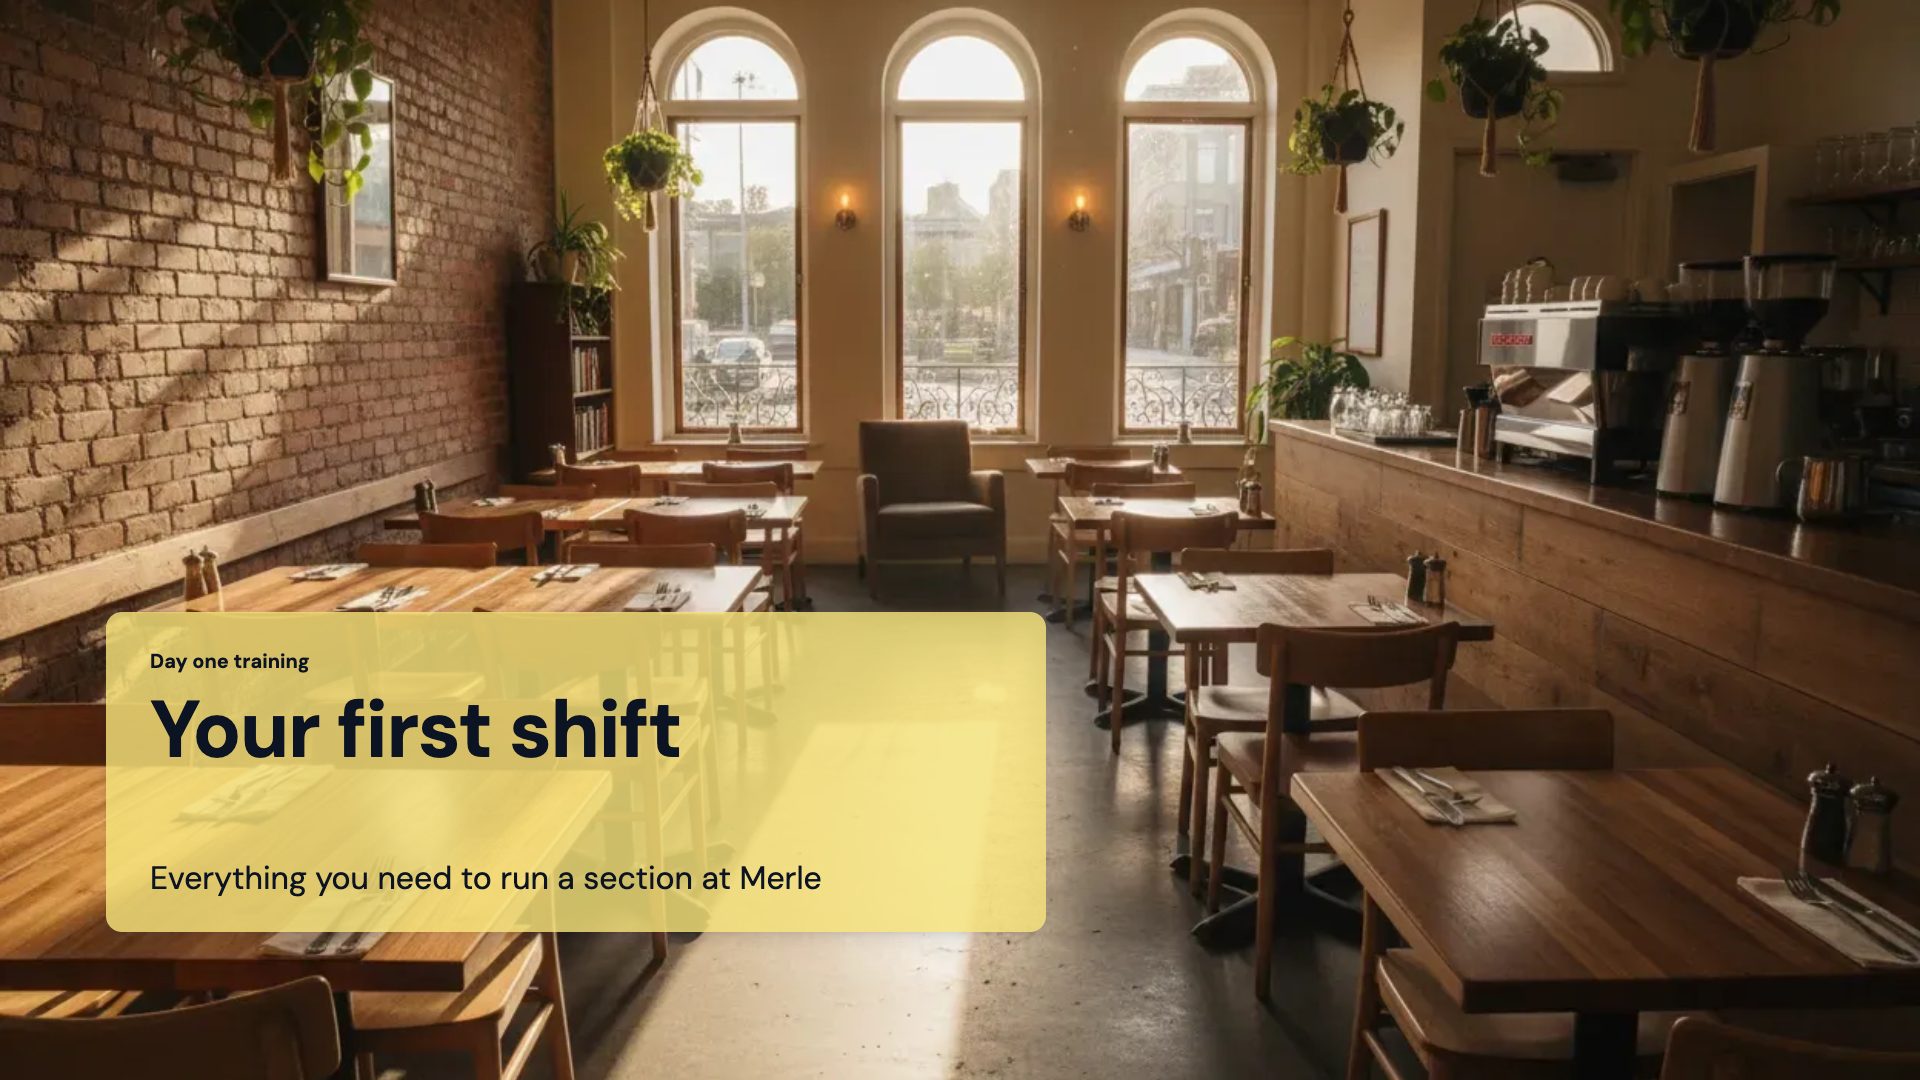
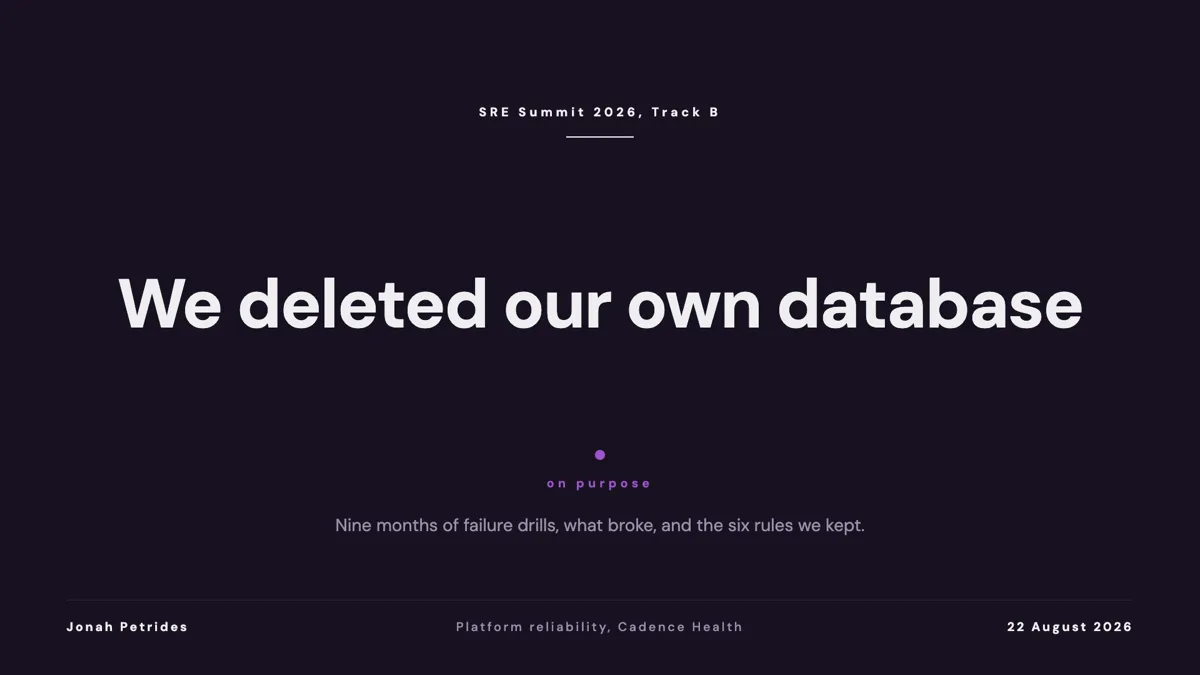
See it on a finished piece

Questions people ask
Why did my screenshot not appear on the slide?
Because attachments feed the writing step, not the design. The generator reads the words in the picture and uses them to plan and write the deck, and the image file stays out of the slides. Open the image panel on the slide that should carry it and upload the screenshot there. It is cropped to fill the picture box, so pick a layout whose box suits its shape.
How well does the image read handle dark mode screenshots?
Less well than light ones. Low contrast text, thin grey labels on dark panels and tiny status bar type are the first things to be missed or misread. If a product offers a light theme, switch to it before capturing. Otherwise zoom the interface to 125 or 150 percent before taking the screenshot, which makes each label larger and the read noticeably more reliable.
Can a photo of a printed page stand in for a screenshot?
Yes, it is read the same way, as an image whose visible text is transcribed. A flat, evenly lit photograph taken straight on reads far better than one at an angle or with a shadow across it. Fill the frame with the page, keep the phone parallel to it, and check small print and numbers on the finished slides against the paper.
Can ten screenshots feed one deck?
Not in one go. The generator takes five attachments per deck. For a longer walkthrough, pick the five screens that carry the most labels and describe the rest in the prompt, or combine two related screens into one image before attaching. The pictures themselves can all be uploaded in the builder afterwards, since the five file limit applies only to generation.
Will the slides use the exact button labels from my screenshots?
Usually, and that is the main reason to attach them. The image read transcribes visible text verbatim, so field names, menu items and button labels reach the planner as written. The slide copy is still written to fit each box, so a label can be shortened or quoted inside a sentence. Say keep interface labels exactly in the prompt when the walkthrough is for training.
Do uploaded pictures keep their shape on the slide?
They fill the picture box, cropped to its shape, so a tall phone capture in a wide box loses its top and bottom. Choose a layout with a box that matches the screenshot, or crop the capture yourself before uploading. The image panel then sets the corner radius, an optional frame and a drop shadow, which is where a screenshot starts to look deliberate on a slide.
Make your own presentation
The button opens the generator with this use case already described. Change the wording to match yours, generate, then edit anything you like.
Create a presentation with OneCraftRelated pages
Scanned document to editable
A scan carries no text, only a picture of text, so everything depends on how good the picture is. This page is about the difference between a scan that rebuilds cleanly and one that costs you an afternoon.
Convert a paper form to an online form
To convert a paper form to an online form, give the generator the form in whichever shape you have it: a photo, a scan, or its questions typed out. It rebuilds the questions as fields you can publish on a link, and the paper version can live on as a printable PDF.
Convert a Word document to slides
To convert a Word document to slides, either save it as a PDF and attach that to the slide generator, or copy the sections you need into the prompt box. A .docx file is not an accepted attachment, so one of those two routes is required. The PDF route gives the planner a summary and key points of the whole document, while pasted text is used exactly as written, and which one you pick decides how close the slides stay to your wording.
More finished work of this kind is on the presentation examples hub.
Written and checked by the OneCraft team. Last checked .