Videos
Cursor and spotlight in a tutorial video
Two devices point at things in a walkthrough. A cursor that travels to a control and clicks it, and a spotlight that rings a region and dims everything around it. Both are aimed by hand on the preview, and that is deliberate: the AI is kept away from them because a pointer aimed at the wrong pixel is worse than no pointer.
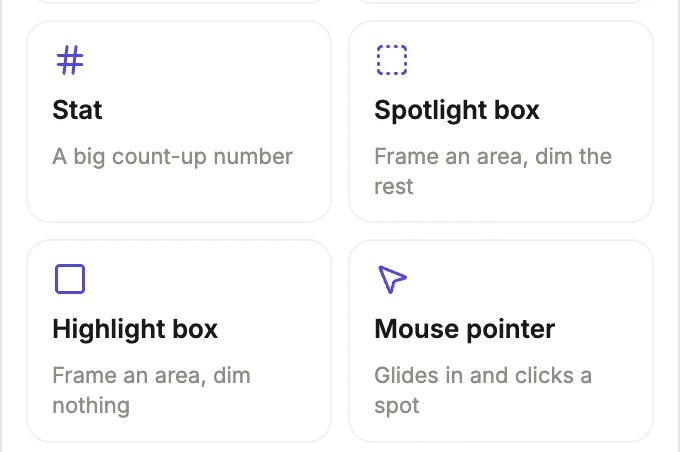
Sixteen scenes carry a travelling pointer
A cursor slot moves through a list of waypoints as fractions of its box, so the same path lands correctly in either format. The scenes that use one include a cursor walking a screen, typing into a field, navigating a menu, a search being run, a form being filled, a command bar, tabs, an upload, code being copied, a schedule being picked, a mobile tap sequence and a multi cursor collaboration shot. A pointer can also be synchronised to another element, clicking each waypoint on the frame the linked item appears.
The spotlight dims what it is not pointing at
Four scenes carry a spotlight. It draws a three pixel ring in an accent colour around its own box, and dims everything outside it with a large shadow, at half strength by default. There is also a frame only mode where the dim is set to zero, so the region is ringed without darkening the rest, which suits a screenshot that is already dark or one where the surrounding context still matters.
You aim them on the preview
Select the scene and a handle appears on the picture for every cursor, plus labelled handles for the points a scene declares adjustable. Drag the handle and the pointer's final waypoint moves with it, or for a spotlight the whole region recentres on the point. Playback pauses while you drag. Handles only show on the selected scene and are clipped away from the bottom strip so the player controls stay clickable, and the position is stored per format.
Why the AI does not place them
The tutorial director is given a restricted set of step layouts that excludes the cursor, spotlight and callout scenes, precisely because their pointers need manual aiming. A model choosing a layout from a description has no idea where the Approve button sits in your screenshot, and a confident arrow pointing at empty space undermines the whole video. So those scenes exist for you to add deliberately, from the Add scene dialog.
How it works, in three steps
Step 1
Add the scene yourself
Open the Add scene dialog and filter by the tutorial role. The cursor and spotlight layouts are listed there with live thumbnails.
Step 2
Put your screenshot in it
The pointer is drawn over the image, so the picture goes in first. Without one, you are aiming at a layout rather than at a control.
Step 3
Drag the handle onto the control
Select the scene, find the handle on the preview and drag it to the exact spot. Do it again after switching format, since positions are per canvas.
The full walkthrough with screenshots is in the guide Make a how-to video with AI.
Limits worth knowing
- The AI never picks these scenes for a generated tutorial, because their pointers cannot be aimed from a text description.
- Handles appear only on the currently selected scene, and only while the playhead is inside it.
- A pointer's aimed position is stored per format, so aiming it in landscape does not aim it in vertical.
- The spotlight rings its own rectangular box. There is no freehand shape, arrow or drawn annotation tool.
Questions people ask
Is this the same as marking a click point on an image?
No. A focus point is a property of an image and always plays as glide, click, then zoom. These are scene layouts, where the pointer path is authored and only its final target is yours to move.
Can I have more than one pointer?
One scene is built for it, showing several cursors at once as a collaboration shot. On the others there is one, and a scene with numbered callouts gives three separate labelled handles instead.
Can I hide the pointer on one scene?
Yes. A slot can be switched off for a format from the inspector, and a disabled slot loses its handle too.
Should a walkthrough use these or plain steps?
Plain full screen steps for most of it, and one of these where a control is genuinely hard to find. Every pointer scene you add is a layout change, and a walkthrough reads best when the steps look the same as each other.
Make your own video
The button opens the generator with this use case already described. Change the wording to match yours, generate, then edit anything you like.
Create a video with OneCraftRelated pages
Capture screenshots for a tutorial, one step at a time
To capture screenshots for a tutorial, share your screen once, then press a button for each step and it snaps one still frame. There is no recording, no video file, and nothing is processed from footage afterwards. What you end up with is a set of PNG screenshots and a walkthrough built from them.
AI tutorial video maker
A walkthrough fails for boring reasons: it moves too fast to follow, it changes layout every step so the eye has to relearn the screen, or the narration says something different from the words on the picture. The tutorial director is a set of rules written specifically against those three failures.
Turn screenshots into a video
You have a folder of screenshots from documenting something, and they are already in roughly the right order. The work is deciding which of them deserves its own step, which are duplicates, which belong together, and what the narration says over each one.
More finished work of this kind is on the video examples hub.
Written and checked by the OneCraft team. Last checked .