How to
Add and generate images in slides
Replace any picture on a slide. Upload your own, describe one and let AI make it, reuse an image you already have, then set its corners, frame and shadow.
Presentations4 min readUpdated
This guide shows you how to change the pictures in a presentation: uploading your own, generating one with AI from a description, reusing images across slides, and framing them so they sit properly in the design.
The pictures a generated deck comes with are a placeholder for the ones you actually want. Swapping them is the fastest upgrade to any deck.
Click the image you want to change
Click a picture on the canvas. The inspector on the right switches to the Image panel, with the current picture in the corner and, under it, the kind of image the design is asking for, like “team collaborating” or “product close-up”. That hint is the designer’s note about what belongs there.
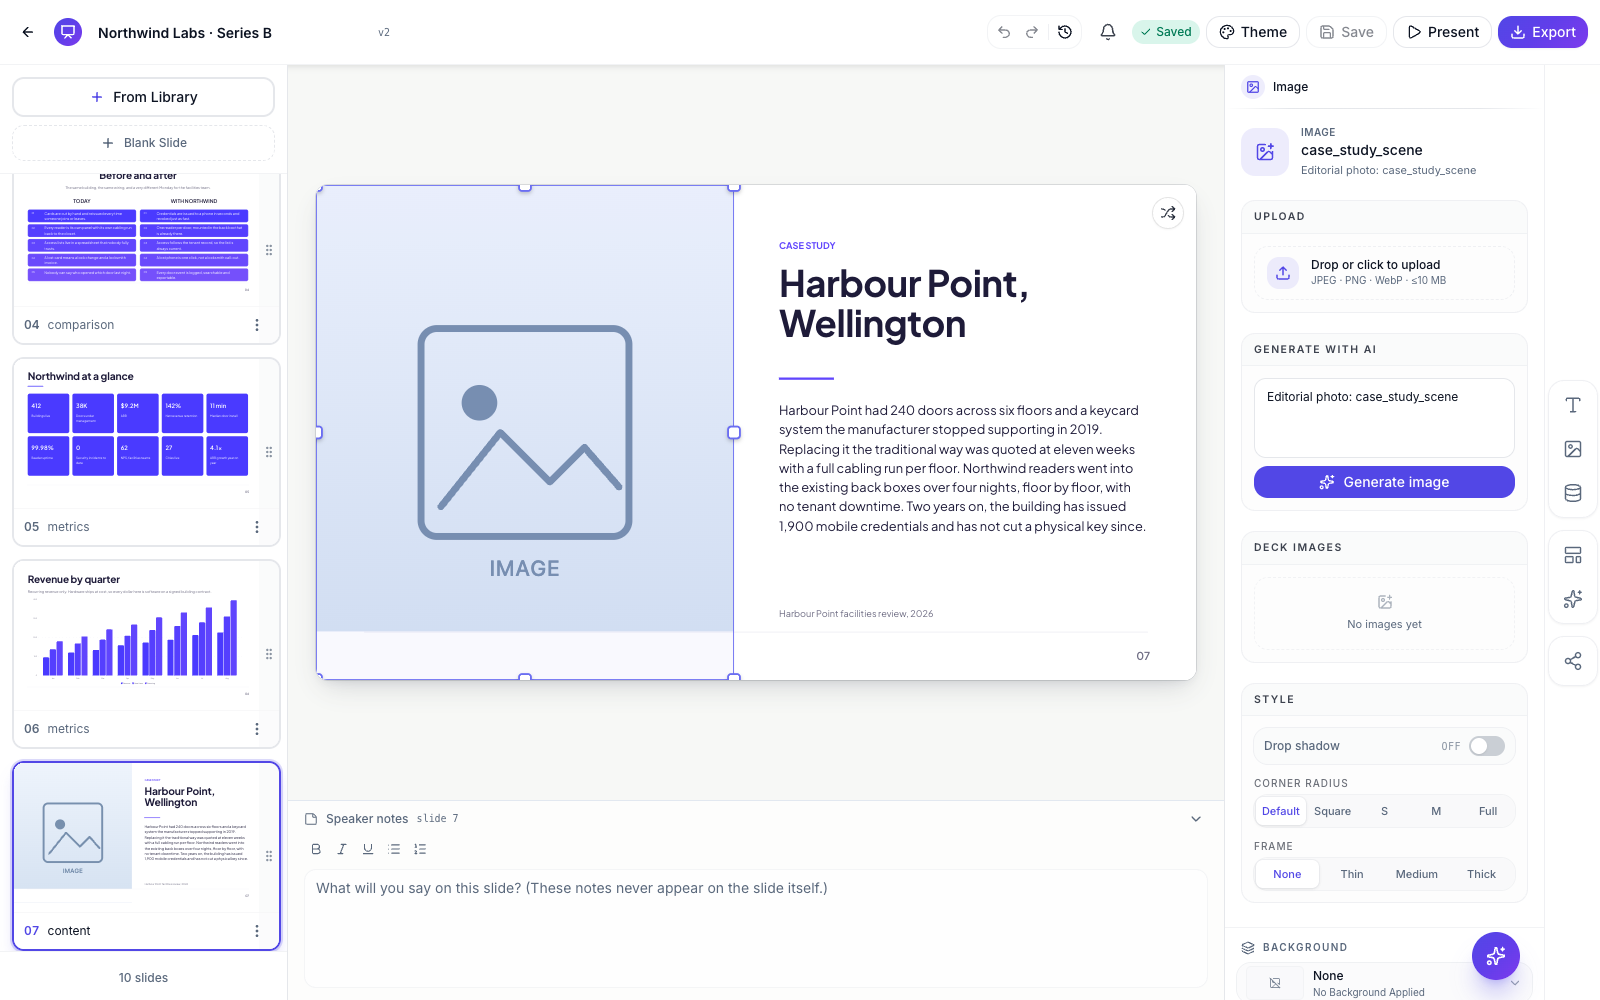 Click any picture and everything you can do to it appears on the right.
Upload your own picture
The Upload box takes a file two ways: drag one from your desktop and drop it on the box, or click it and browse. JPEG, PNG, WebP and GIF, up to 10 MB.
The picture fills the slot’s shape rather than stretching to it, so a photo roughly the shape of the space on the slide, tall for a tall slot, wide for a wide one, keeps the part you care about in frame.
Or describe the picture you want
Under Generate with AI there’s a description box. Write what you want to see, then click Generate image. The picture comes back into the slot in a few seconds, sized to the slot’s own proportions so it doesn’t need cropping.
Concrete beats poetic. “A ceramics workshop bench, morning light, hands shaping a bowl, shallow depth of field” gives you something usable. “Creativity” does not. Say the subject, the setting, the light and the mood, and add “no text” if the design already has a headline over the picture.
Not right? Edit the description and generate again. Each attempt uses credits from your plan, the same pool the deck generator and the AI assistant use, so when they run out the upgrade window appears instead of a picture.
Reuse an image you already have
Deck images holds every picture in this presentation, whichever way it got there: generated during the original build, uploaded by you, or generated from the panel above. Click any of them and it drops into the slot you’re editing, which is how the same product shot appears on slide 2 and slide 9 without uploading it twice.
Hover an image and a small bin appears in its corner. Deleting is permanent, and because it also clears that picture from every slide using it, it asks you to confirm first.
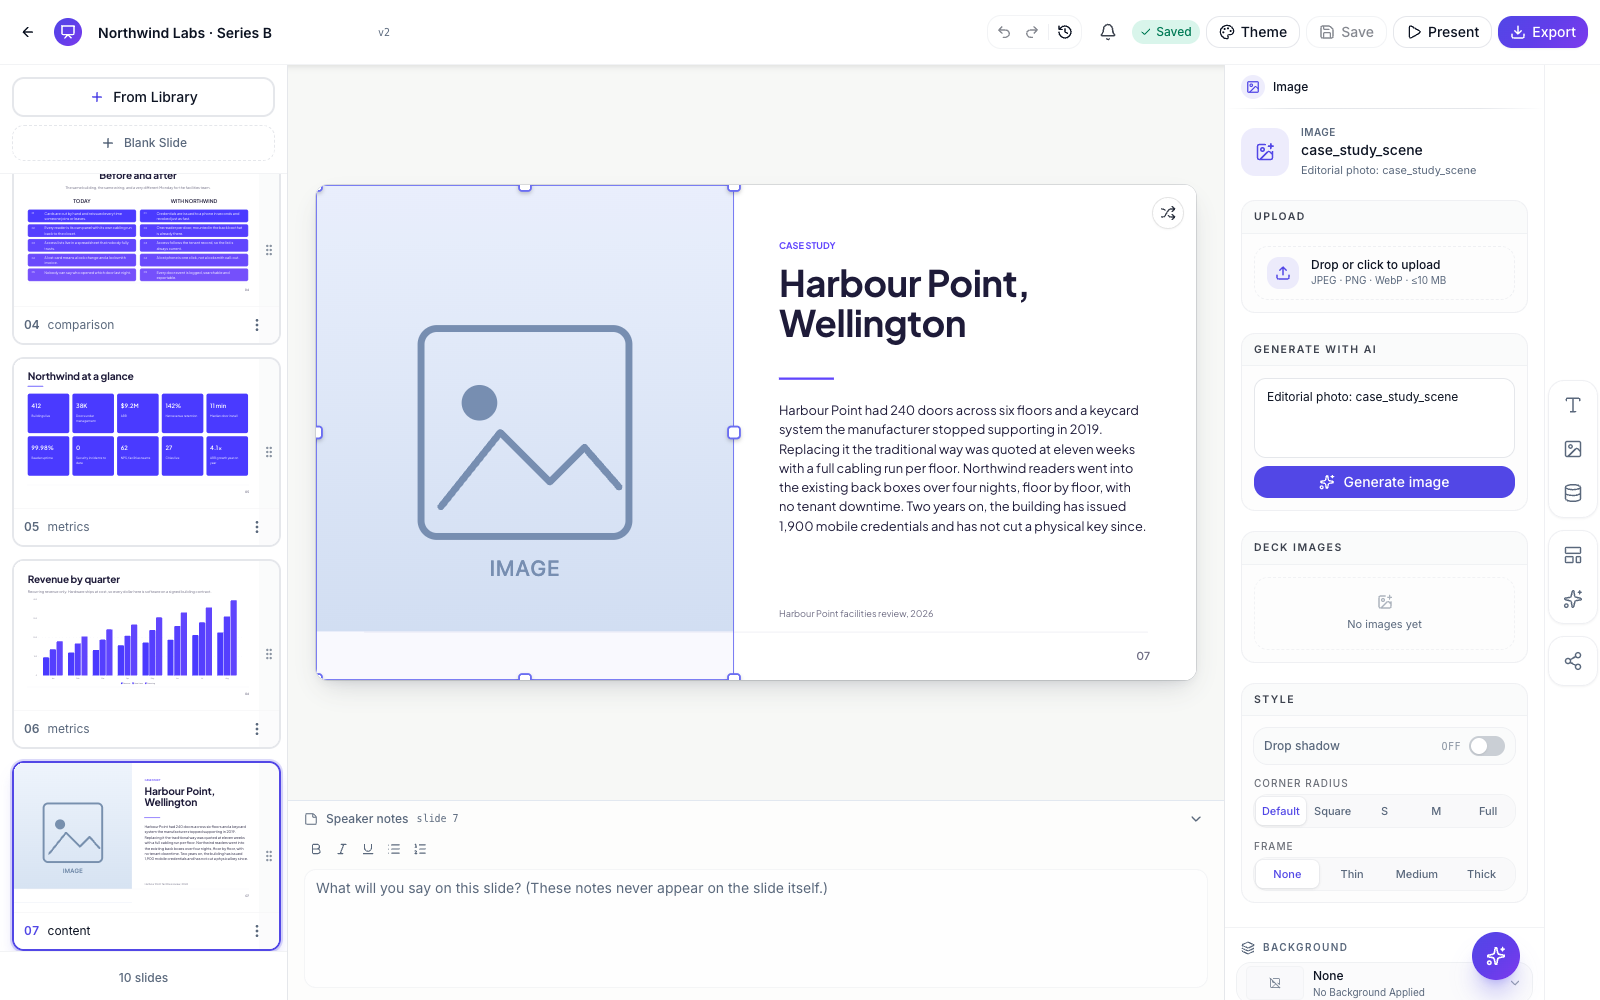 Every picture in the deck, one click from any image slot.
Frame it
The Style section is what makes an image look placed rather than pasted:
- Shadow — lifts the picture off the slide.
- Corner radius — Default, Square, S, M, or Full. Full makes a circle out of a square slot, which is what the profile and team layouts use.
- Frame — None, Thin, Medium or Thick, a border around the picture.
- Frame colour — Mat, White, Ink or Brand. These are theme colours, so a frame keeps matching after you swap the theme.
Some slots are circles by design, and those don’t offer a corner radius because it wouldn’t do anything.
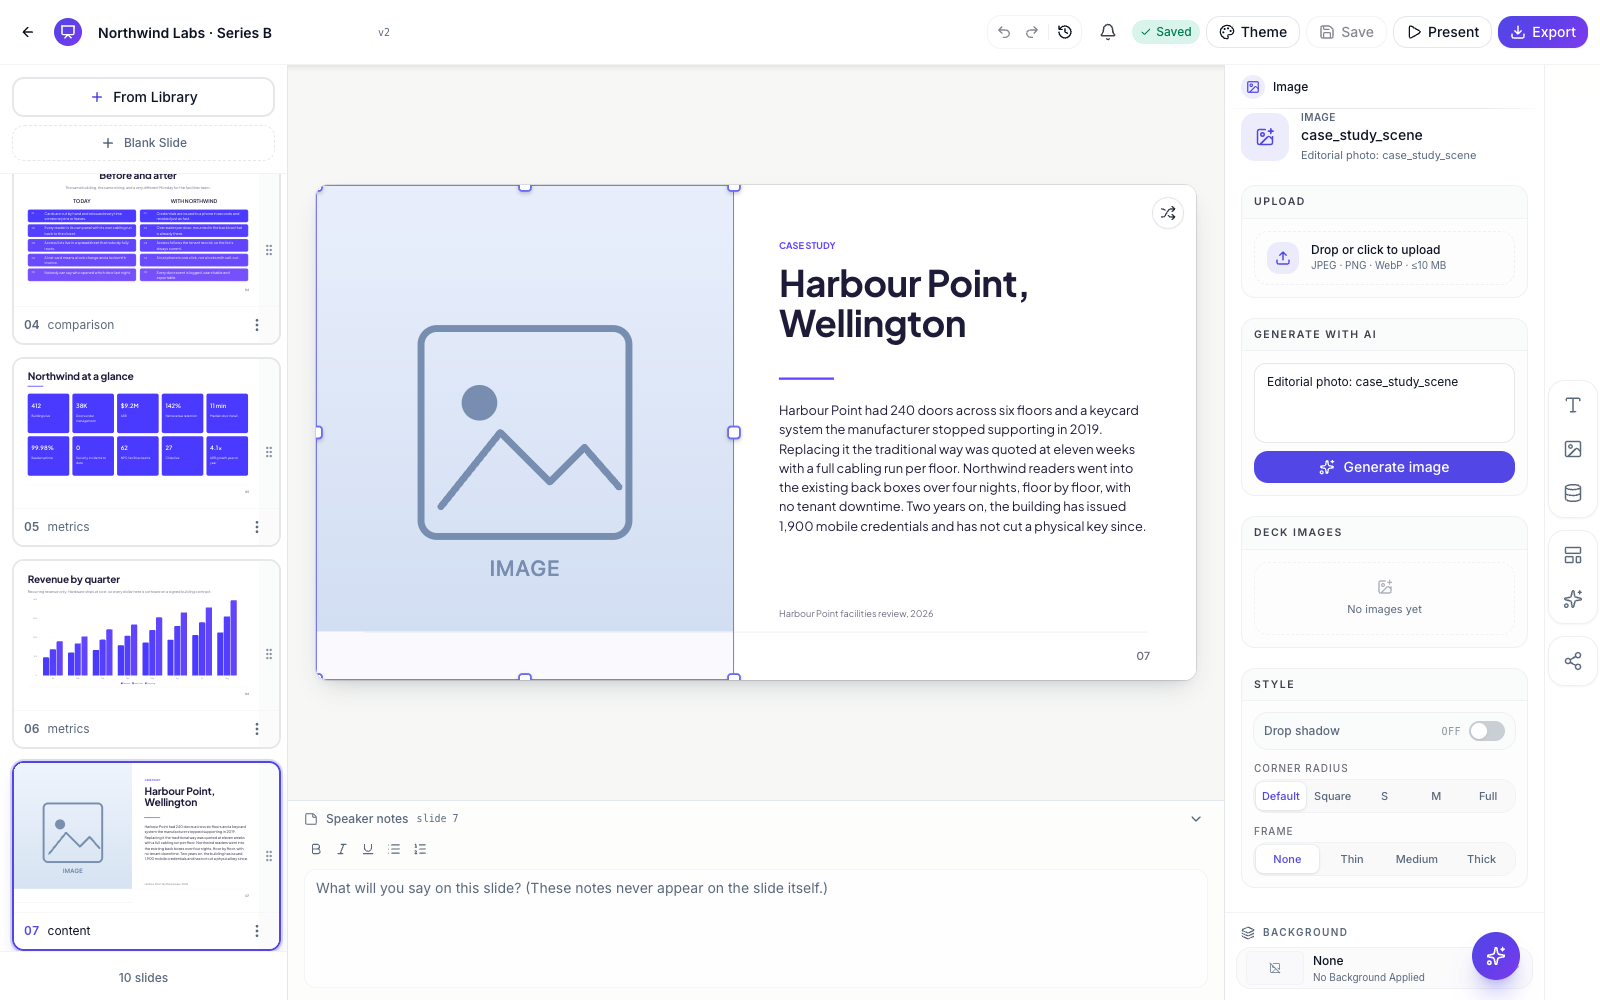 Radius, frame and shadow. Frame colours come from the theme, so they never clash.
At the bottom, Reset to original puts back the image the slide was generated with.
Two other ways to get an image in
Ask the assistant. Open the AI assistant and say “generate a new image for slide 4 showing an empty co-working space at dawn”. It generates and places it, and one undo takes it back. See edit your deck with the AI assistant.
Add an image where there isn’t one. Open Visuals in the right rail and click or drag the Image tile onto the slide. It arrives as an empty picture slot, and everything above applies to it.
Your logo is a separate thing and doesn’t belong in an image slot: it goes in Slide defaults → Brand, where it can sit on the first slide or on all of them. That’s covered in make a pitch presentation with AI.
Ready to try it yourself?
Start free. Describe what you need and let OneCraft do the first draft.
Get startedSee it in the product
More presentations tutorials
- Add charts, maps and diagrams to slidesPut real data on your slides. Ten chart types, world maps, Gantt timelines, flowcharts and classic frameworks like SWOT and Venn, all editable and styled by your theme.
- Add, reorder and restructure slidesAdd slides from a library of 353 designs or start blank, drag slides into a new order, duplicate or delete them, swap a slide's layout without losing its content, and set how each one enters.
- Change your presentation's theme, fonts and coloursOne click restyles every slide. Pick from 99 colour themes, set a font for the whole deck, switch a single slide between four colour looks, and add a background pattern.