How to
Add, reorder and restructure slides
Add slides from a library of 353 designs or start blank, drag slides into a new order, duplicate or delete them, swap a slide's layout without losing its content, and set how each one enters.
Presentations4 min readUpdated
This guide shows you how to change the shape of a presentation after it’s generated: adding slides, moving them, duplicating them, and giving one slide a different design without retyping it.
A generated deck is a starting point, not a finished structure. Most decks need one more slide, one fewer, and two in a different order.
Add a slide from the library
Above the slide rail on the left sit two buttons. From Library opens the full catalogue: 353 designed slides, every card a live preview already wearing your theme’s colours.
The Role menu at the top right of the dialog is how you find things fast. Roles are what a slide is for, not what it looks like: cover, agenda, content, comparison, metrics, pillars, timeline, process, framework, diagram, checklist, testimonial, pricing, persona, profile, quiz, qa, closing and more, 26 in all. Pick “metrics” and you get every KPI layout we have. Scroll and the next twelve load in.
Click a card and the slide lands directly after the slide you’re on, in your theme, as an empty shell ready for your words.
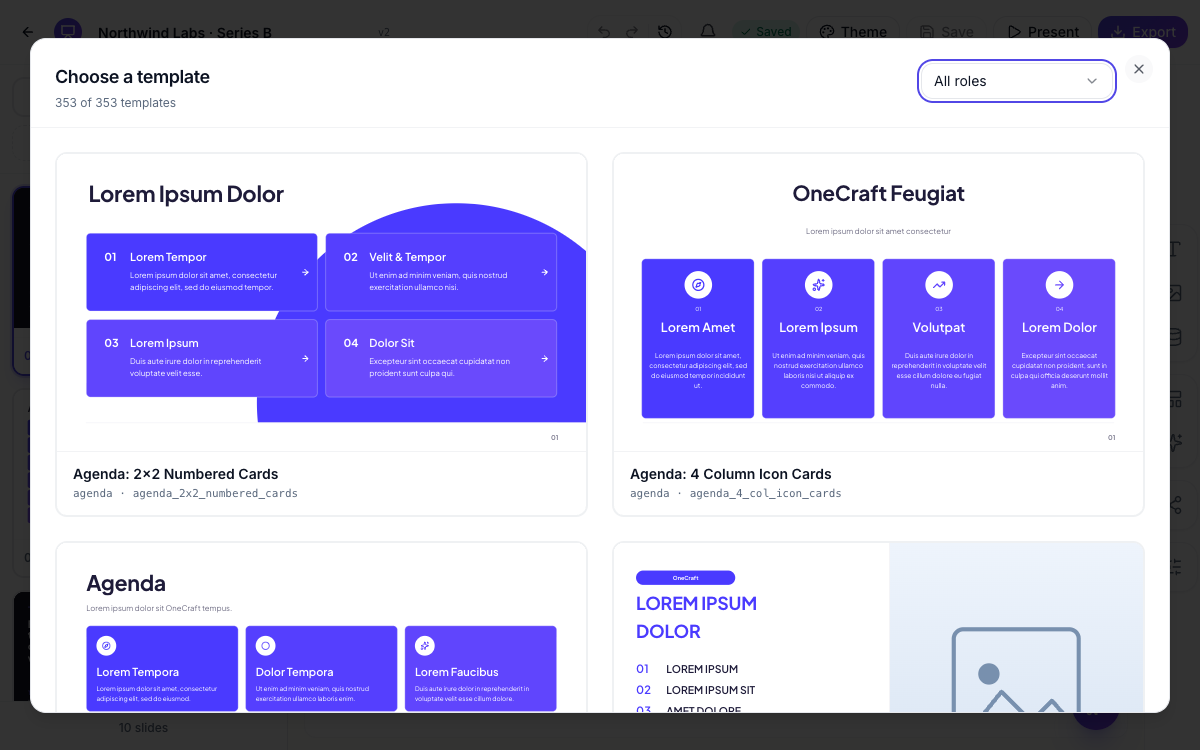 Every card is the real template rendered in your theme. Filter by role to narrow 353 down to a handful.
Under it, Blank Slide adds an empty slide in the same place, with muted placeholders where the text goes. That’s the one to use when you want to compose a slide yourself from the element rail.
Put the slides in the right order
Each slide in the rail has a grip on its right edge. Drag it up or down and the deck reorders as you go. On a phone or tablet the rail runs across the bottom instead, and you press and hold a slide for a moment before dragging it, so a normal swipe still scrolls.
The number under each thumbnail is the slide’s position, and the word beside it is its role, which is a quick way to see whether your story actually has a shape: cover, agenda, three content slides, metrics, closing.
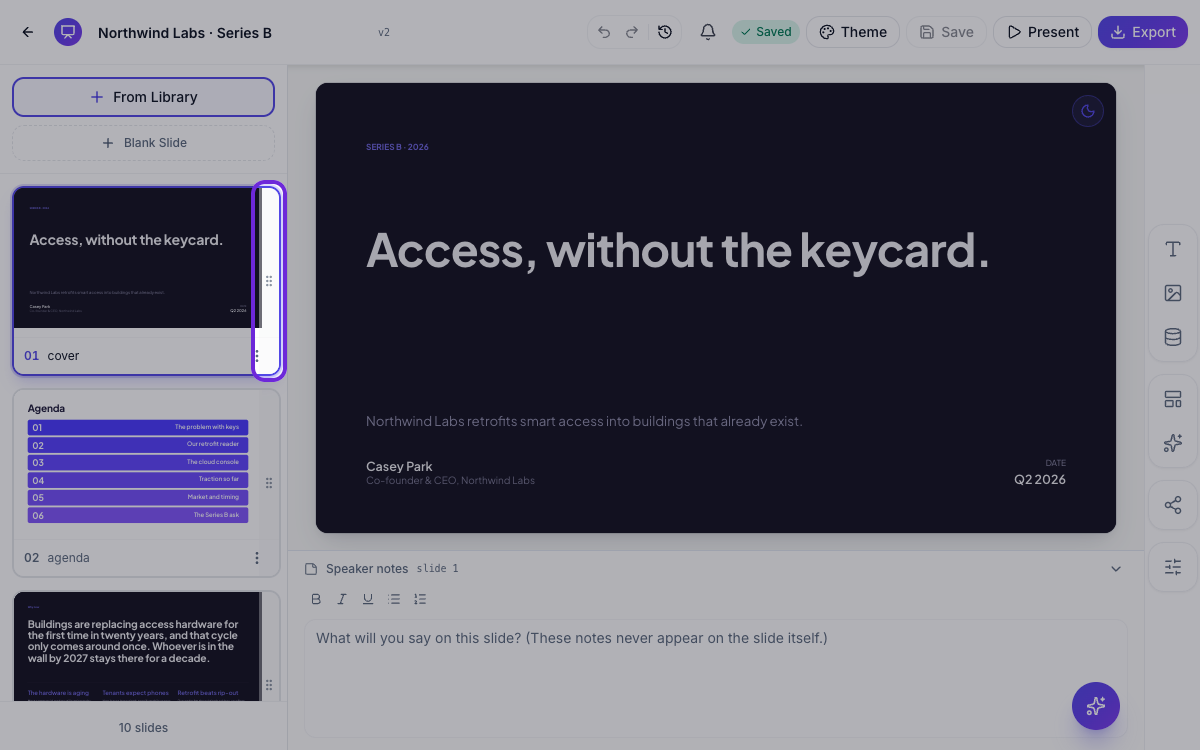 Drag by the grip. The rest of the deck renumbers itself.
Duplicate, reset, delete
The ⋯ button on each slide in the rail opens its menu:
- Duplicate — copies the slide, with your edits, straight after the original. The fastest way to make a second case study or a second pricing slide.
- Reset to AI version — undoes everything you changed on that one slide and puts the generated version back. It’s greyed out until you’ve actually edited something, so the menu never lies to you.
- Transition — how this one slide enters. More on that below.
- Delete — removes the slide. Disabled when only one slide is left.
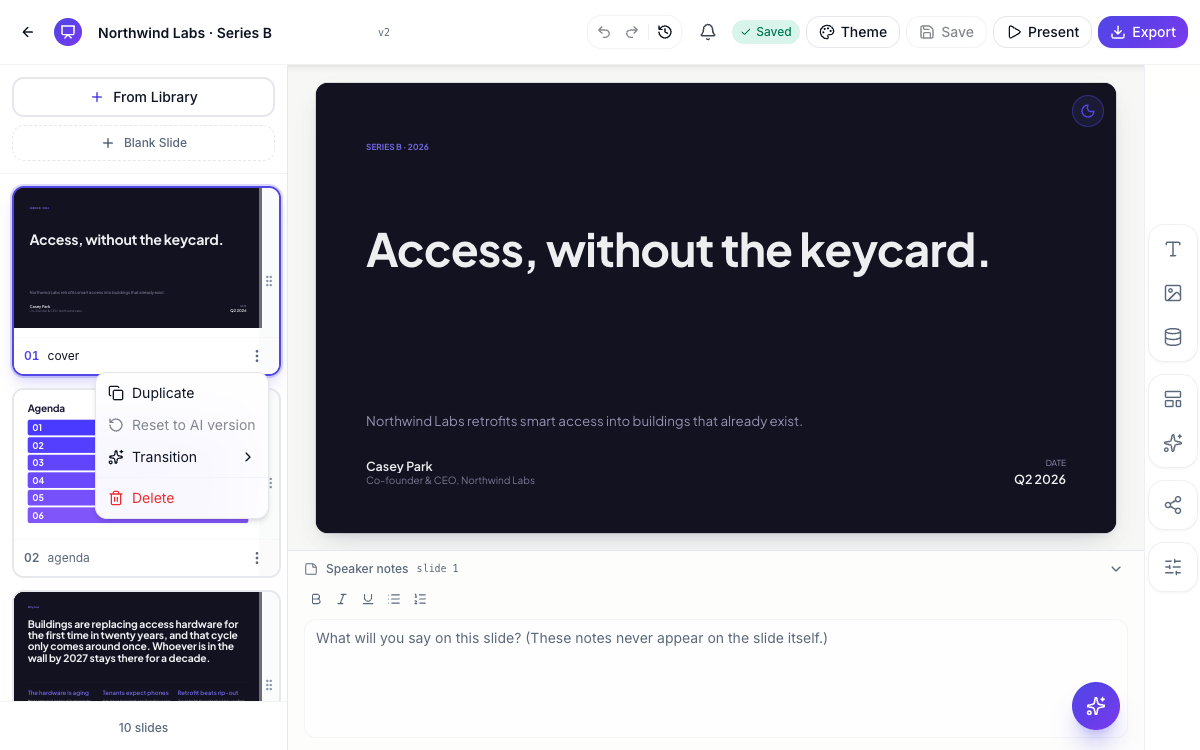 Duplicate, reset, transition and delete, per slide.
Give a slide a different design
Your slide has the right words but the wrong shape? Click Layout in the right rail. You get every other design built for that slide’s role, each one previewed with your content already poured into it, not sample text. So you’re choosing between real versions of your own slide.
Click one and it swaps. The content carries across to the slots the new layout has. If the new layout has fewer slots, the leftover content is kept aside rather than deleted, so switching to a layout that has that slot again brings the text back.
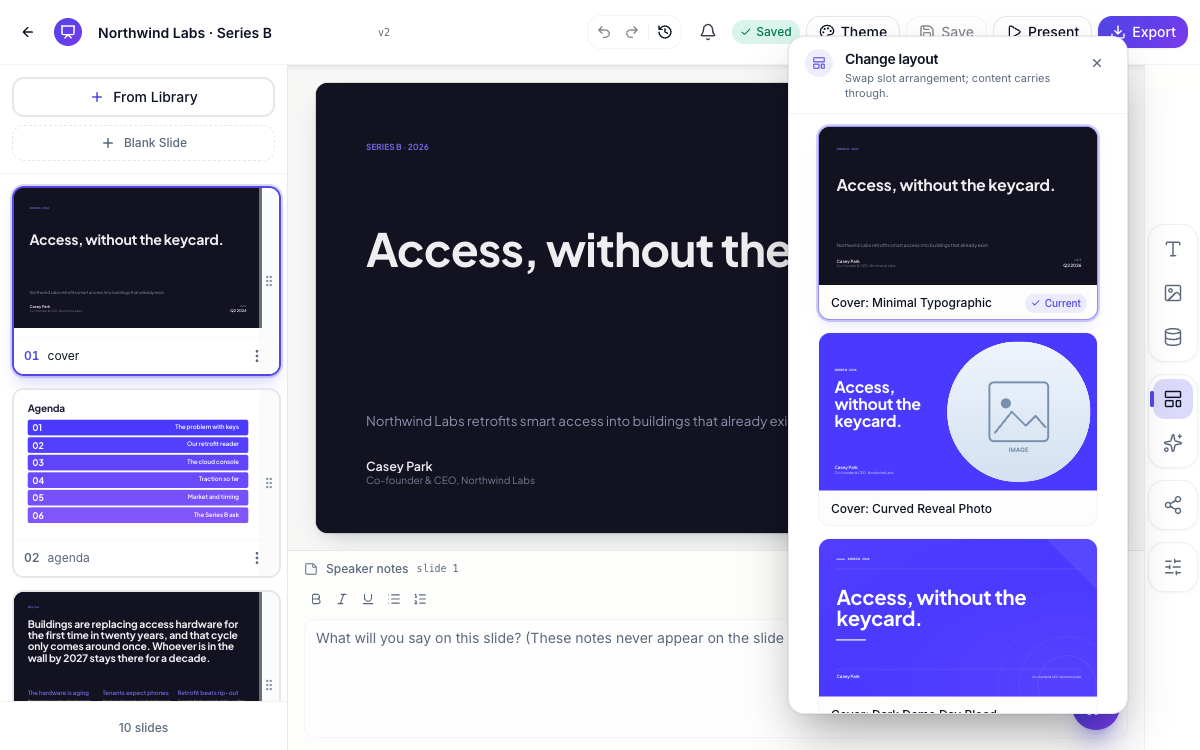 Same content, every layout built for that role. Pick the one that fits.
The panel only lists layouts for that slide’s role, which is why a metrics slide offers metrics layouts. To move a slide to a genuinely different job, add the slide you want from the library and delete the old one.
How slides enter
Transitions have two levels. The deck-wide default lives in Slide defaults in the right rail, with eight options: None, Fade, Slide, Zoom, Flip, Swipe, Iris and Blur, each with a line describing what it does.
Any single slide can override it from its ⋯ → Transition menu, which lists the same eight plus Use deck default, so you can give one reveal a flourish and leave the rest alone. There’s a shortcut to the deck setting in the same menu: Change deck default…
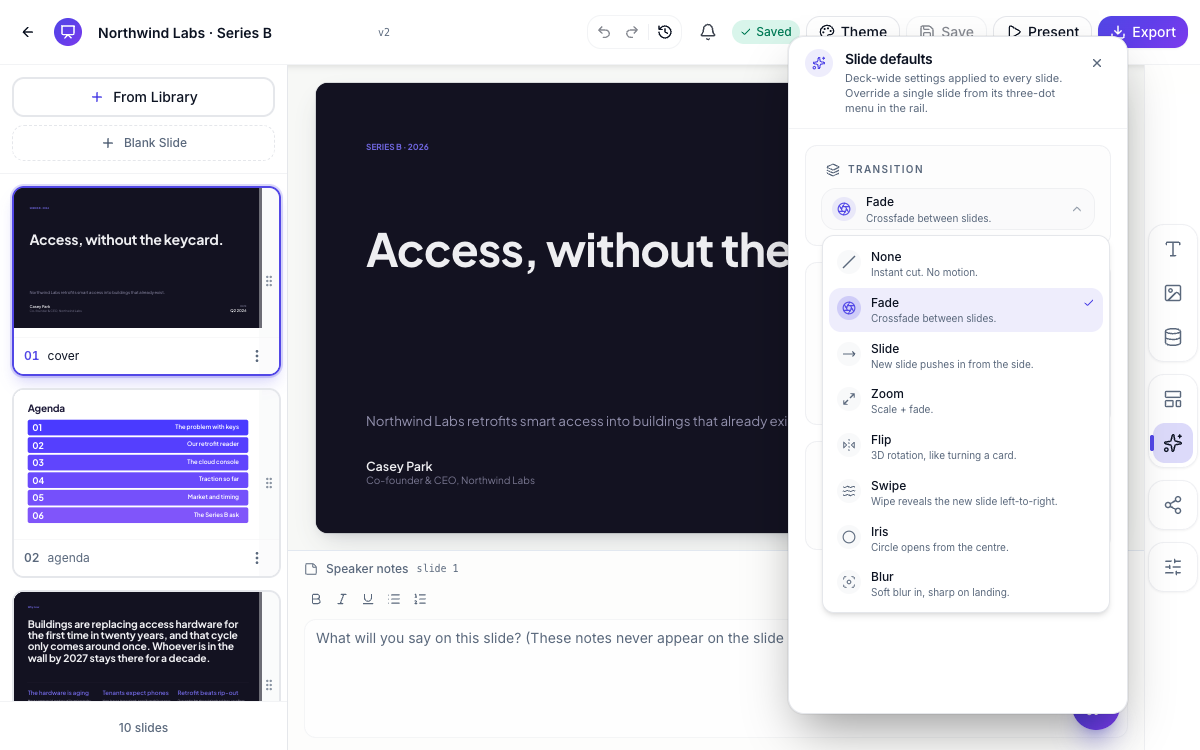 Eight transitions. Set one for the deck, override it on any slide.
The same panel has two footer switches, Section label and Page number, that turn the small text at the bottom of every slide on or off.
Or ask for the change
Restructuring is one of the things the AI assistant is best at. “Move the agenda after the cover”, “add a closing thank-you slide”, “delete slide 7” all work, and one undo takes the whole request back. See edit your deck with the AI assistant.
Ready to try it yourself?
Start free. Describe what you need and let OneCraft do the first draft.
Get startedSee it in the product
More presentations tutorials
- Add and generate images in slidesReplace any picture on a slide. Upload your own, describe one and let AI make it, reuse an image you already have, then set its corners, frame and shadow.
- Add charts, maps and diagrams to slidesPut real data on your slides. Ten chart types, world maps, Gantt timelines, flowcharts and classic frameworks like SWOT and Venn, all editable and styled by your theme.
- Change your presentation's theme, fonts and coloursOne click restyles every slide. Pick from 99 colour themes, set a font for the whole deck, switch a single slide between four colour looks, and add a background pattern.