How to
Make a pitch presentation with AI
Describe your topic and let AI write and design the whole presentation. Restyle it, add slides and your logo, then export to PowerPoint or PDF, or share a link.
Presentations6 min readUpdated
This guide shows you how to create a presentation with AI: describe your topic, let OneCraft write and design the slides, then customise, present, and export or share it.
Staring at a blank first slide is the hardest part of any presentation. So skip it. Start with a short description and shape the draft into your own.
Describe your presentation
Open the generator and describe your presentation. What’s the topic? Who is going to sit in the room? Should it sound formal or friendly? The clearer your brief, the closer the first draft will land to what you had in mind. You have up to 10,000 characters, so a rough outline pasted straight in works as well as a sentence.
Three settings sit under the box. Language is what the deck gets written in, not what you wrote your brief in, so you can brief in English and present in Spanish: pick from the list or type any other language. Theme is the colours and fonts, shown as a strip so you can choose on looks. Length is how many slides, from 3 up to your plan’s limit.
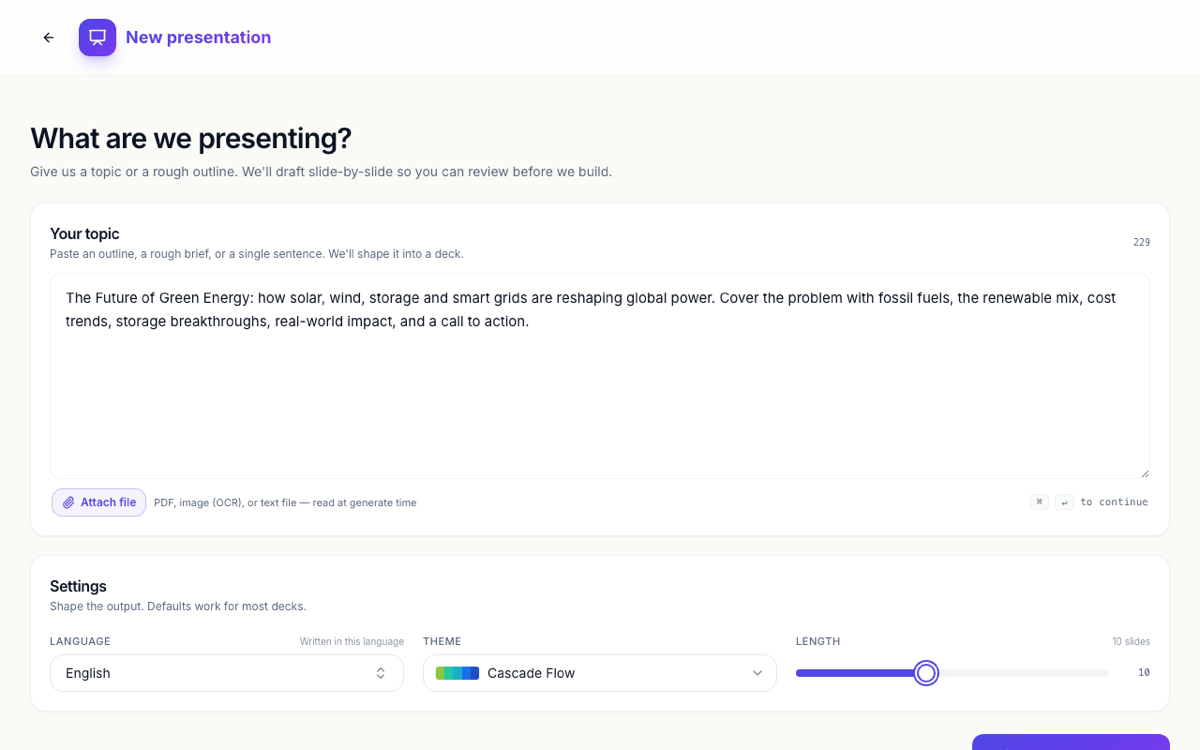 Type your topic, then set the language, theme and length. That’s the whole brief.
Let OneCraft write and design the slides
Hit Generate deck and OneCraft outlines the presentation, writes the copy, and pours it into templates that were designed by hand. There’s no outline to approve first: the builder opens straight away and the slides stream in as they’re written, so you watch the deck fill up. This is why the result looks composed rather than machine made. Everything lands on a clean 16:9 canvas, ready to present.
Change the theme in one click
Click into any text and change it. Swap the theme and the entire presentation updates itself. Colours, fonts and accents all follow along, and there is no manual cleanup afterwards.
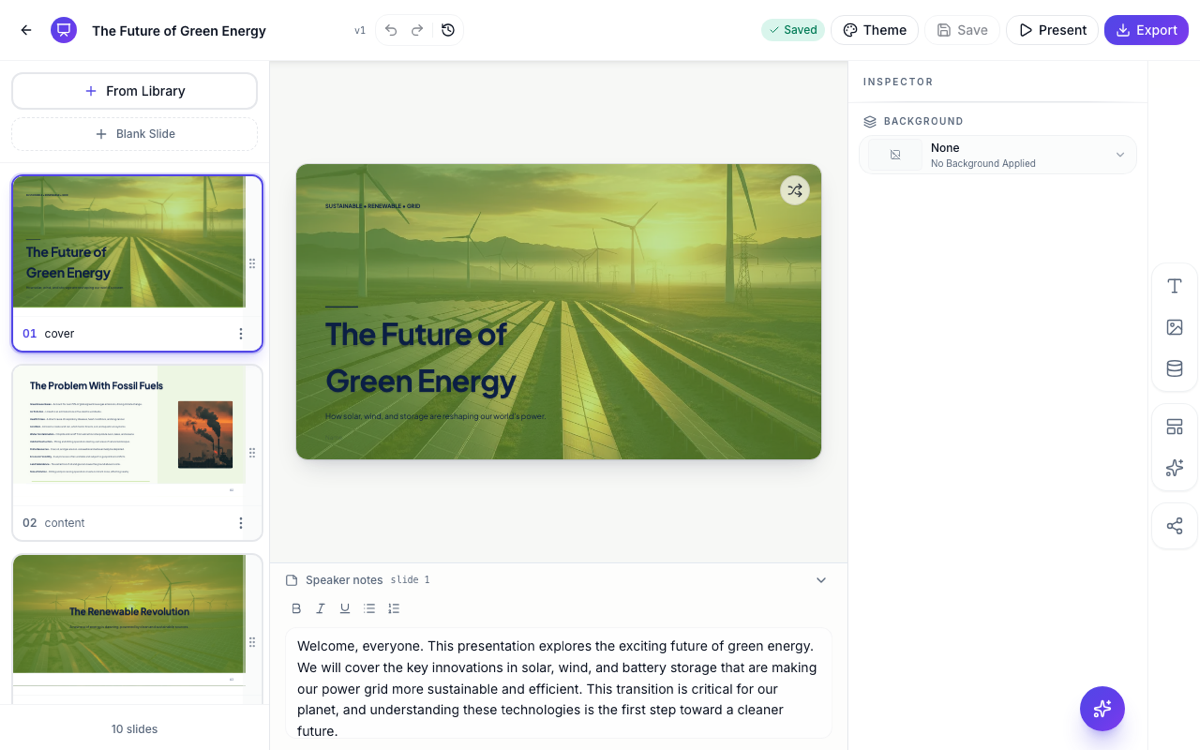 One click on Theme restyles every slide at once.
There are 99 themes, 27 fonts and four colour looks per slide behind that button. Change your presentation’s theme, fonts and colours covers all of it.
Add elements to a slide
Need an extra heading, a quote, a card or a caption on a slide? Open the element toolbar on the right side of the editor. Every element comes as a ready-made tile, so you just click one to insert it, or drag it exactly where you want it on the canvas.
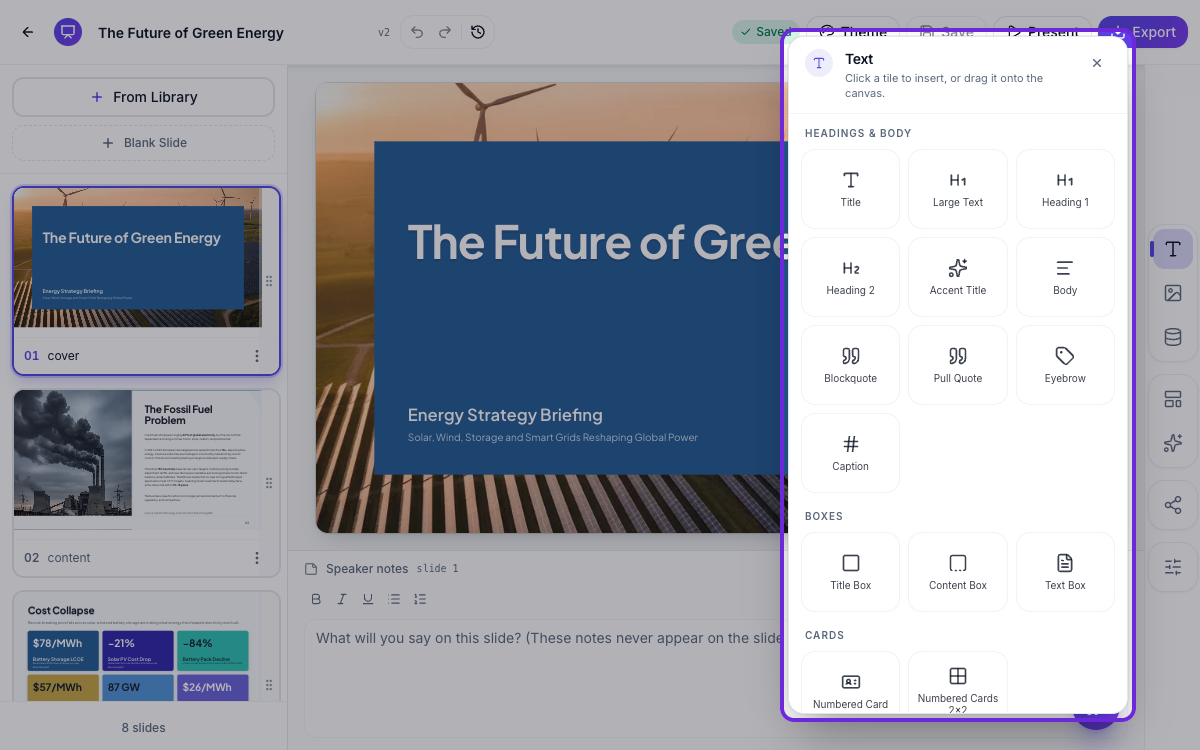 Pick an element and click to insert it, or drag it onto the slide.
Headings, lists, callouts and stat blocks are in style text and add callouts, stats and lists; charts, maps and diagrams are in add charts, maps and diagrams to slides; pictures are in add and generate images in slides.
Add a new slide from the template library
Your presentation isn’t locked to the slides OneCraft gave you. Click From Library at the top of the slide rail and browse 353 designed slide templates, from agendas and comparisons to charts and quotes. Pick one and it joins your presentation in your theme’s colours. Prefer to start clean? Blank Slide is right below it.
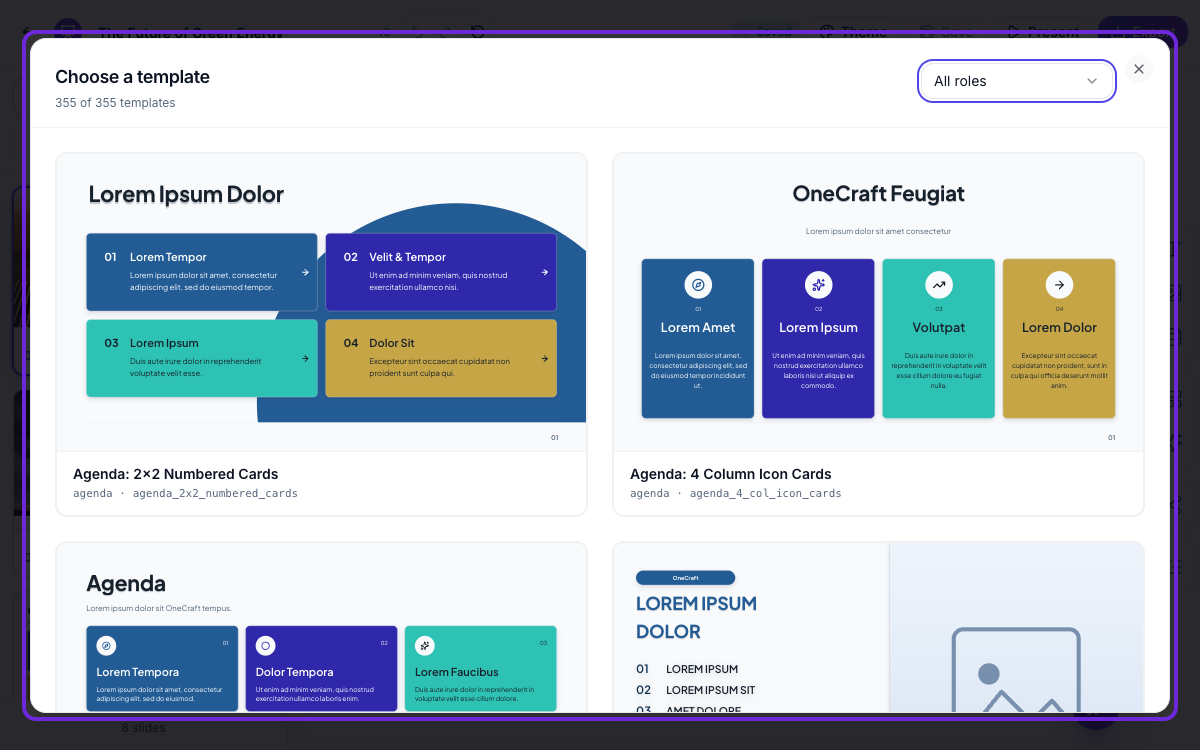 From Library: pick from hundreds of designed slides, filtered by role.
Reordering, duplicating and swapping a slide’s layout are covered in add, reorder and restructure slides.
Add your logo to every slide
Open Slide defaults in the right toolbar and turn on Show brand. Upload your logo and it appears neatly in the corner of every slide. You can show the logo on its own, your brand name as text, or both together, and set the width, the height and a soft shadow. Show on decides whether it sits on the first slide only or on all of them.
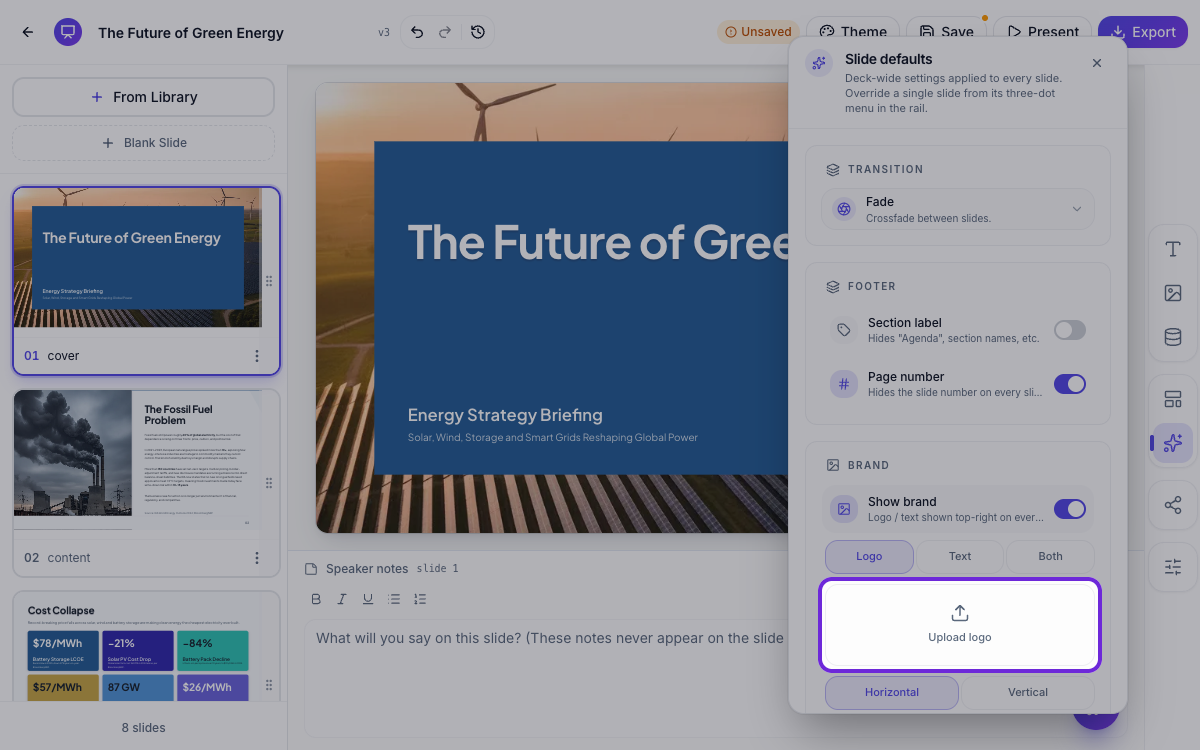 Turn on Show brand, upload your logo once, and it shows on every slide.
Your logo follows the deck into present mode and into every export. The one place it doesn’t appear is the public share link.
Edit the deck with the AI assistant
The fastest way to customise is to describe the change. Open the AI assistant from the sparkle button in the bottom corner and tell it what you want in plain language. Make the closing stronger. Shorten slide three. Add a stat about battery costs. Swap to a darker theme. It makes the change straight away and lists what it did under Changes applied, so you can read back exactly what moved. Not what you meant? One undo takes the whole turn back.
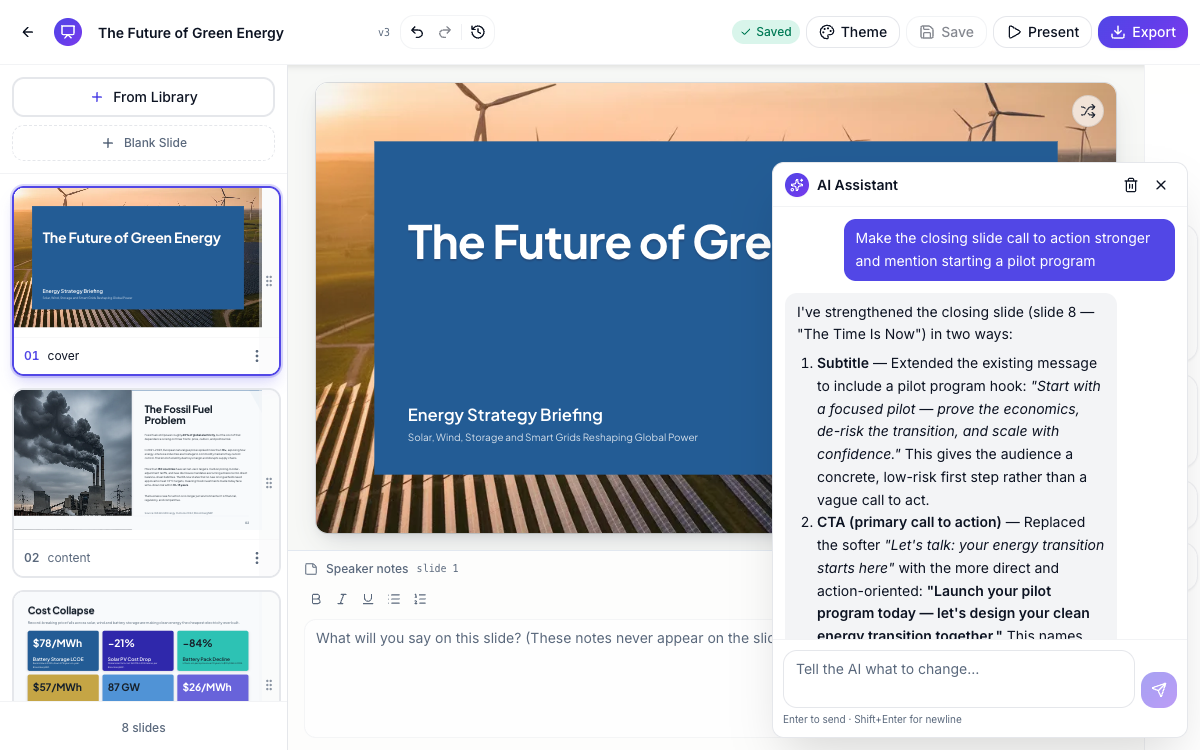 Tell the assistant what to change, in your own words. It edits the presentation for you.
The assistant can add, delete and reorder slides, rewrite any text, swap a slide’s layout, change the theme, regenerate a whole slide and generate new images. It runs on your AI tokens, so if you run out it will ask you to upgrade before it edits anything else. There’s a full walkthrough in edit your deck with the AI assistant.
Export to PDF or PowerPoint
When you’re happy with it, open Export. A PDF for sending, a PowerPoint that looks exactly like the original, or an Editable PPTX where text, tables and charts arrive as real PowerPoint objects your colleagues can change.
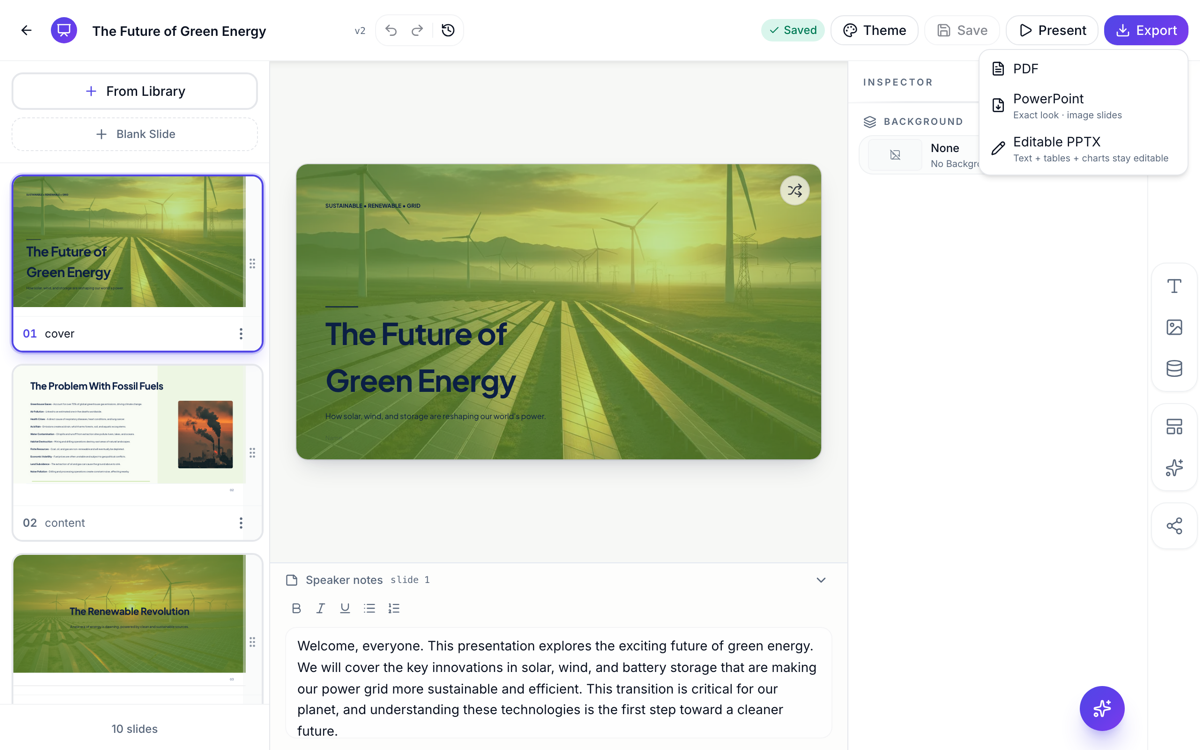 Export as a PDF, a PowerPoint, or a fully editable PPTX where text, tables and charts stay editable.
Which one to pick, and what’s inside each file, is in export a presentation to PowerPoint or PDF.
Share your presentation with a link
Not everyone needs a file. Click Generate link in the side rail and you get a stable, read-only link to the deck. Anyone with the link can view the presentation full screen, nobody can edit it, and viewers always see the latest version you’ve saved. Edits you make stay private until you save them.
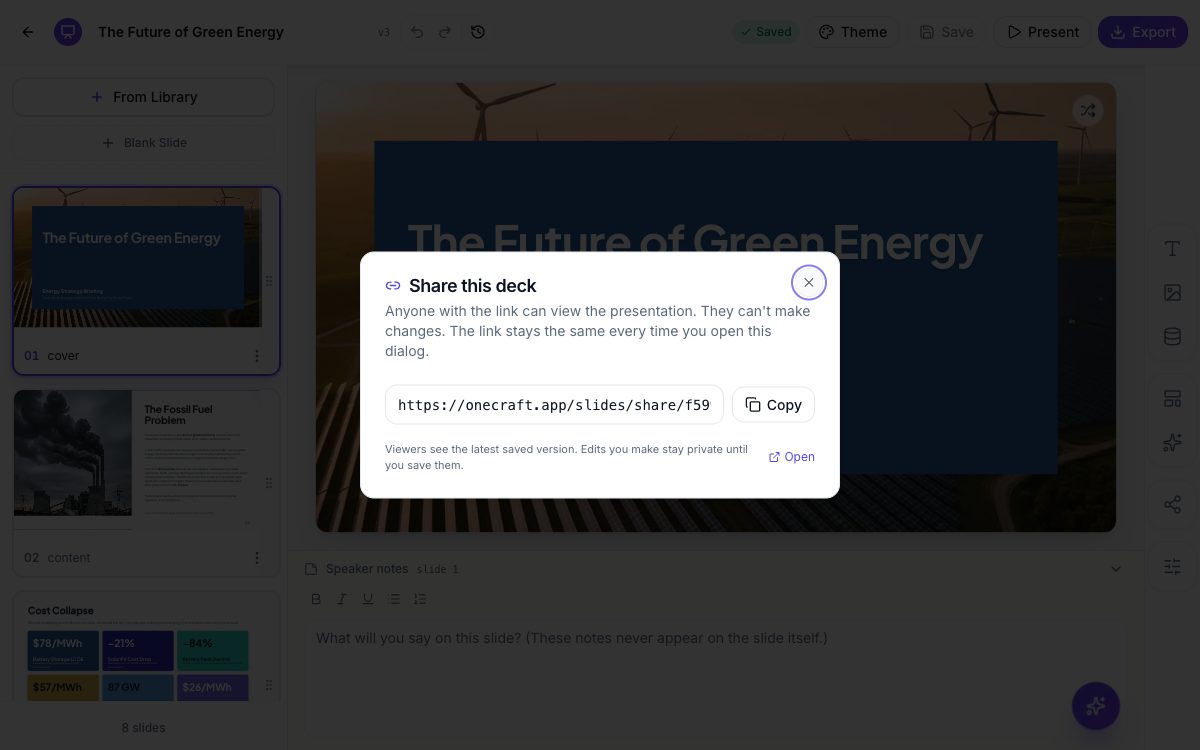 One stable link. Viewers see the latest saved version, and only you can edit.
More on what viewers can and can’t do in share a presentation with a link. And if an edit goes wrong, undo changes and restore an earlier version is the way back.
Ready to try it yourself?
Start free. Describe what you need and let OneCraft do the first draft.
Get startedSee it in the product
More presentations tutorials
- Add and generate images in slidesReplace any picture on a slide. Upload your own, describe one and let AI make it, reuse an image you already have, then set its corners, frame and shadow.
- Add charts, maps and diagrams to slidesPut real data on your slides. Ten chart types, world maps, Gantt timelines, flowcharts and classic frameworks like SWOT and Venn, all editable and styled by your theme.
- Add, reorder and restructure slidesAdd slides from a library of 353 designs or start blank, drag slides into a new order, duplicate or delete them, swap a slide's layout without losing its content, and set how each one enters.