Forms
Forms with a table for line items
Some answers repeat. Three work references, five line items, two vehicles. A table field asks for them in named columns instead of you copying the same field five times down the page.
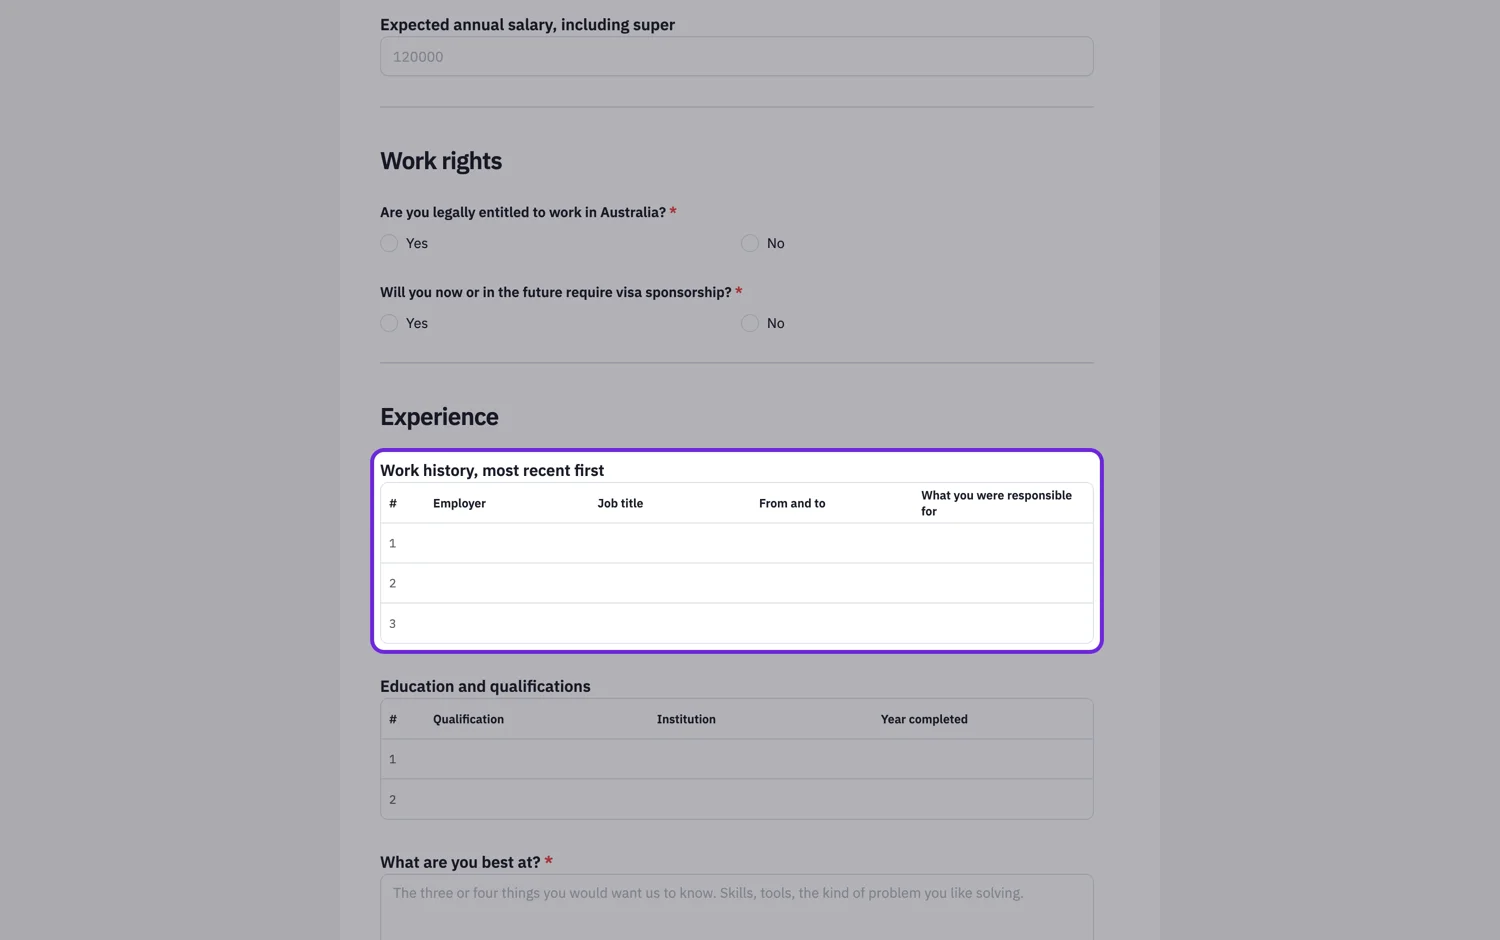
Columns are the whole design
You name each column and set its width. Keep the count low, because every extra column narrows the others and a table with seven columns is unusable on a phone. Four is comfortable, six is the limit. If you need more detail per row, ask for a reference in the table and collect the detail somewhere else.
The row count is fixed, so choose it deliberately
A table renders the number of rows you set and that number does not change while somebody fills it in. There is no Add row button. That makes it exactly right for a known quantity, such as two referees, three previous addresses or five line items, and wrong for an open ended list. If you genuinely do not know how many rows somebody needs, ask for the count in a number field and follow up, or take the detail as a long text answer instead.
Numbering the rows
Row numbering is a toggle that adds a # column down the left. Turn it on when the rows are things you will refer to later, like items on a quote or referees on an application, and off when the order does not matter. Numbered rows also make a printed copy easier to talk about on the phone.
What a table is not
It does not calculate. There are no totals, no per-row maths and no validation across columns, and every cell is a plain text box rather than a typed field. If you need a priced total, do that on your side after the submission, or send the response to a system that can price it through the webhook.
How it works, in three steps
Step 1
Name the columns
Four columns is comfortable. Give each a short label, because it also becomes the heading a reader sees.
Step 2
Set the number of rows
Pick the real number you expect. The table shows exactly that many and it cannot grow.
Step 3
Decide on numbering
Turn the # column on when you will refer to individual rows later.
The full walkthrough with screenshots is in the guide Every form field and when to use it.
Limits worth knowing
- The row count is fixed when you build the form. There is no Add row button for the respondent.
- Tables do not calculate. No totals, no per-row maths, no cross-column rules.
- Every cell is a plain text box. There are no per-column field types.
- A table field works in classic and conversational forms, and it exports as one column holding the filled rows.
- More than about six columns is unreadable on a phone.
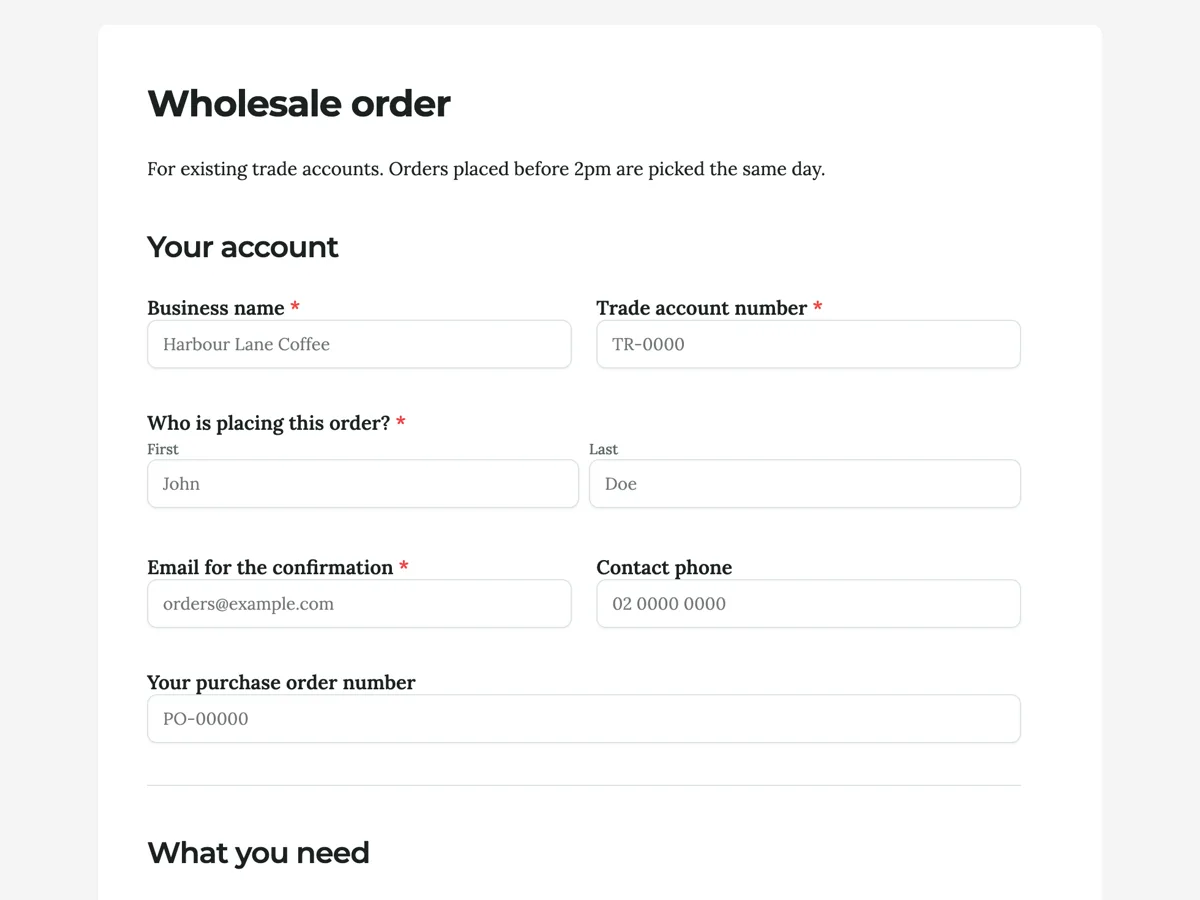
See it on a finished piece
Questions people ask
Can a respondent add more rows?
No. The table shows the number of rows you set when you built the form. Choose that number for the case you actually expect, and leave a long text field nearby for anyone who needs more room.
Can the table add up a total?
No. It collects rows, it does not calculate. Price the order on your side after submission, or push the response to a system that prices it with the webhook.
What does a table look like in the export?
One column holding the filled rows, so you can read a whole set of line items without opening the response.
Make your own form
The button opens the generator with this use case already described. Change the wording to match yours, generate, then edit anything you like.
Create a form with OneCraftRelated pages
Date and time pickers in a form
A form with a date and time picker uses two separate fields: a date field that opens a calendar and stores a real date, and a time field on a 12 or 24 hour clock. A date typed into a text box is a guess about format; a date field sorts correctly in your spreadsheet, which is the difference between a booking list and a puzzle.
Images and video inside a form
Some questions cannot be asked in words. Which of these three finishes do you want, does this match the damage you are reporting, did you watch the briefing. Image and video blocks put the thing itself on the page.
Online form with file upload
An upload field turns a form into a way of collecting documents. You set how many files, how large each may be, and whether you want images, PDFs or both, and the files arrive attached to the response rather than in your inbox.
More finished work of this kind is on the form examples hub.
Written and checked by the OneCraft team. Last checked .