Presentations
Add your own images to slides
Photographs of your product, your team, your site or your work are the pictures a deck actually needs, and no generator produces them. Every picture box takes an upload, and four small controls decide how the result sits on the slide.
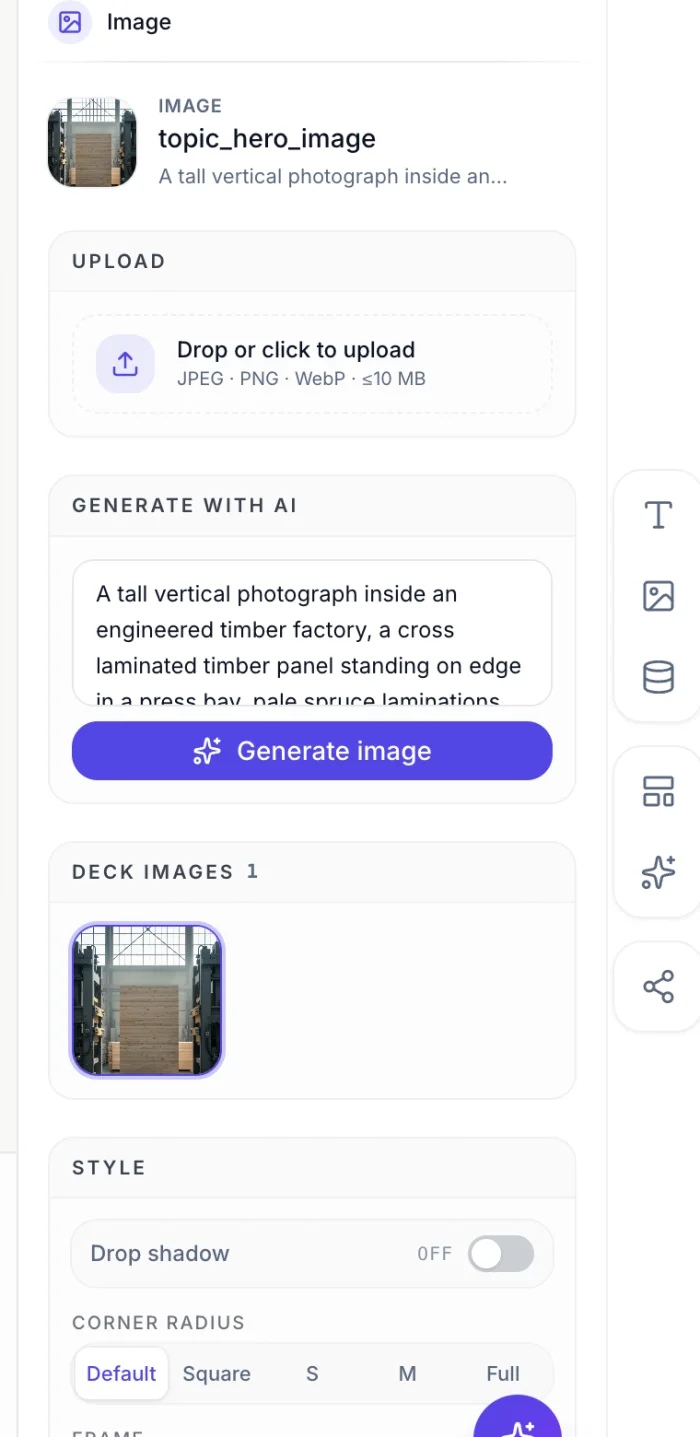
What it takes, and how big
JPEG, PNG, WebP and GIF, up to 10 MB each. You either click the upload area or drag a file onto it. The bytes go straight from your browser to storage rather than through the application, which is why a large photograph uploads at the speed of your connection rather than queueing behind anything. A file over 10 MB is rejected before the upload starts, with its actual size in the message.
The picture fills the box, and the box is fixed
An uploaded image covers its box, cropping whatever does not fit rather than letterboxing. The box's position and size come from the layout, so you are fitting the picture to the design rather than the other way round. That means a photograph with the subject hard against one edge will lose it, and the fix is to crop the file before uploading rather than to fight the slide.
Four controls, no more
Corner radius offers Default, Square, two intermediate roundings and Full, which turns a square box into a circle. Frame offers None, Thin, Medium and Thick. When a frame is on, its colour comes from four theme tokens: a neutral mat, white, ink or the brand colour. And a shadow toggle lifts the picture off the page. That is the whole styling surface, deliberately, because per image styling is how decks stop looking like one deck.
Boxes that are already circles
Some layouts declare a picture box as a circle, usually for headshots. Those boxes hide the corner radius control entirely, since it has nothing to act on. Some layouts also feather the edges of their image so it melts into the background rather than stopping at a hard rectangle, in which case the frame and mat are suppressed by design and the controls will not bring them back.
Uploads are shared across the deck
Every picture you upload joins the same grid as anything generated, and that grid appears on every slide. So the logo shot you uploaded on slide two is one click away on slide nine. A Reset to original link at the bottom of the panel puts the layout's own placeholder back, and deleting an image from the grid clears every slot that referenced it rather than leaving broken pictures behind.
How it works, in three steps
Step 1
Crop before you upload
The box is fixed by the layout and the picture fills it. Cropping in your photo tool first beats fighting the slide.
Step 2
Drop the file on the picture
Click the image box, then drag onto the upload area or click it. JPEG, PNG, WebP or GIF up to 10 MB.
Step 3
Set corners and frame once
Pick one treatment and use it across the deck. Mixed corner radii on adjacent slides is the fastest way to look untidy.
The full walkthrough with screenshots is in the guide Add and generate images in slides.
Limits worth knowing
- JPEG, PNG, WebP and GIF only, 10 MB each. No SVG, HEIC, TIFF or video.
- Pictures fill their box and crop. There is no pan, zoom or crop tool inside the builder.
- Box position and size come from the layout. Moving a picture means swapping the layout.
- Styling is limited to corner radius, frame width, frame colour and a shadow.
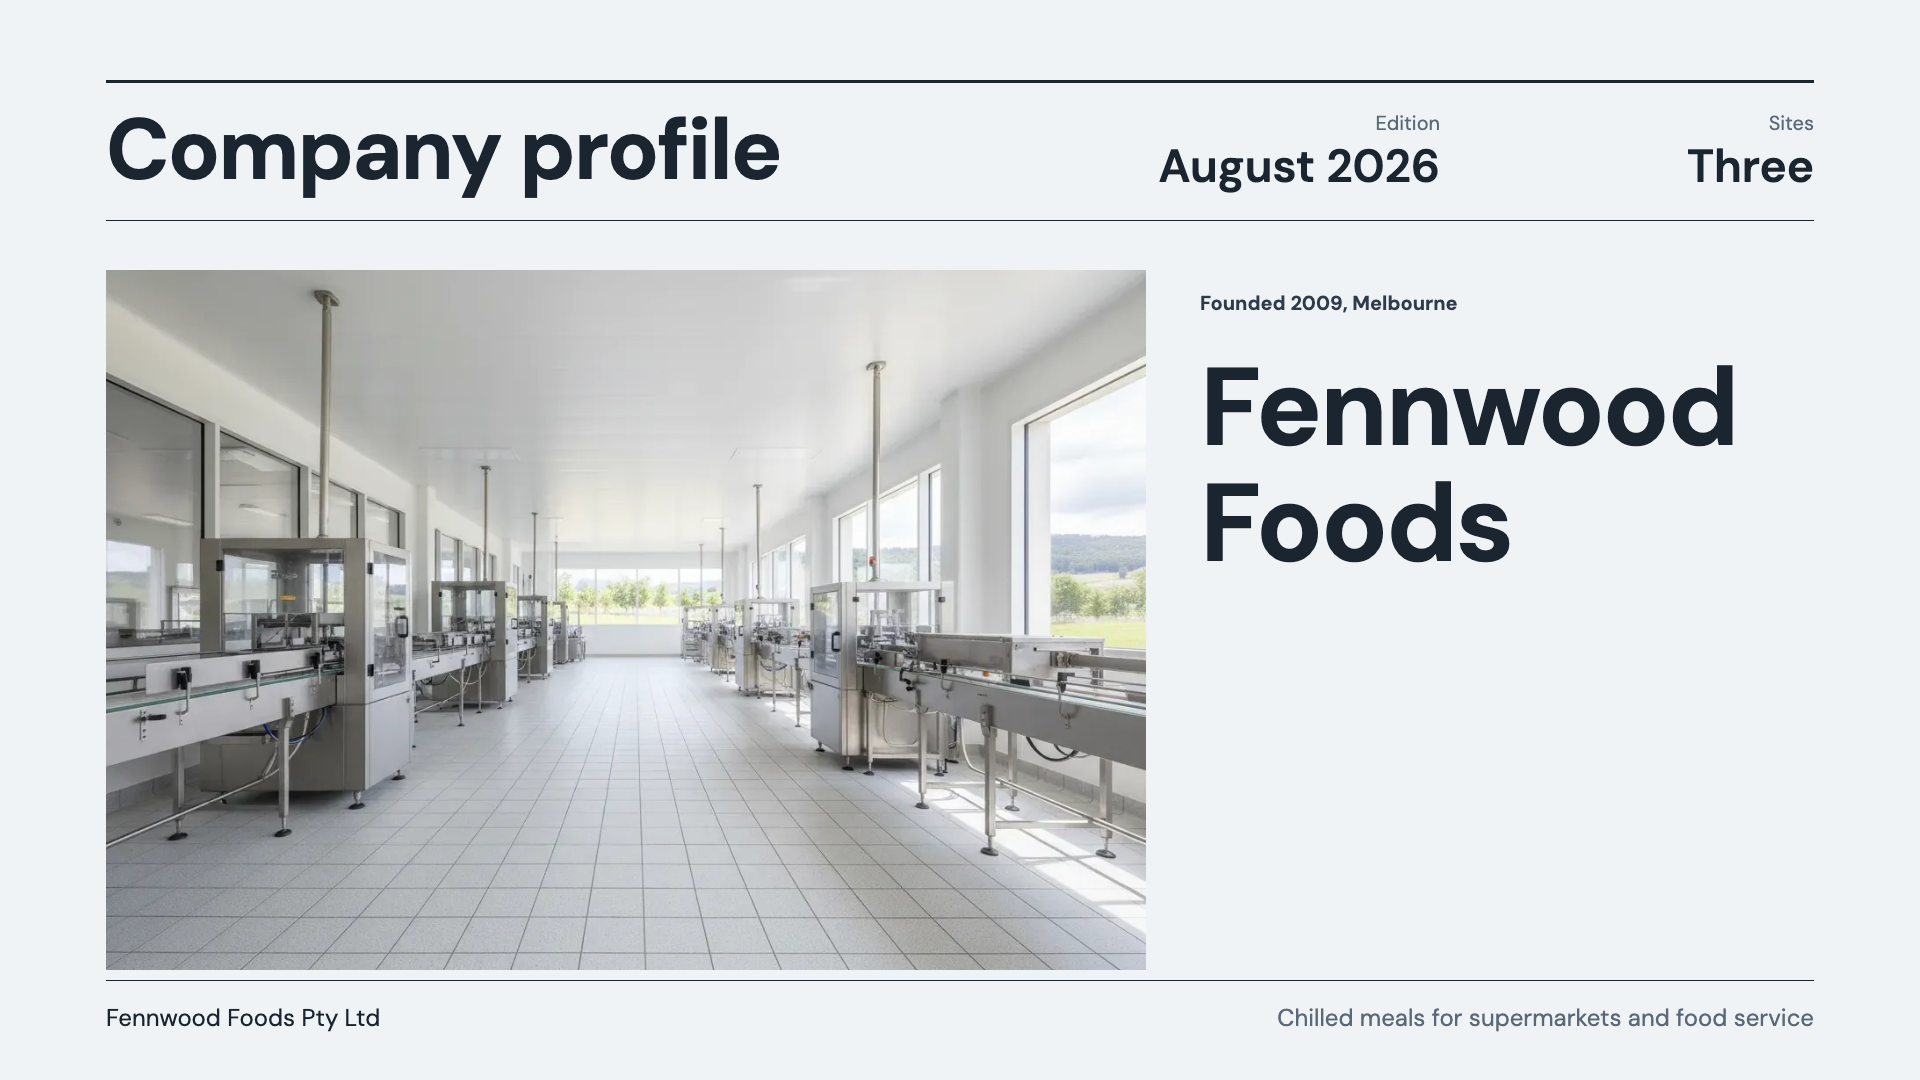
See it on a finished piece


Questions people ask
Can I crop or reposition a photo after uploading?
No. The picture fills its box from the centre and crops the overflow. Crop the file before uploading, or swap to a layout whose picture box is the shape you need.
Why can I not set the corner radius on this image?
Because the layout declares that box as a circle, which is common for headshots. The control is hidden rather than disabled, since there is nothing for it to round.
Do my uploads count against anything?
Uploading is not an AI operation, so it does not spend generation credits. It does count against the storage on your plan: every upload is checked against the plan's storage limit before it is accepted, and a file that would take you over it is refused. The other limit is 10 MB per file, checked at the point of upload.
How do I reuse a photo on another slide?
Open the image panel on that slide and pick it from the grid. Everything uploaded or generated in the deck appears there on every slide.
Make your own presentation
The button opens the generator with this use case already described. Change the wording to match yours, generate, then edit anything you like.
Create a presentation with OneCraftRelated pages
Image gallery slides
A gallery slide is the one place in a deck where the pictures carry the argument and the words get out of the way. Six layouts hold three, four or six photographs, with a caption under each or, in one case, no captions at all.
Add your own photo to a flyer
Generated photography is convincing until the flyer is about your shop, your team or your actual product. Then you want the real picture in the real slot, and the thing to understand first is that the slot crops your photo rather than fitting it inside.
Chart slides
A chart here is a small spreadsheet plus a choice of how to draw it. Categories down one side, one or more named series of numbers, and a render kind you can change at any time. The numbers never move when the drawing does.
More finished work of this kind is on the presentation examples hub.
Written and checked by the OneCraft team. Last checked .