Flyers
Add your own photo to a flyer
Generated photography is convincing until the flyer is about your shop, your team or your actual product. Then you want the real picture in the real slot, and the thing to understand first is that the slot crops your photo rather than fitting it inside.
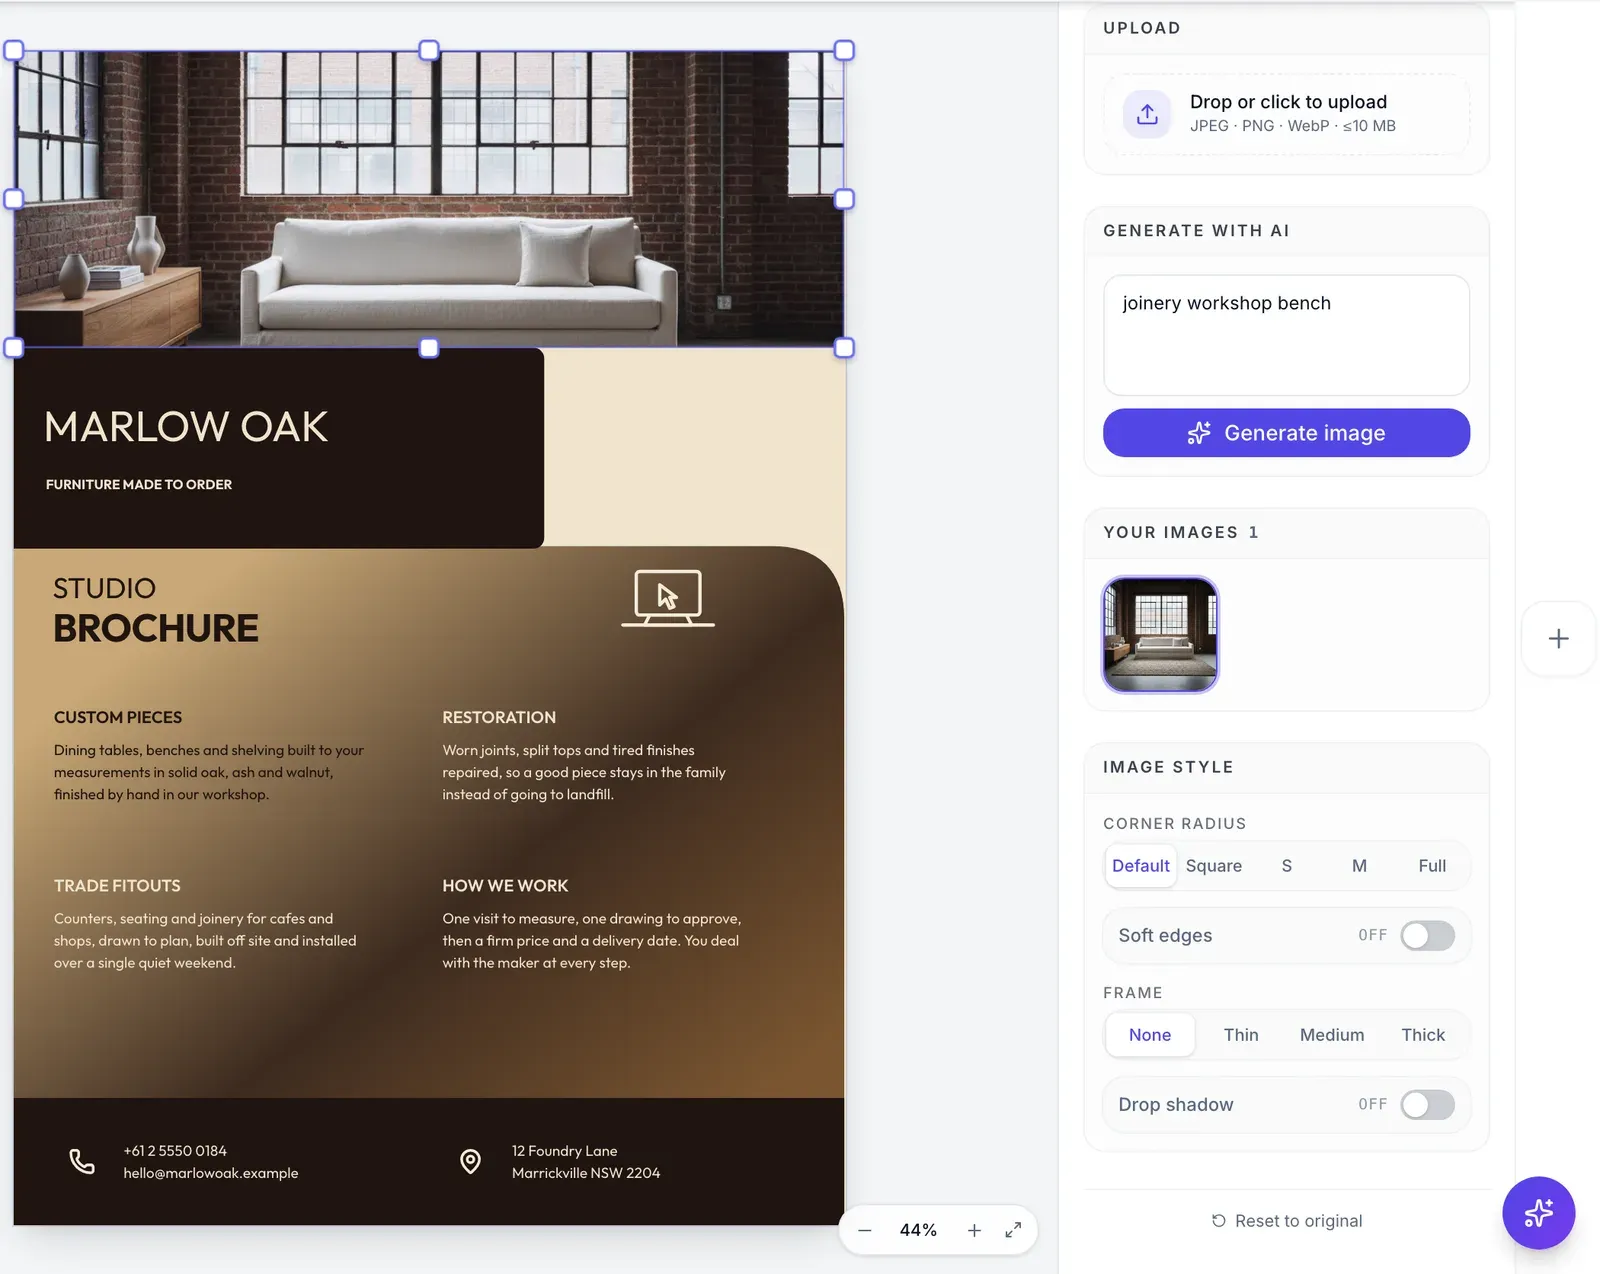
The slot crops to fill, and it centres
Every picture slot renders its image with a cover fit, so your photo is scaled until it covers the whole slot and whatever hangs over the edges is cut. There is no pan, no zoom and no focal point control, and the crop is always centred. A portrait photograph of a person in a wide slot therefore keeps the middle of them and loses the head and the feet.
Crop before you upload
Since the crop is not adjustable afterwards, the two minutes spent cropping the photo to roughly the slot's shape on your own machine is the highest value edit in the whole process. Look at the slot on the canvas, judge whether it is tall, square or wide, and match it. Everything else about the image can be changed later; the framing cannot.
Drop it, or click it
The Upload area in the inspector takes a drag and drop or a normal file picker. JPEG, PNG, WebP and GIF are accepted up to 10 MB each. The flyer has to be saved first, because the image is stored against the flyer, and the panel tells you so until it is.
Corners, frames and soft edges
Corner radius offers Default, Square, S, M and Full. Frame offers None, Thin, Medium and Thick in four colours: a mat tone, white, ink and the brand colour. There is also a drop shadow toggle. Soft edges is the alternative to a frame rather than an addition to it: turn it on and you pick which of the four sides fade out, and the frame controls step aside.
Uploaded once, reusable everywhere
Every picture you upload appears under Your images on that flyer, so the same team photo can fill a slot on the front and another on the back without a second upload. The files themselves live in a private store and are re-signed each time the flyer opens, so nothing you upload is served from a public address.
How it works, in three steps
Step 1
Save the flyer
Upload and generate stay locked until the flyer exists, since images are stored against it.
Step 2
Crop your photo to the slot's shape
Tall, square or wide. The slot centre crops whatever you give it and there is no way to nudge it afterwards.
Step 3
Drop it in and style the edges
Then set a corner radius, a frame or soft edges from the Image style section below.
The full walkthrough with screenshots is in the guide Add or replace the images in a flyer.
Limits worth knowing
- JPEG, PNG, WebP and GIF only, at 10 MB or less per file.
- The crop is centred and fixed. There is no pan, zoom, focal point or crop rectangle.
- A frame and soft edges are mutually exclusive; turning on soft edges hides the frame controls.
- An image slot drawn as a circle has no corner radius control, because it is already round.
- Logo slots take an upload or typed initials of up to four characters, and cannot be AI generated.
- Deleting an image from Your images is permanent.
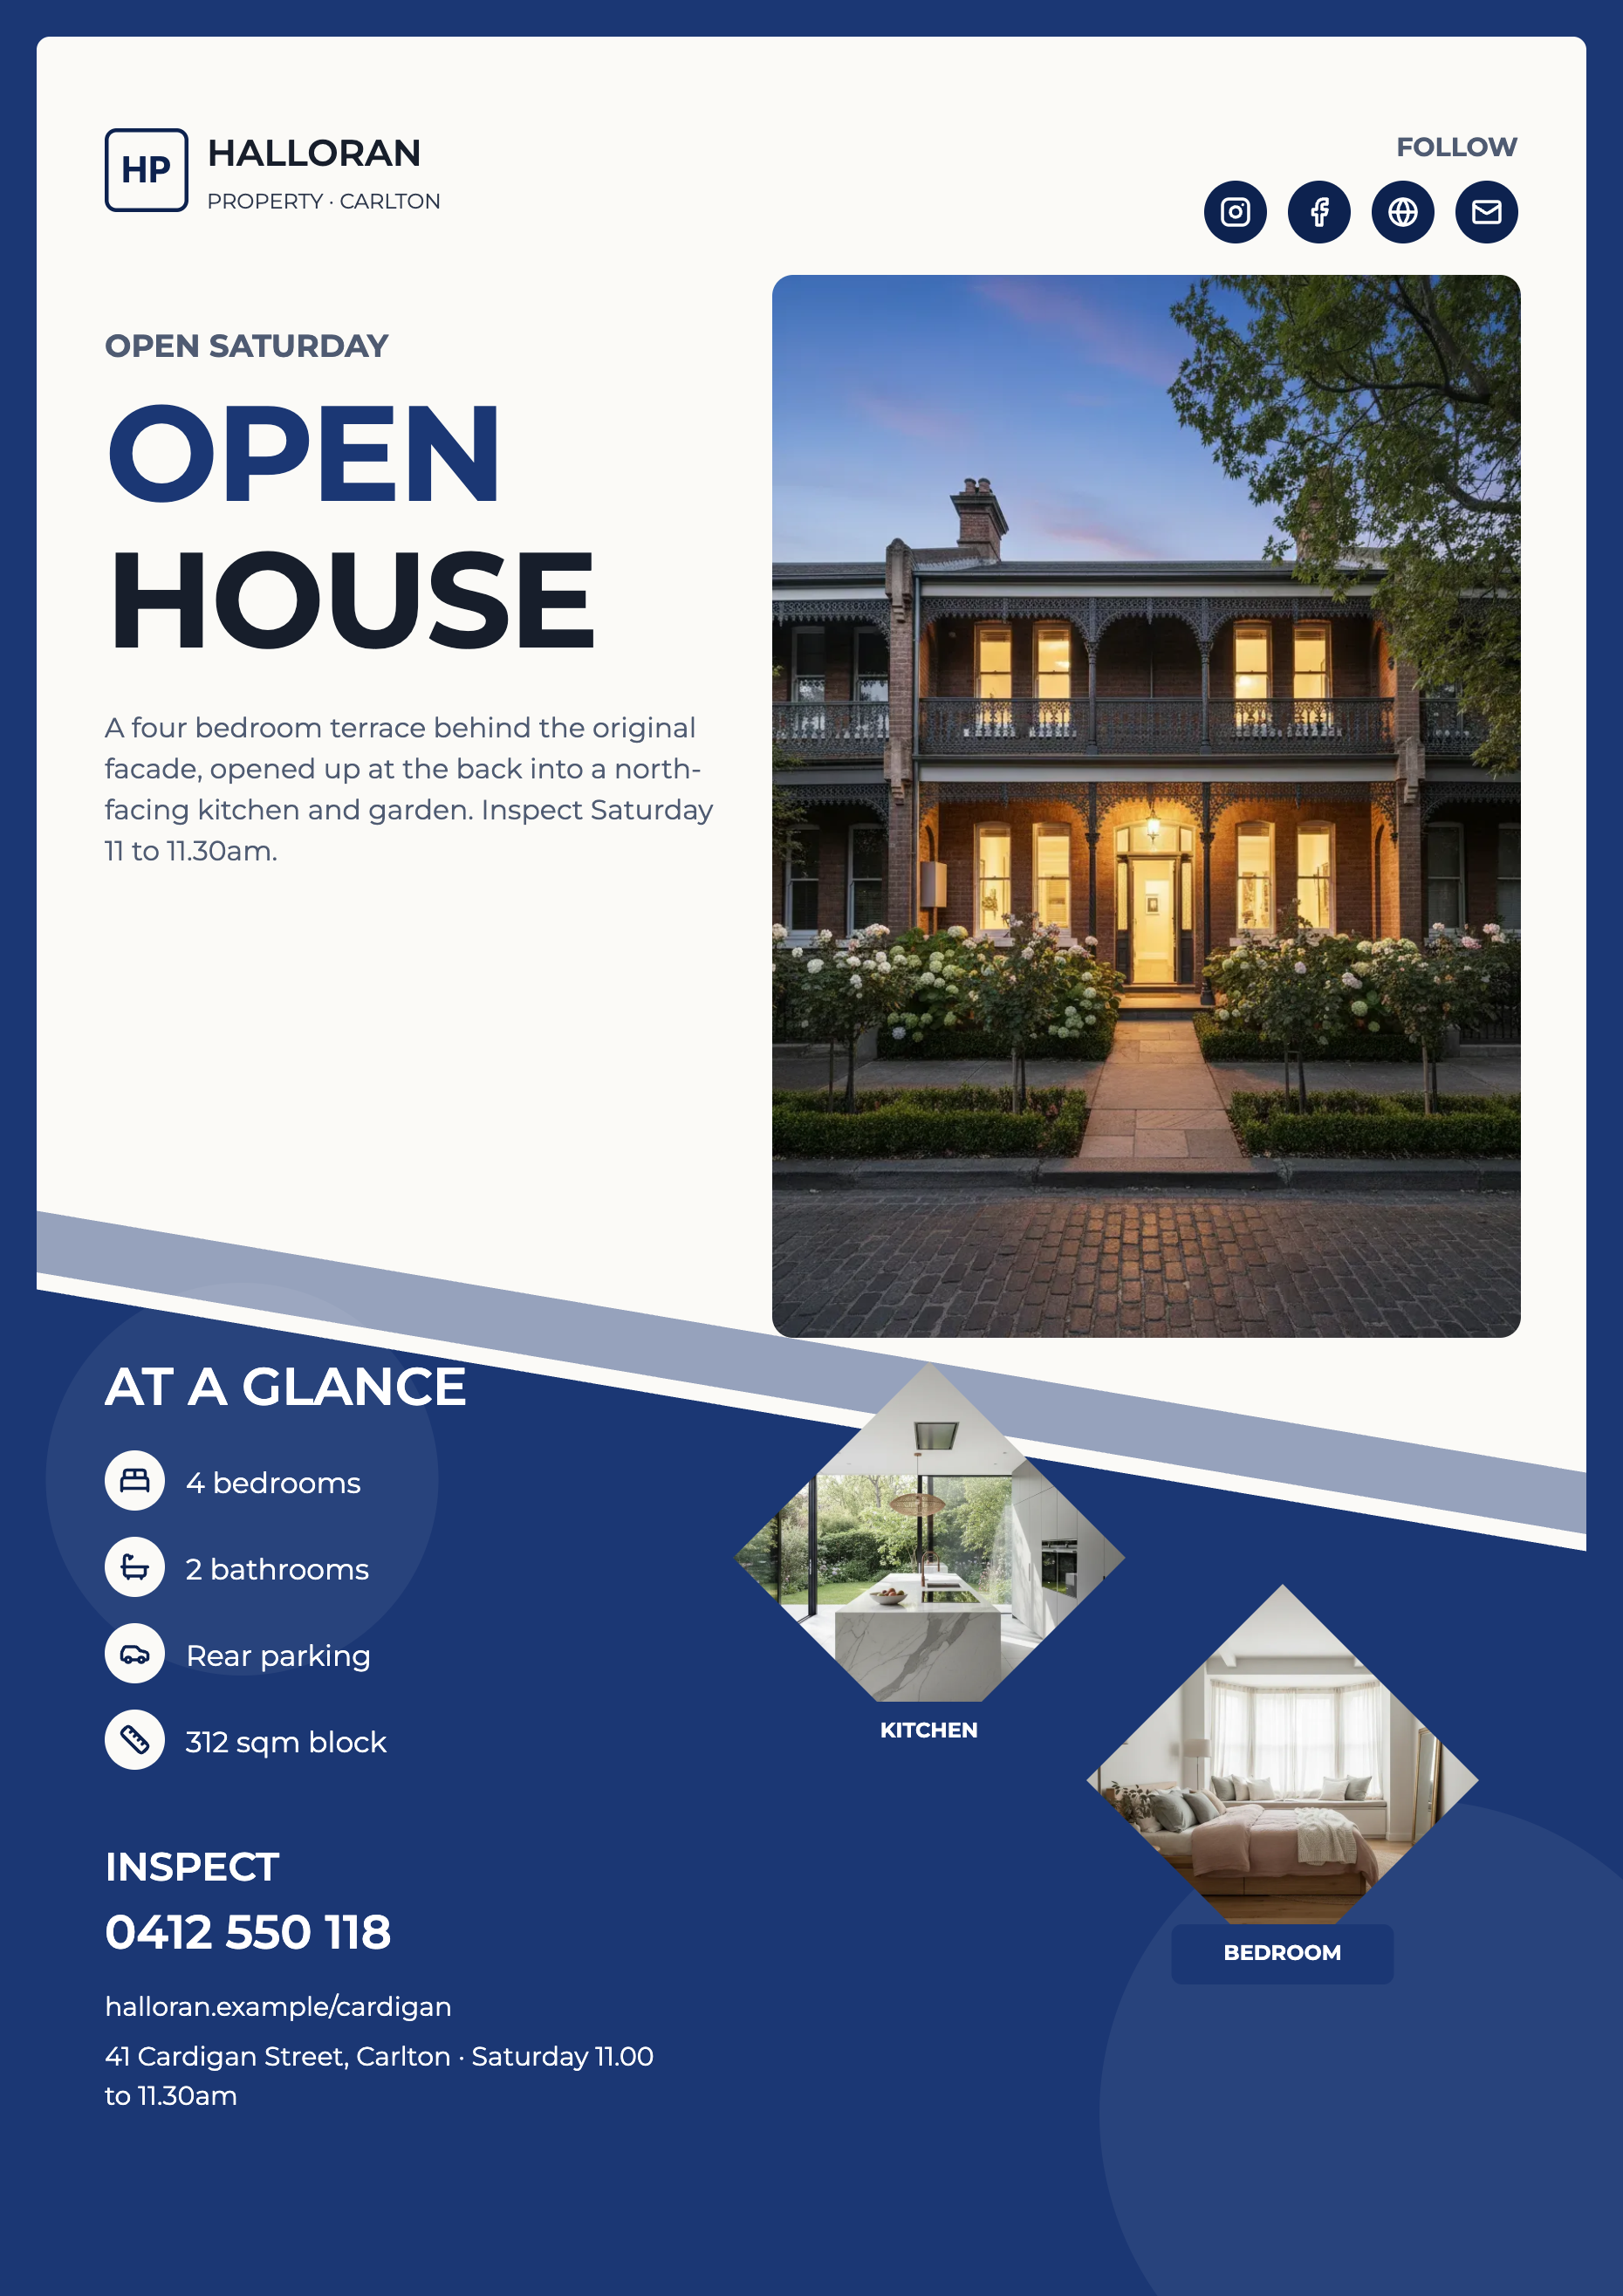
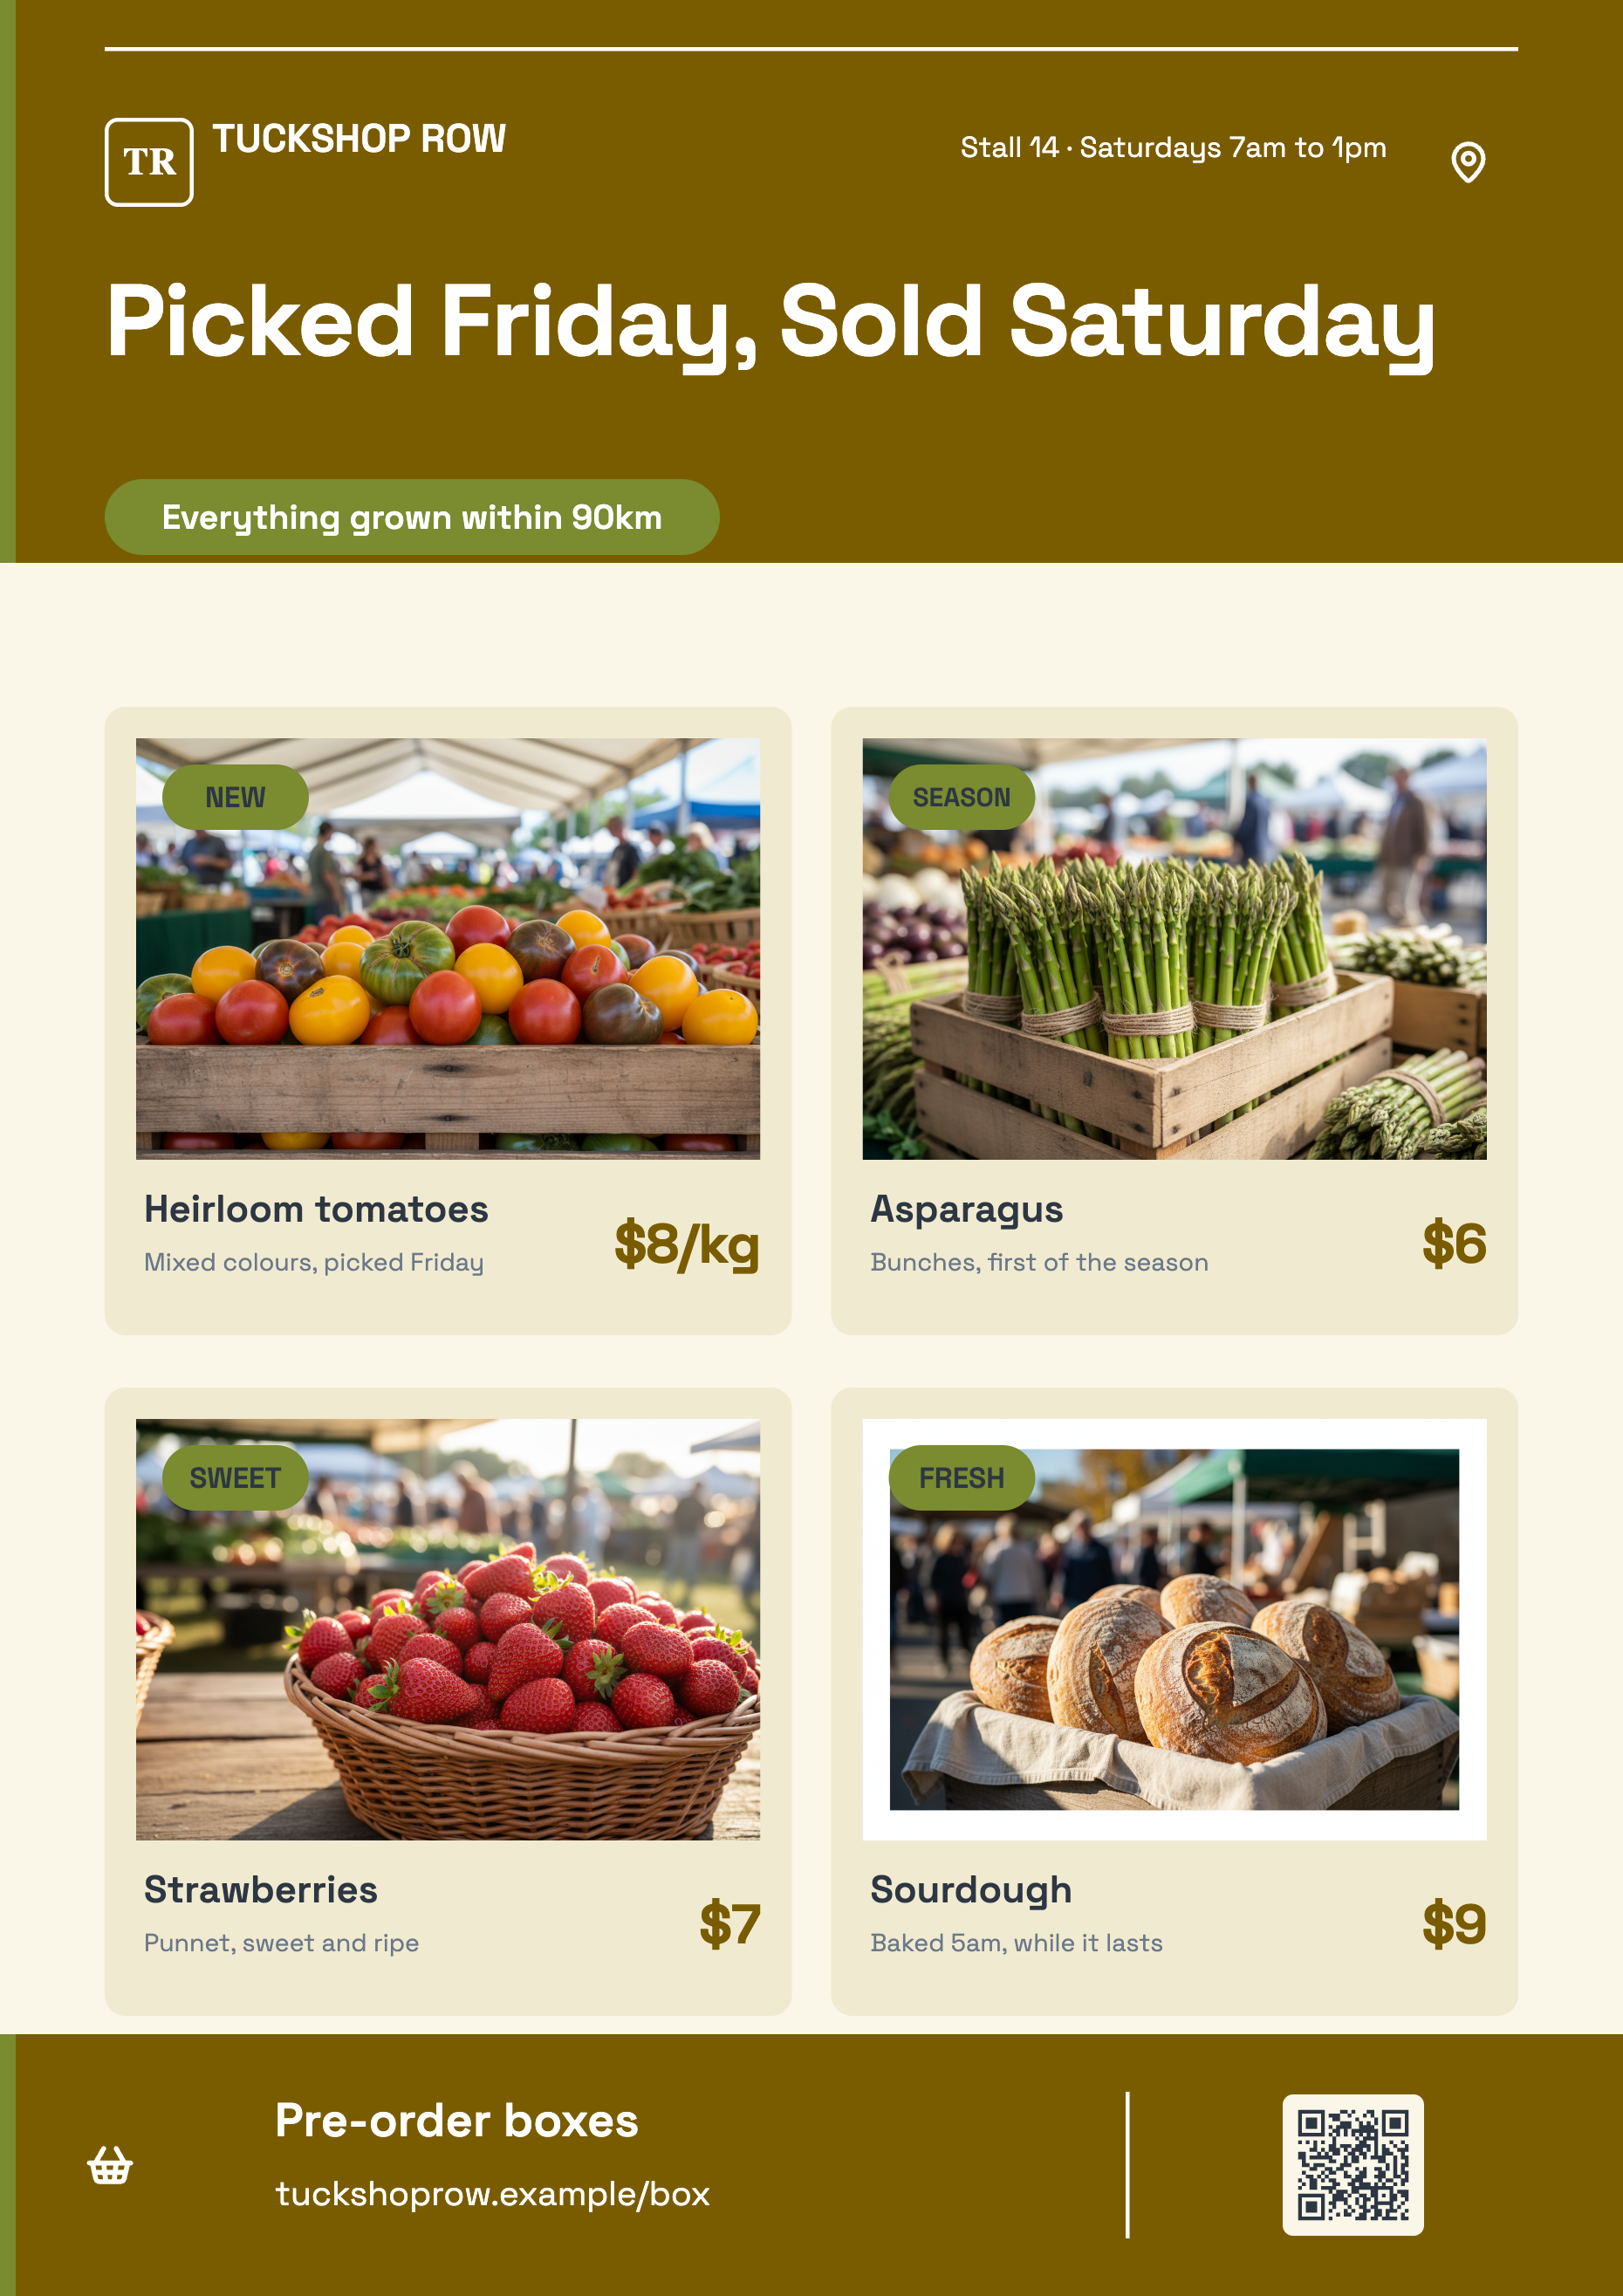
See it on a finished piece
Questions people ask
Can I move the photo inside its frame?
No. The image fills the slot from the centre and there is no pan, zoom or focal point control, so the crop is decided by the shape of the picture you upload. Crop the photo to roughly the slot's shape on your own machine first, judging whether the slot on the canvas is tall, square or wide, and the part you care about stays in frame.
Will my photo be squashed?
Never. It keeps its proportions and is scaled until it covers the whole slot, with whatever hangs over the edges cut off instead, which is why a badly shaped photo loses content rather than distorting. A portrait shot of a person in a wide slot keeps their middle and loses the head and feet, so match the photo's shape to the slot.
How do I add my logo?
Select the logo slot and upload the file there, as JPEG, PNG, WebP or GIF up to 10 MB. Logo slots also have an Initials mode if you have no artwork, which sets up to four characters in capitals in the theme's type. A logo cannot be AI generated, and a saved brand from Settings can fill logo slots for you.
Are my uploads public?
No. They are held in a private store and referenced by an id, with fresh signed links generated each time the flyer loads, so nothing you upload is served from a public address. Only the exported file carries the picture itself. Every upload also appears under Your images on that flyer, so you can reuse it without uploading it again.
Make your own flyer
The button opens the generator with this use case already described. Change the wording to match yours, generate, then edit anything you like.
Create a flyer with OneCraftRelated pages
Image gallery slides
A gallery slide is the one place in a deck where the pictures carry the argument and the words get out of the way. Six layouts hold three, four or six photographs, with a caption under each or, in one case, no captions at all.
Add text and shapes to a flyer
Every design arrives finished, but a flyer usually needs one more thing: a price, a disclaimer, an extra card, a QR alternative. The element panel is where that comes from, and it holds sixty seven items grouped into thirteen sections.
Add icons to a flyer
Icons on a flyer are theme coloured vector marks, not pictures. The picker opens on 135 featured ones, and typing at least two letters searches the whole Lucide library behind them.
More finished work of this kind is on the flyer examples hub.
Written and checked by the OneCraft team. Last checked .