Create a conversational form with AI
Describe your form, pick the conversational style, and AI builds a polished form that asks one question at a time, the kind people actually finish.
Forms5 min readUpdated
This guide shows you how to build a conversational form with AI: one question at a time, styled the way you want, published with a link you can share.
Long forms feel like work. A conversational form asks one thing at a time, like a friendly chat, and that focus shows up in your completion rates. You describe the form once, and OneCraft builds the questions, the flow, the welcome screen, and the thank you screen.
Choose the conversational style and describe your form
Open the form generator and switch Form style to Conversational. Then describe what you want to ask in plain language, one or two sentences is enough. Click Generate form and OneCraft turns your description into a complete form, ready to edit.
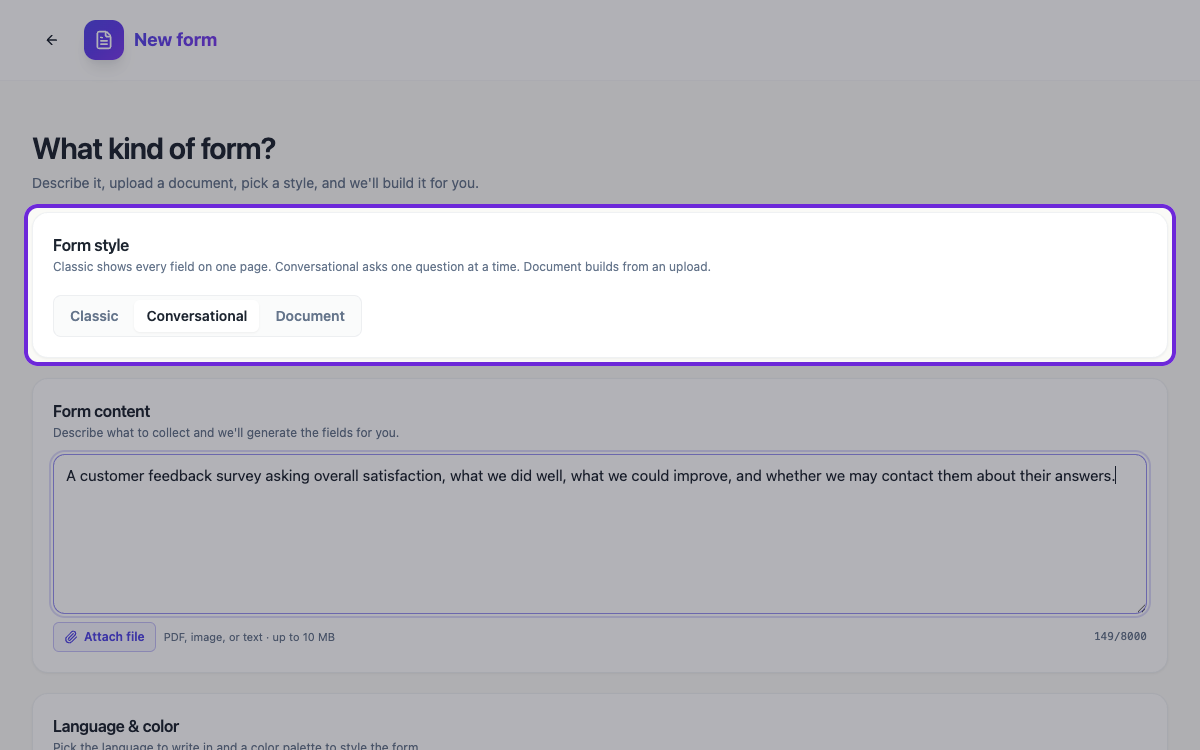 Classic shows every field on one page. Conversational asks one question at a time.
Set the language and the colours before you generate
Under the description you can pick the language OneCraft writes in and a colour palette for the form. Both apply while the form is being generated, so the questions, the buttons and the screens all come out in the language you chose, styled in the palette you picked.
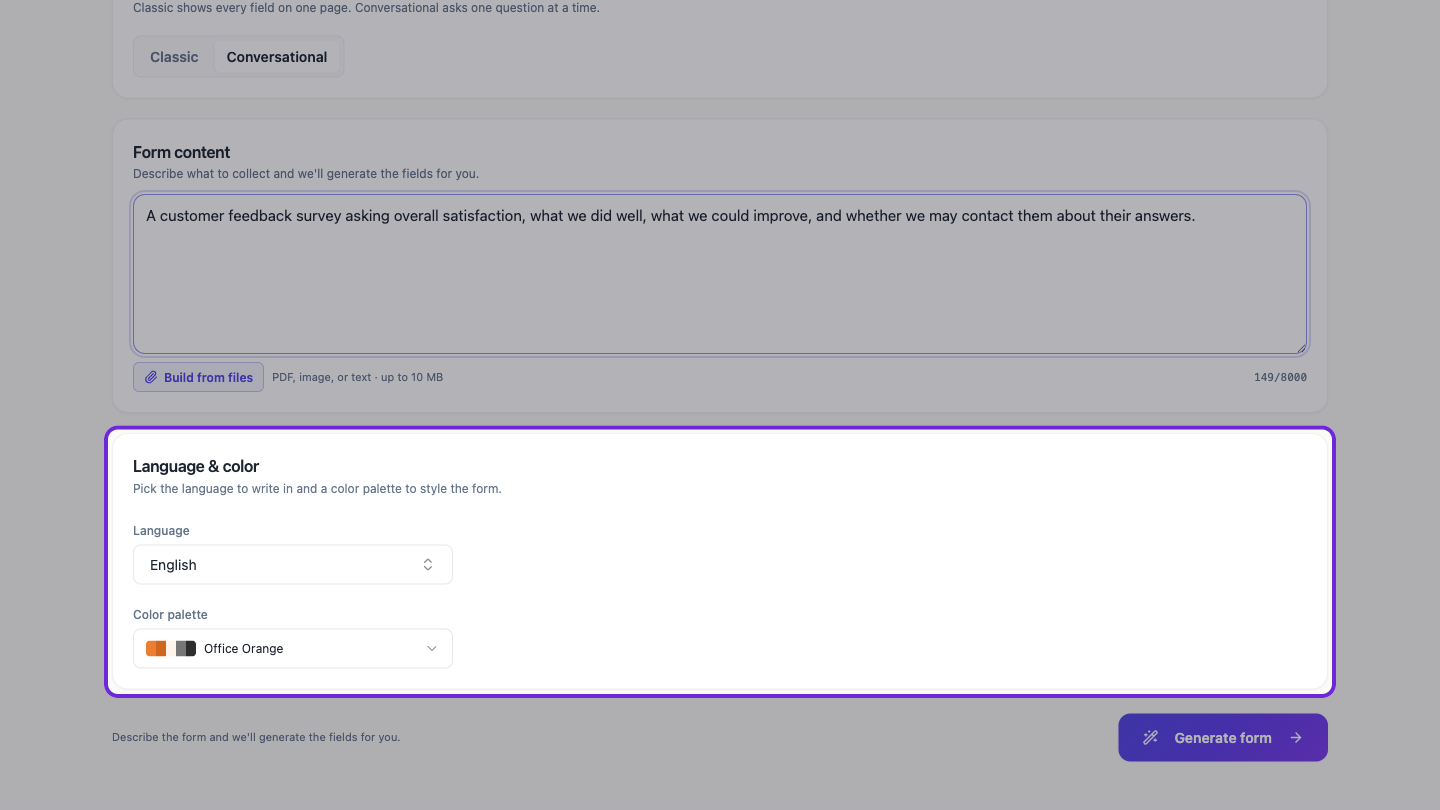 Pick the language to write in and a colour palette to style the form.
Edit the questions in the builder
The conversational builder is organised around pages: each page is one step of the conversation. The left panel shows every page and its items, and the tabs at the top switch between the Welcome screen, the Form itself, and the Thank You screen. Drag in new components, reword questions, reorder pages, and restyle anything you like.
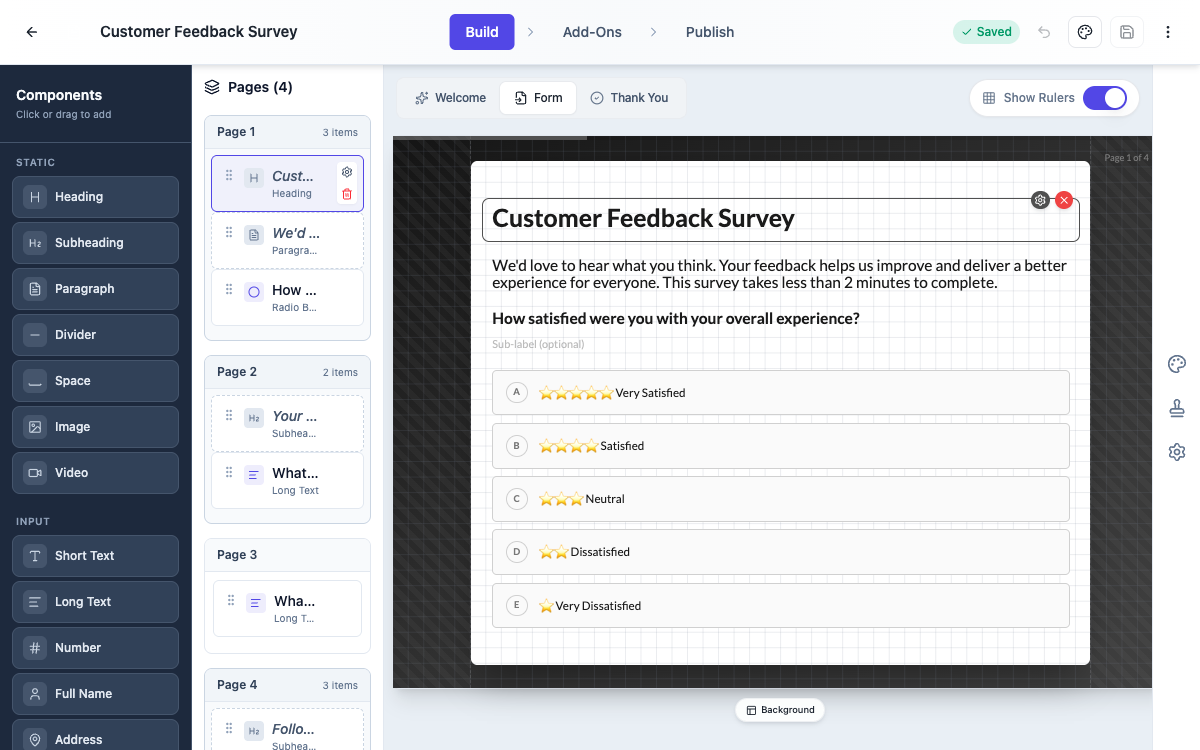 OneCraft drafts the questions and screens. You refine them page by page.
Style your form with themes and backgrounds
Open the Style panel to change the whole look in one click: 25 built-in themes cover everything from clean and minimal to bold and dark, and you can adjust colors and fonts separately.
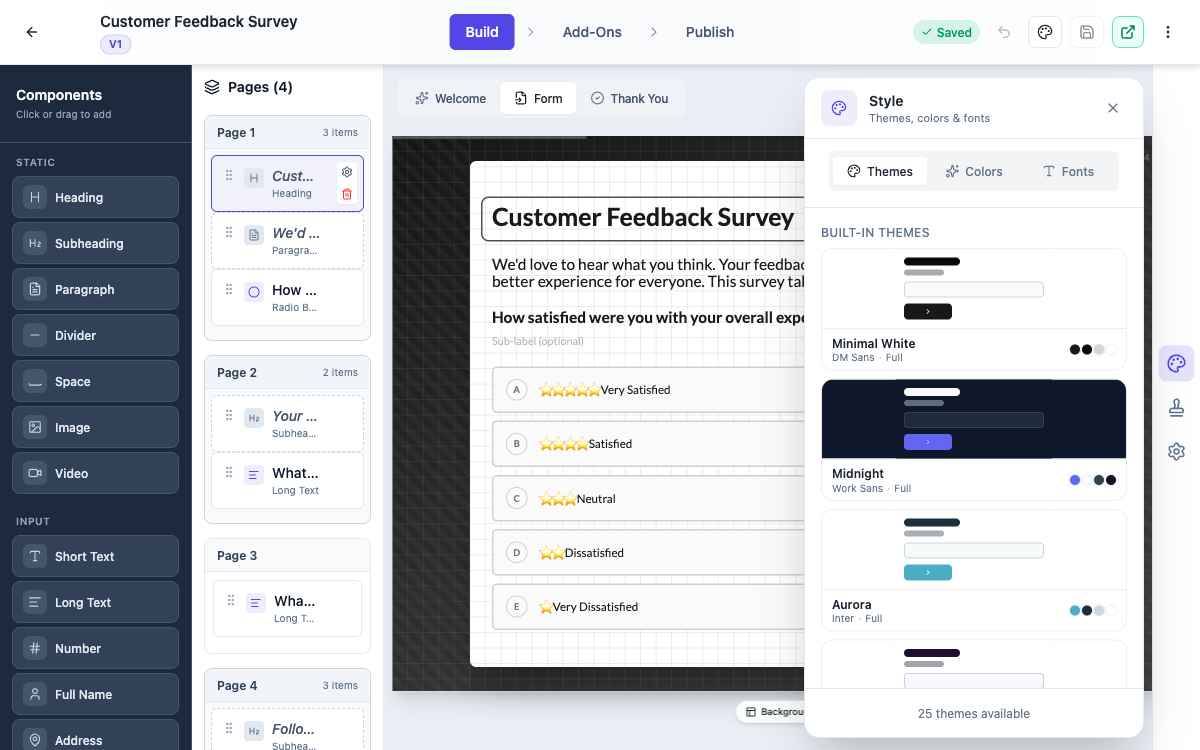 One click swaps the theme. Colors and fonts have their own tabs.
The theme also decides how each question screen is arranged. The badge on every theme card tells you which layout it carries: Full puts the image behind everything, Card floats the question on a card, Split Left and Split Right put the image beside it, and Card Split combines the two. So if you want a different arrangement, pick a theme that carries it.
The Background button on the canvas adds a decorative pattern behind your questions: geometric, organic, or minimal, applied to every page or just one.
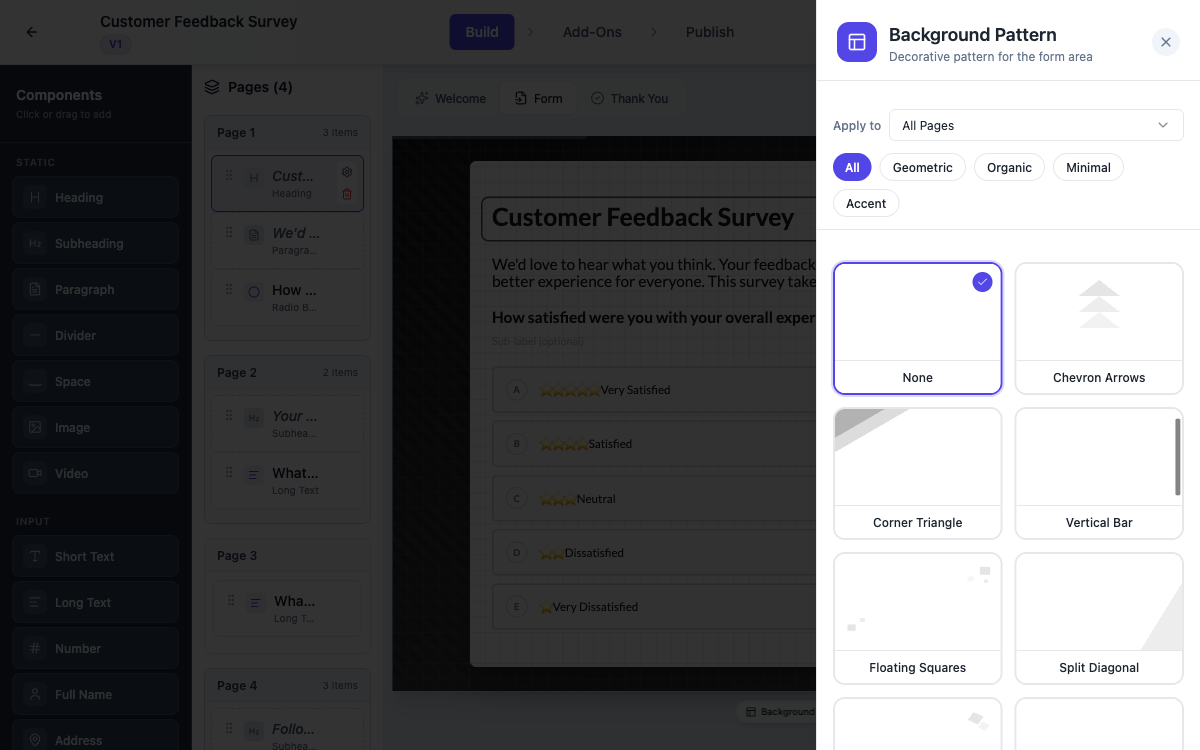 Patterns give each page some character without distracting from the question.
Put your own images on the pages
Next to the background picker is an Images panel, and it handles the two pictures a conversational page can carry: the image the theme shows beside or behind the question, and the page background.
Each one can be uploaded from your computer, up to 5 MB, or generated with AI from a short description. And each one has a scope: apply it to the whole form, or to one page. A page-level image wins over the form-level one, so the usual approach is to set a form-wide image first, then override the two or three pages that deserve their own.
It is worth using. A split-layout theme with the same stock image on every page reads as a template. Three or four images that match what you are asking about reads as something somebody made.
Add your logo or brand name
Open Branding from the rail. Switch Show Branding on and pick a Display Mode: Logo + Text, Logo Only or Text Only.
Under Layout you choose the Position, left or right, whether it shows on all pages or the first page only, and, when you are showing both a logo and text, which Order they sit in. On a form that arrives from a link in a social bio, this is the only thing telling people whose form they are filling in.
Publish your form and share the link
When it reads well, open Publish. You get a public URL to share anywhere. Publishing creates a version, so you can keep editing and only push changes when you’re ready: see Publish updates without breaking your live link. If the form should not be open to everyone, control who can fill it in from the same tab.
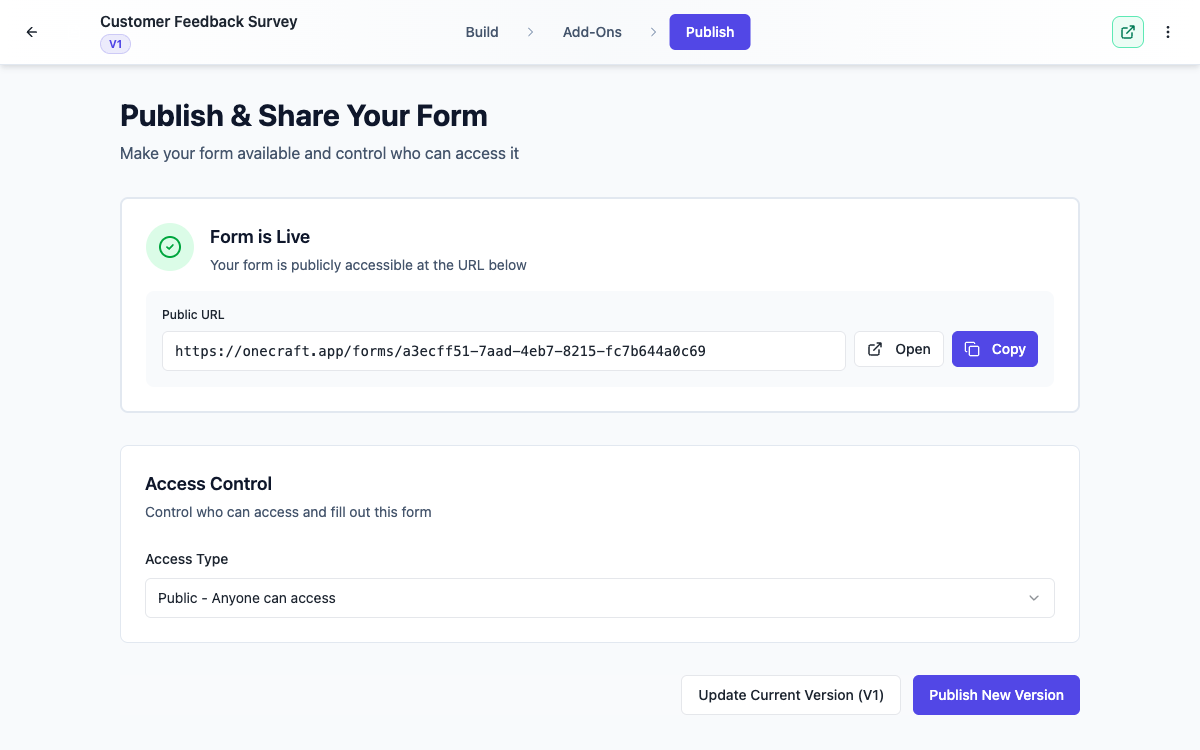 One link to share. Update the live version whenever you’re ready.
What respondents see
Visitors get a focused, full screen flow with nothing pulling attention away: a welcome screen, then one question at a time with keyboard shortcuts on desktop, and a progress indicator so they always know how far along they are.
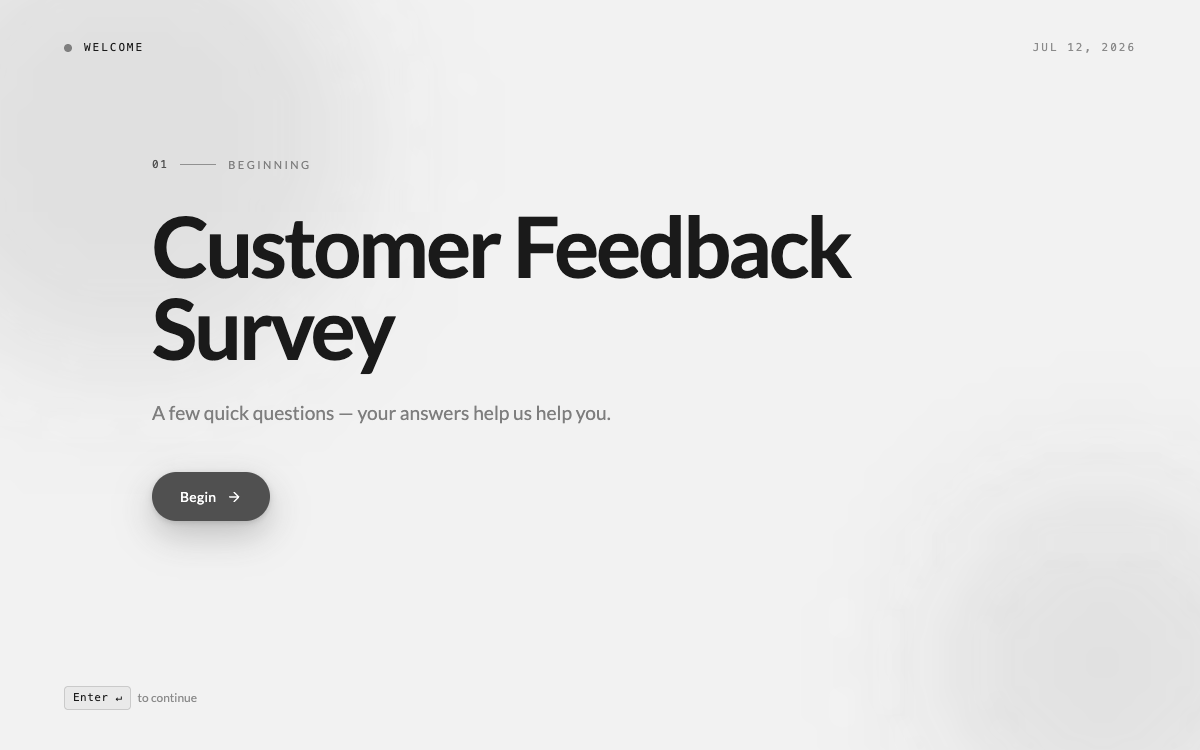 A clean welcome screen sets the tone before the first question.
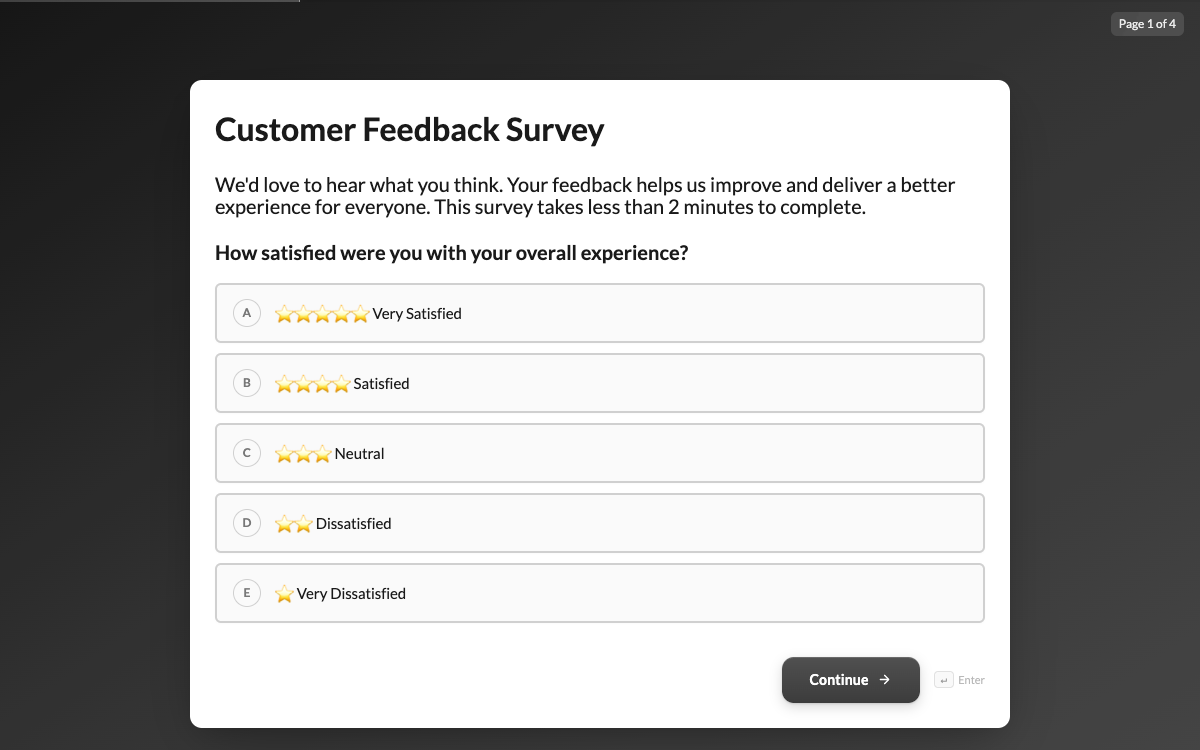 One question at a time keeps people moving instead of scrolling.
On a keyboard the form is fast. Pressing Enter moves to the next question, and a small ↵ Enter hint sits next to the Continue button as a reminder. When a page holds a single choice question, typing a letter picks the matching option, and picking a single-choice answer moves on by itself. Back appears from the second question on, and the last page swaps Continue for Submit. Required questions are checked when someone continues, with a message naming the one they missed.
The experience is built for phones too, so the link works just as well from a social bio, a QR code, or a text message.
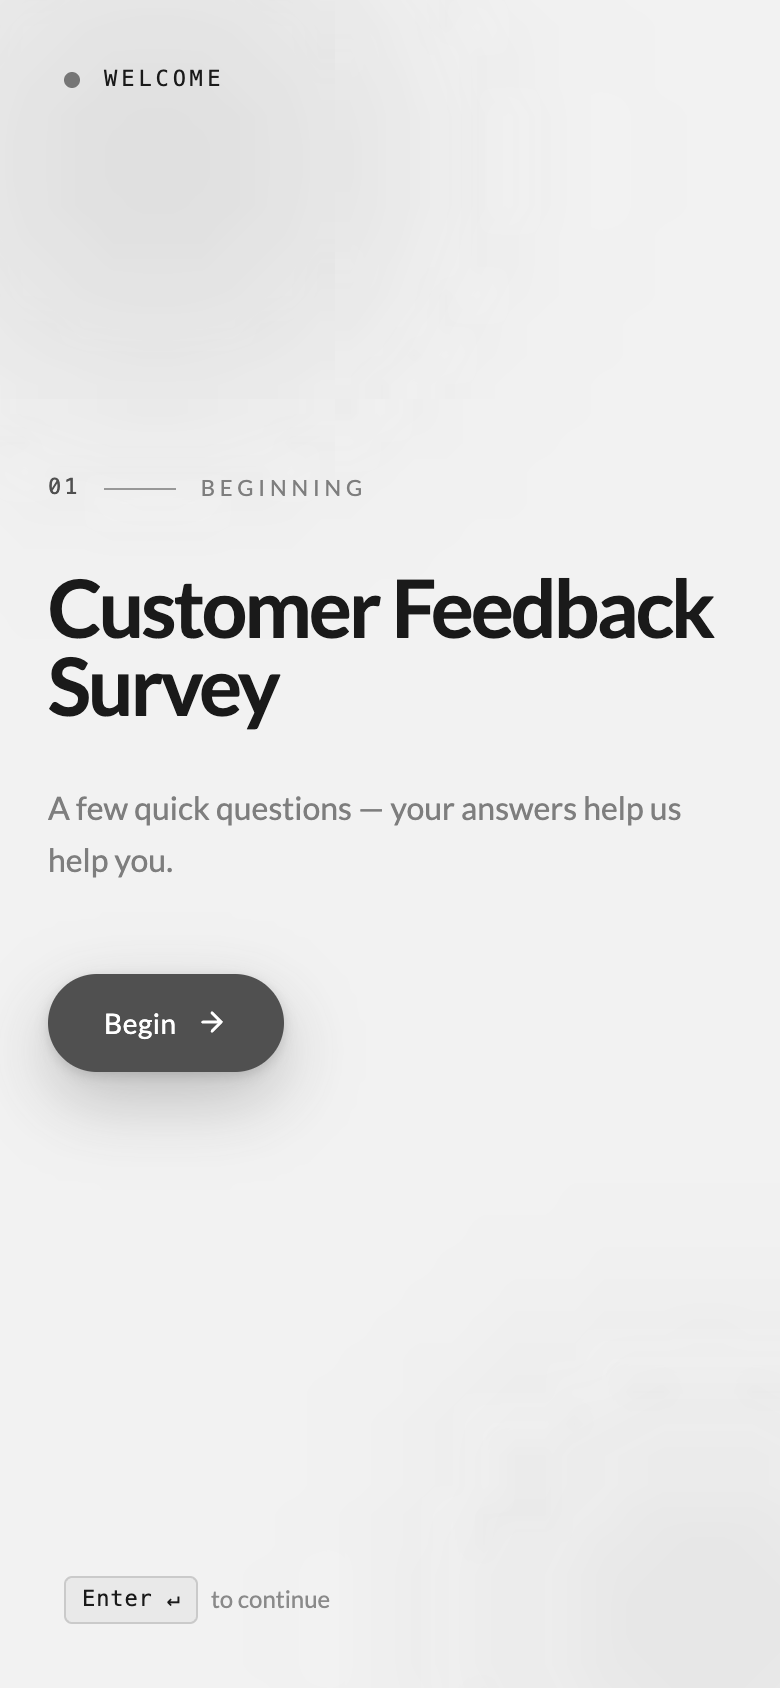 The same form, just as comfortable on a phone.
View and export your responses
Every completed conversation lands in the same responses table as any other form. On the dashboard, once your form is published, its card gets a Responses option in the card menu, and each answer gets its own column. See View, export and manage your responses for opening one in full, downloading its PDF and exporting the lot.
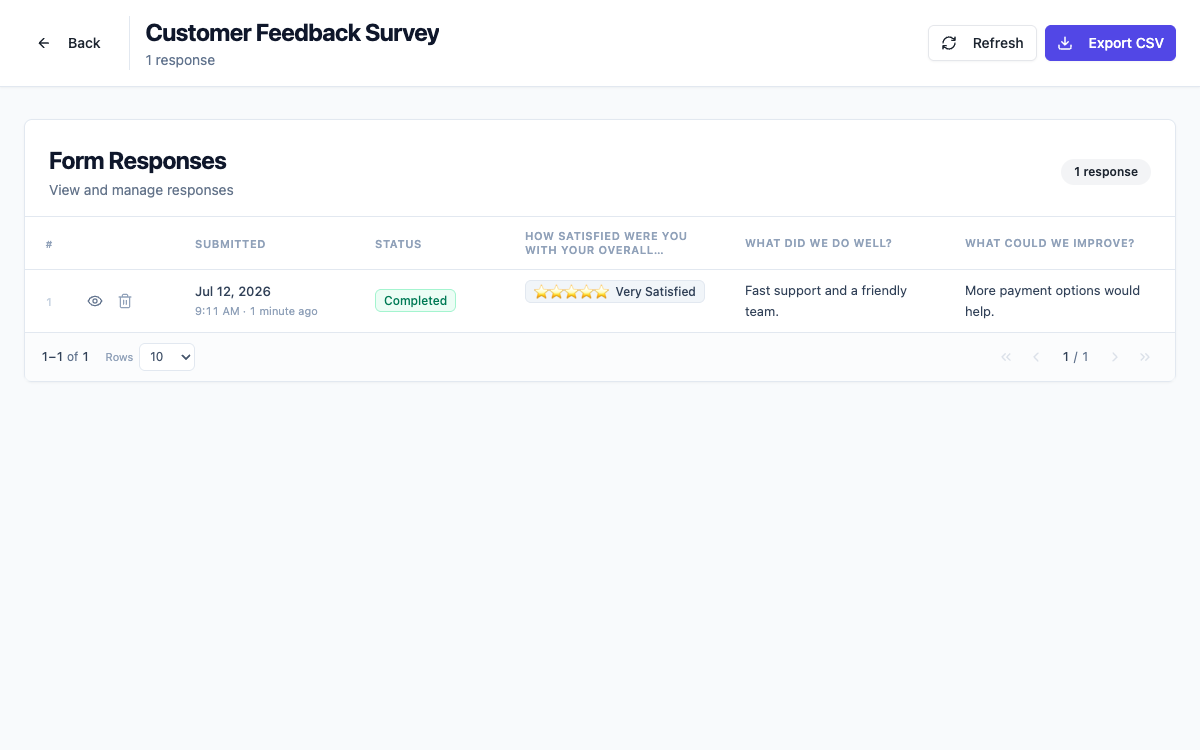 Answers arrive in one table, ready to review or export.
Ready to try it yourself?
Start free. Describe what you need and let OneCraft do the first draft.
Get startedSee it in the product
More forms tutorials
- Add e-signatures with multiple signersAdd signature fields to a form, choose how each signer's email is collected, set the order people sign in, and collect signatures that are legally clear, with the date and time on record.
- Automate your form with add-onsConnect webhooks, get instant email alerts for new submissions, and send people to your own page after they submit.
- Build your own form themeStart from a built-in theme, or build one from scratch with your own layout, colours, fonts and effects, save it, and reuse it on every form you make.