Create a document with AI
Describe the document you need, or upload a file to build from, and get it written and laid out on clean A4 pages. Edit every section, restyle it, and download a PDF.
Documents3 min readUpdated
This guide shows you how to create a document with AI: describe what you need, let OneCraft write and lay it out, then edit, restyle and download it as a PDF.
Contracts, proposals, reports, one-pagers. The hard part is never the typing, it’s getting from a blank page to a structured draft. So start past the blank page.
Describe the document you need
Open the document generator and describe what you’re after: the type of document, who it’s for, and the points it has to cover. Something like “an employment contract for a full-time software engineer: salary, start date, confidentiality, and termination clauses.” The more specific the brief, the closer the draft.
Have source material? Click Attach file and add a PDF, an image or a text file, up to five. OneCraft reads them and builds the document from your material instead of starting cold.
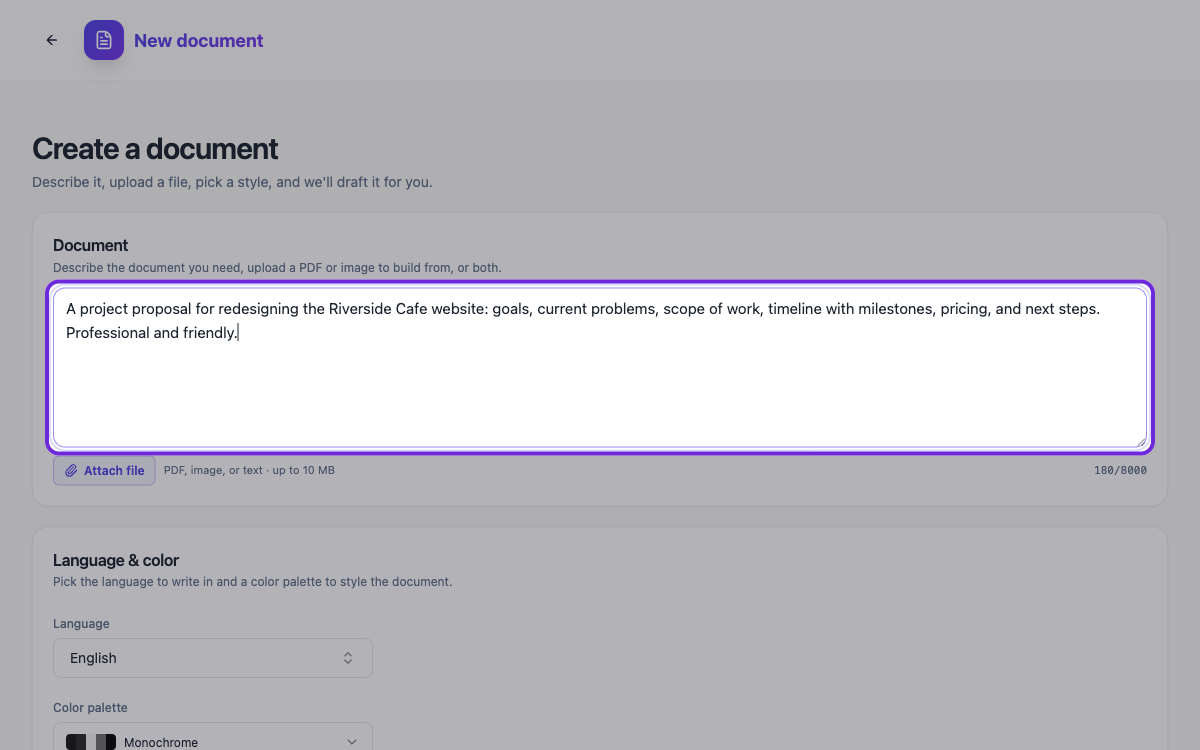 Describe the document, attach source files if you have them, or both.
Pick the language and color palette
Below the description, set the Language the document should be written in and pick a Color palette, from restrained options like Monochrome and Office Blue to richer ones like Midnight Gold. Then hit Generate document. You land in the builder while OneCraft drafts the document, and the pages fill in section by section.
Edit any section
The result is a real, editable document on clean A4 pages, not a wall of text. Click straight into a heading, a paragraph or a table and type to change the wording. For the rest of a block’s settings, select it and click the gear on its top right corner to open the Properties panel. Undo is always one Ctrl+Z away.
Need more than what was generated? The component toolkit on the left holds everything a business document uses: sections, callouts, tables, stats, charts, quotes, timelines, a table of contents, letterheads and signature blocks. Drag one onto the page and it snaps into the layout.
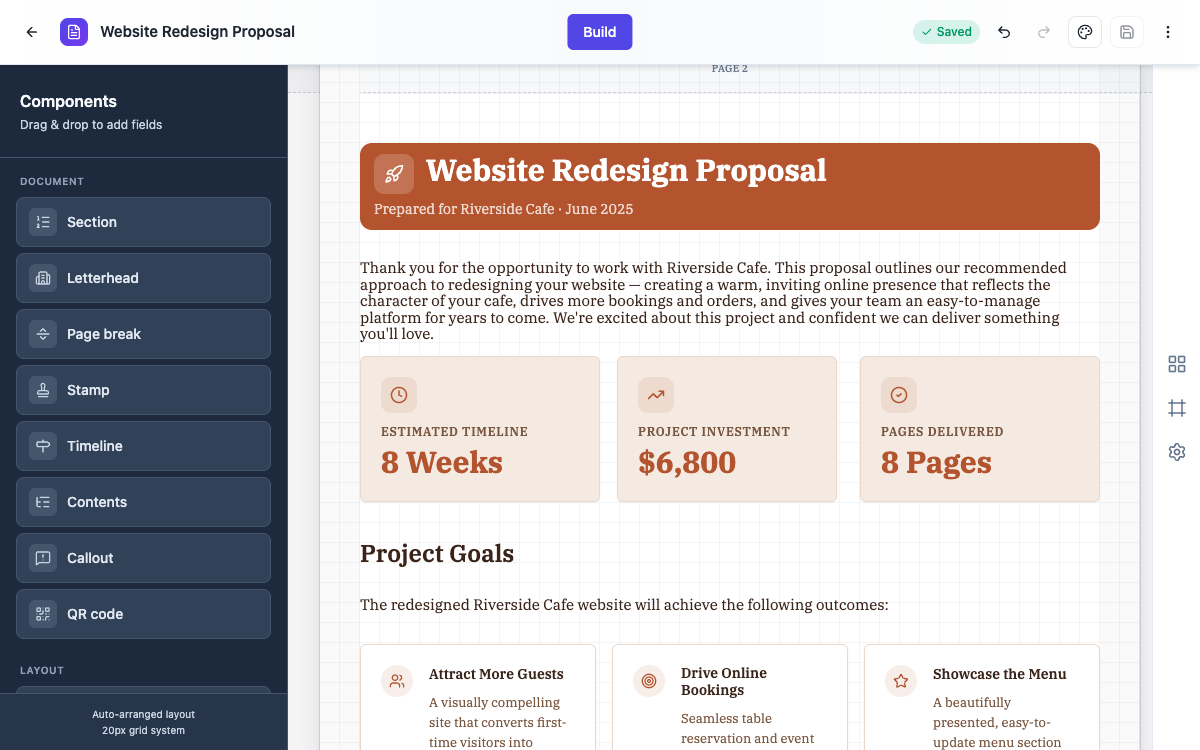 A generated document in the builder. Click to edit, or drag components in from the left.
Rewrite sections by asking the AI assistant
For wording changes, describing beats editing. Open the AI assistant from the sparkle button in the bottom corner and ask. Rewrite the confidentiality clause in plainer English. Tighten the scope section. Change the payment terms wording to net 30.
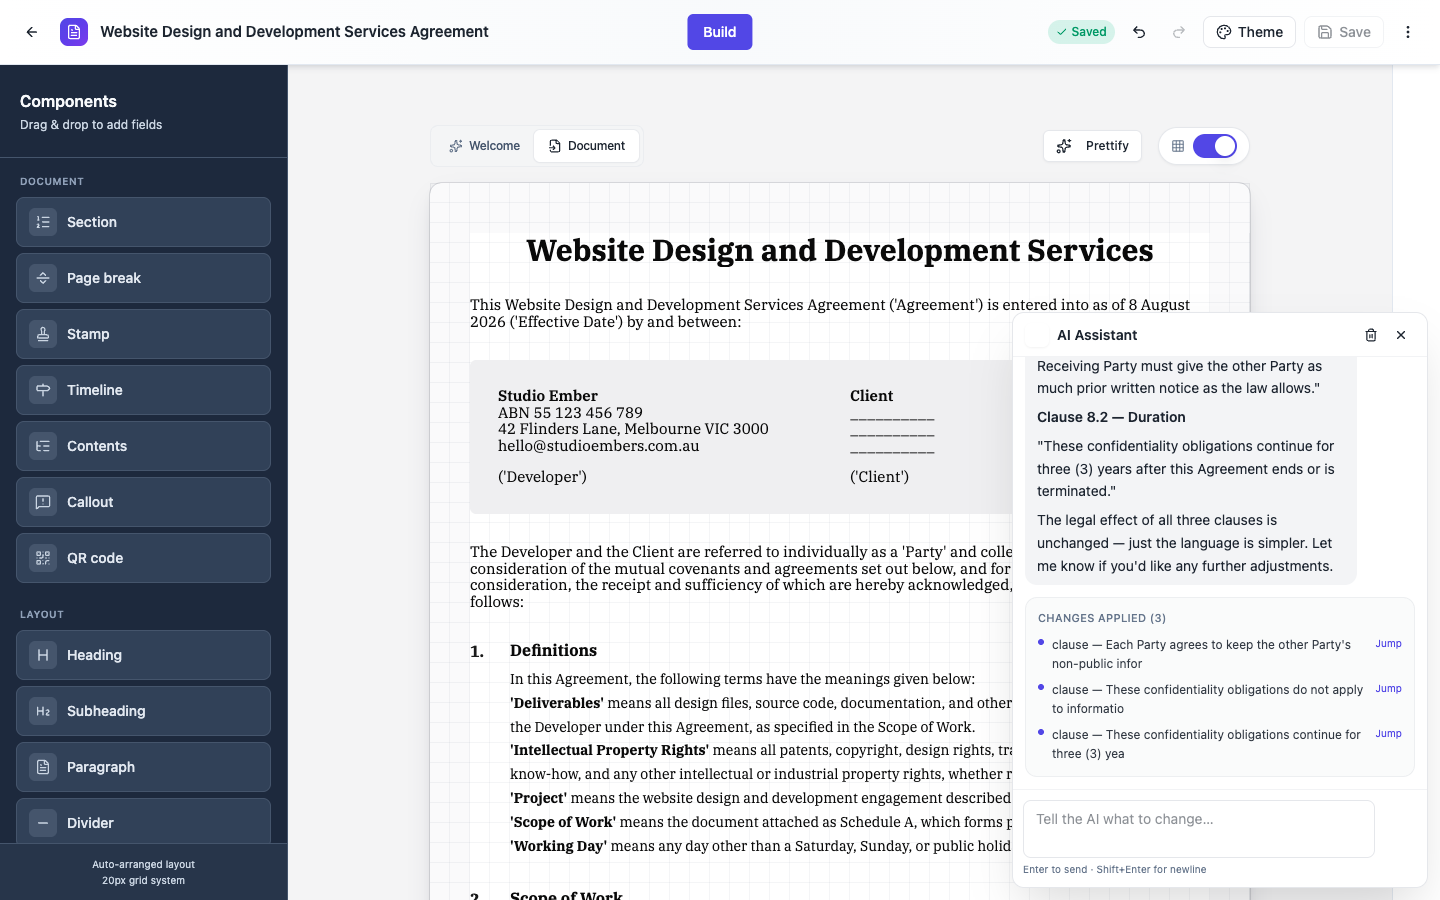 It rewrites the clause and tells you the legal effect is unchanged, only the language is simpler.
It edits text only. It will not add, delete, reorder or resize components, change the theme, alter the grid, or touch images and signatures. It also refuses to renumber anything, so your clause and figure numbers stay put; if a rewrite would break the numbering it says so instead. Changes apply straight away, and one undo takes a whole turn back.
Keep replacements close in length to the original where you can. Text that grows a lot pushes everything after it onto new pages.
Restyle it in Theme Studio
Click the palette button in the header to open Theme Studio. Switch between designed themes, swap the color palette, or change the fonts, and the whole document restyles at once, every page, every component.
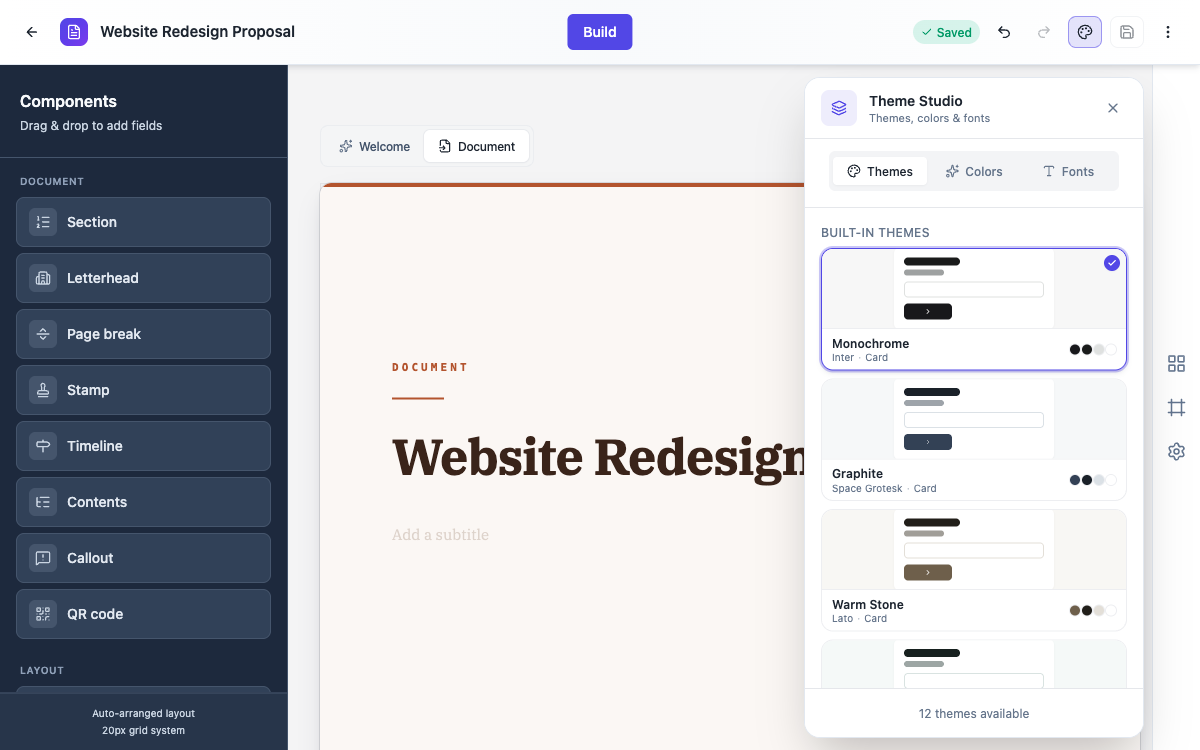 One place for themes, colors and fonts. Apply one and every page follows.
Download the PDF
When the document reads right, open the menu in the top corner and click Download PDF. You get a polished PDF named after your document, ready to print or send.
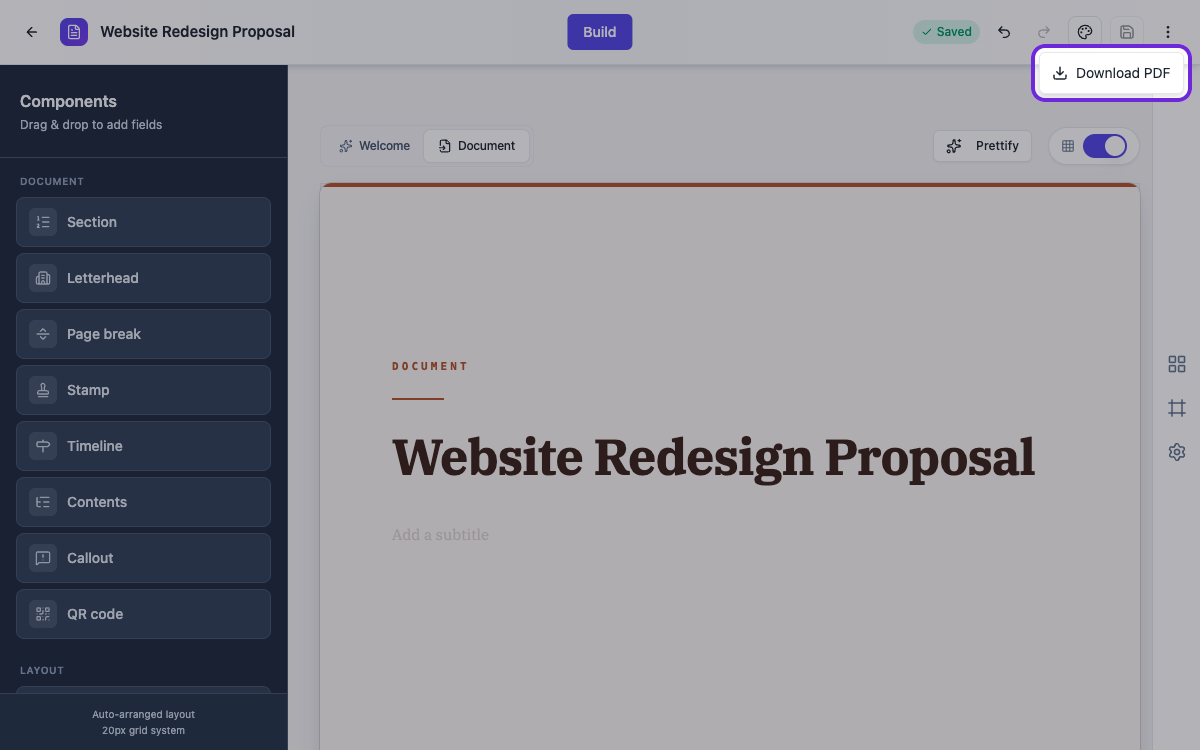 Download PDF exports the finished document, laid out exactly as you see it.
Ready to try it yourself?
Start free. Describe what you need and let OneCraft do the first draft.
Get startedSee it in the product
More documents tutorials
- Add a cover page to your documentTurn on the cover page, pick one of seven layouts, and set the title, eyebrow, date and who it was prepared by.
- Add and generate images in a documentUpload your own picture or describe the figure you need, then caption it so it numbers itself in the finished PDF.
- Every document component and when to use itA tour of the blocks you build documents from, headings and sections, stats and charts, tables, signature blocks and inline fill-in fields, with the settings each one gives you.