How to
Generate a brand kit from your website
Give OneCraft your website, a few words about the business or your logo, pick one of three generated brands, fine tune the colours and save it for every slide, flyer, document, form, video and proposal.
Everything together3 min readUpdated
This guide shows you how to generate a brand kit from your website, choose one of the options, and save it so every slide, flyer, document, form, video and proposal you make can use it.
Most small businesses have a logo and a website but no written brand guide. Point OneCraft at what you already have and it works out the colours for you.
Open the brand settings
On the dashboard, click Settings and choose Brand. At the top is Build my brand with AI. Give it any of these, or all three:
- A sentence or two about the company: what it does, who for, and how it should feel.
- Your website address. OneCraft reads the site to understand the business.
- Your logo or a product photo. Click Add logo or photo; you can add up to four images, and their colours are used too.
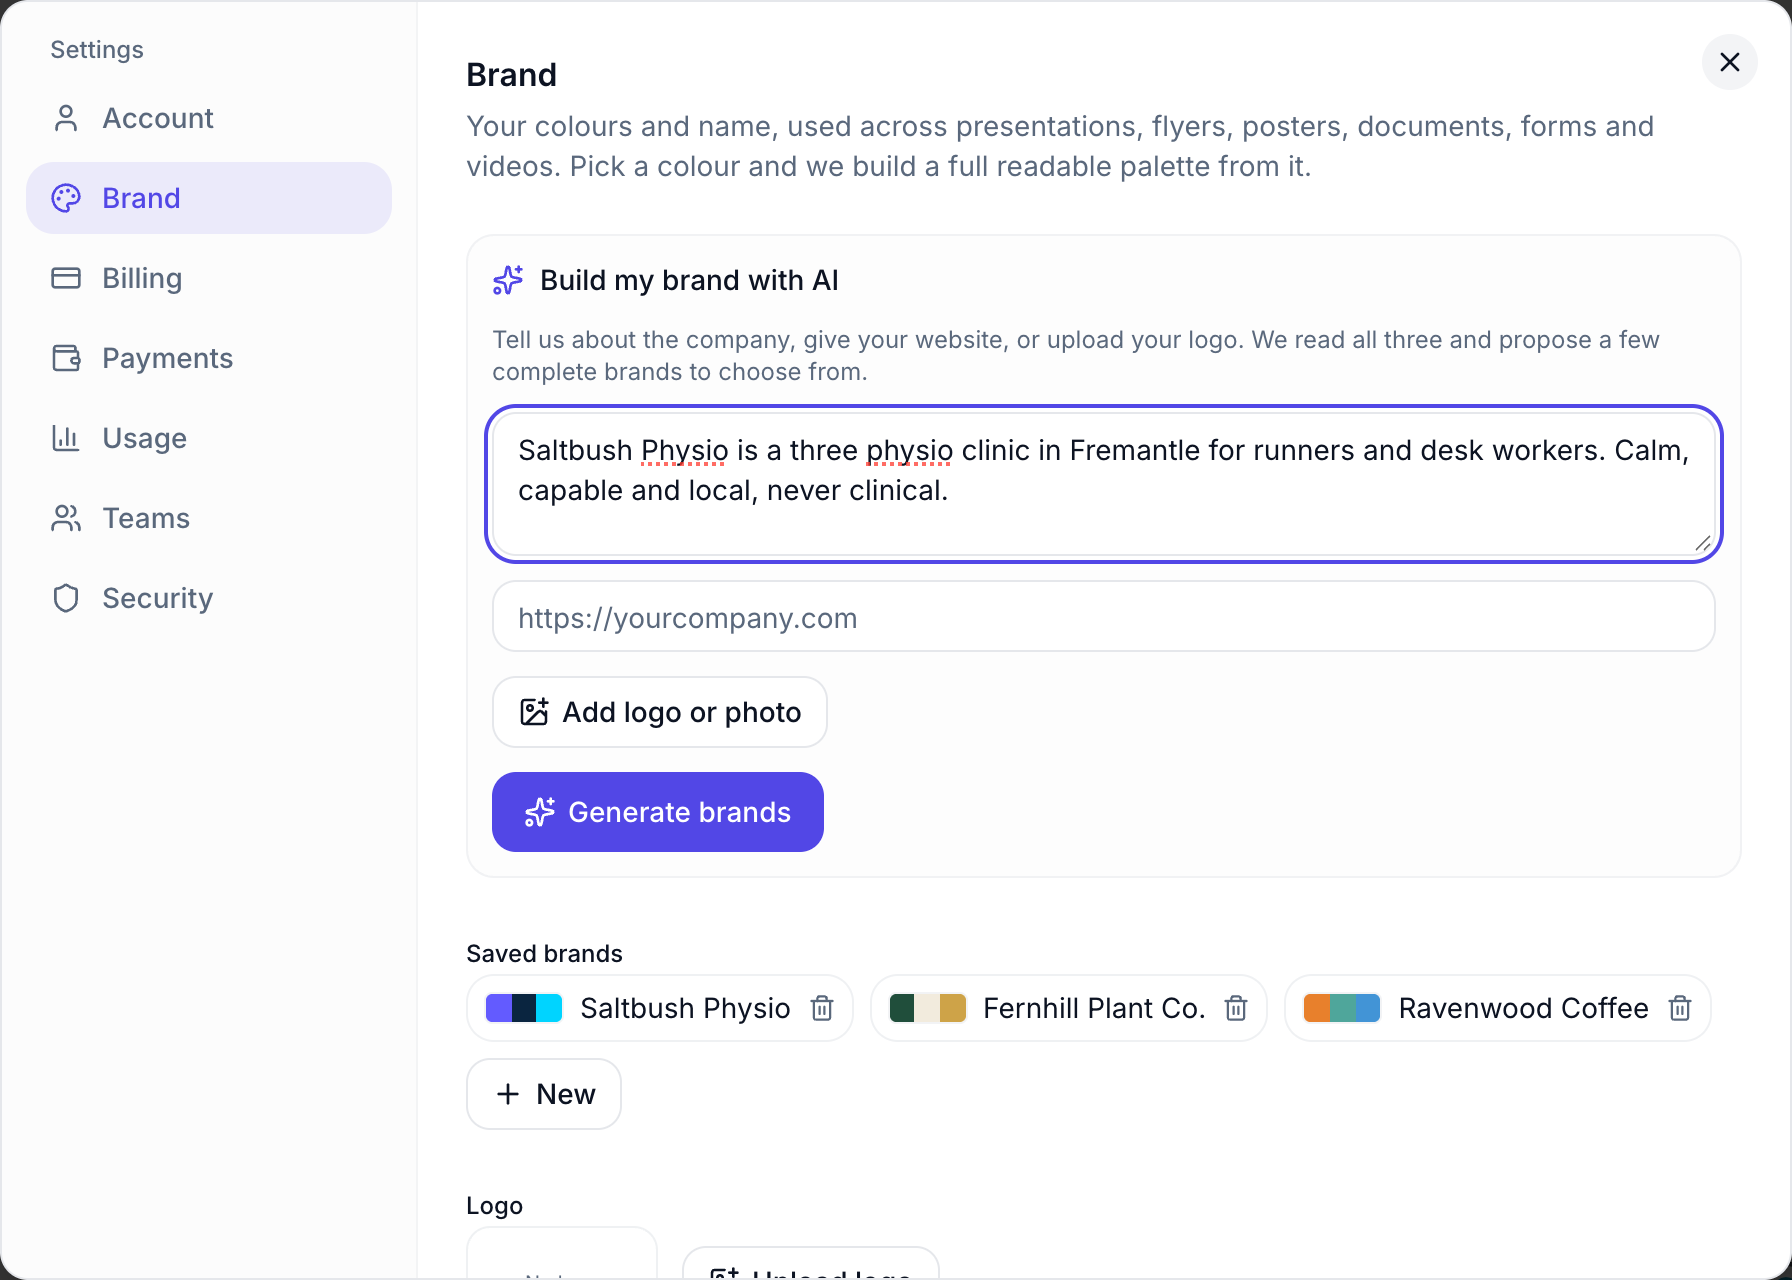 A sentence about the business is enough to start; a website or logo helps too.
Generate and pick a brand
Click Generate brands. The button reads Building your options… while OneCraft reads your input, and then three brands appear under Pick one to edit and save. Each one has a name, a tagline, a colour strip and a short note on why it suits you. They are deliberately different: one usually stays close to what you gave it, one is calmer, and one is bolder.
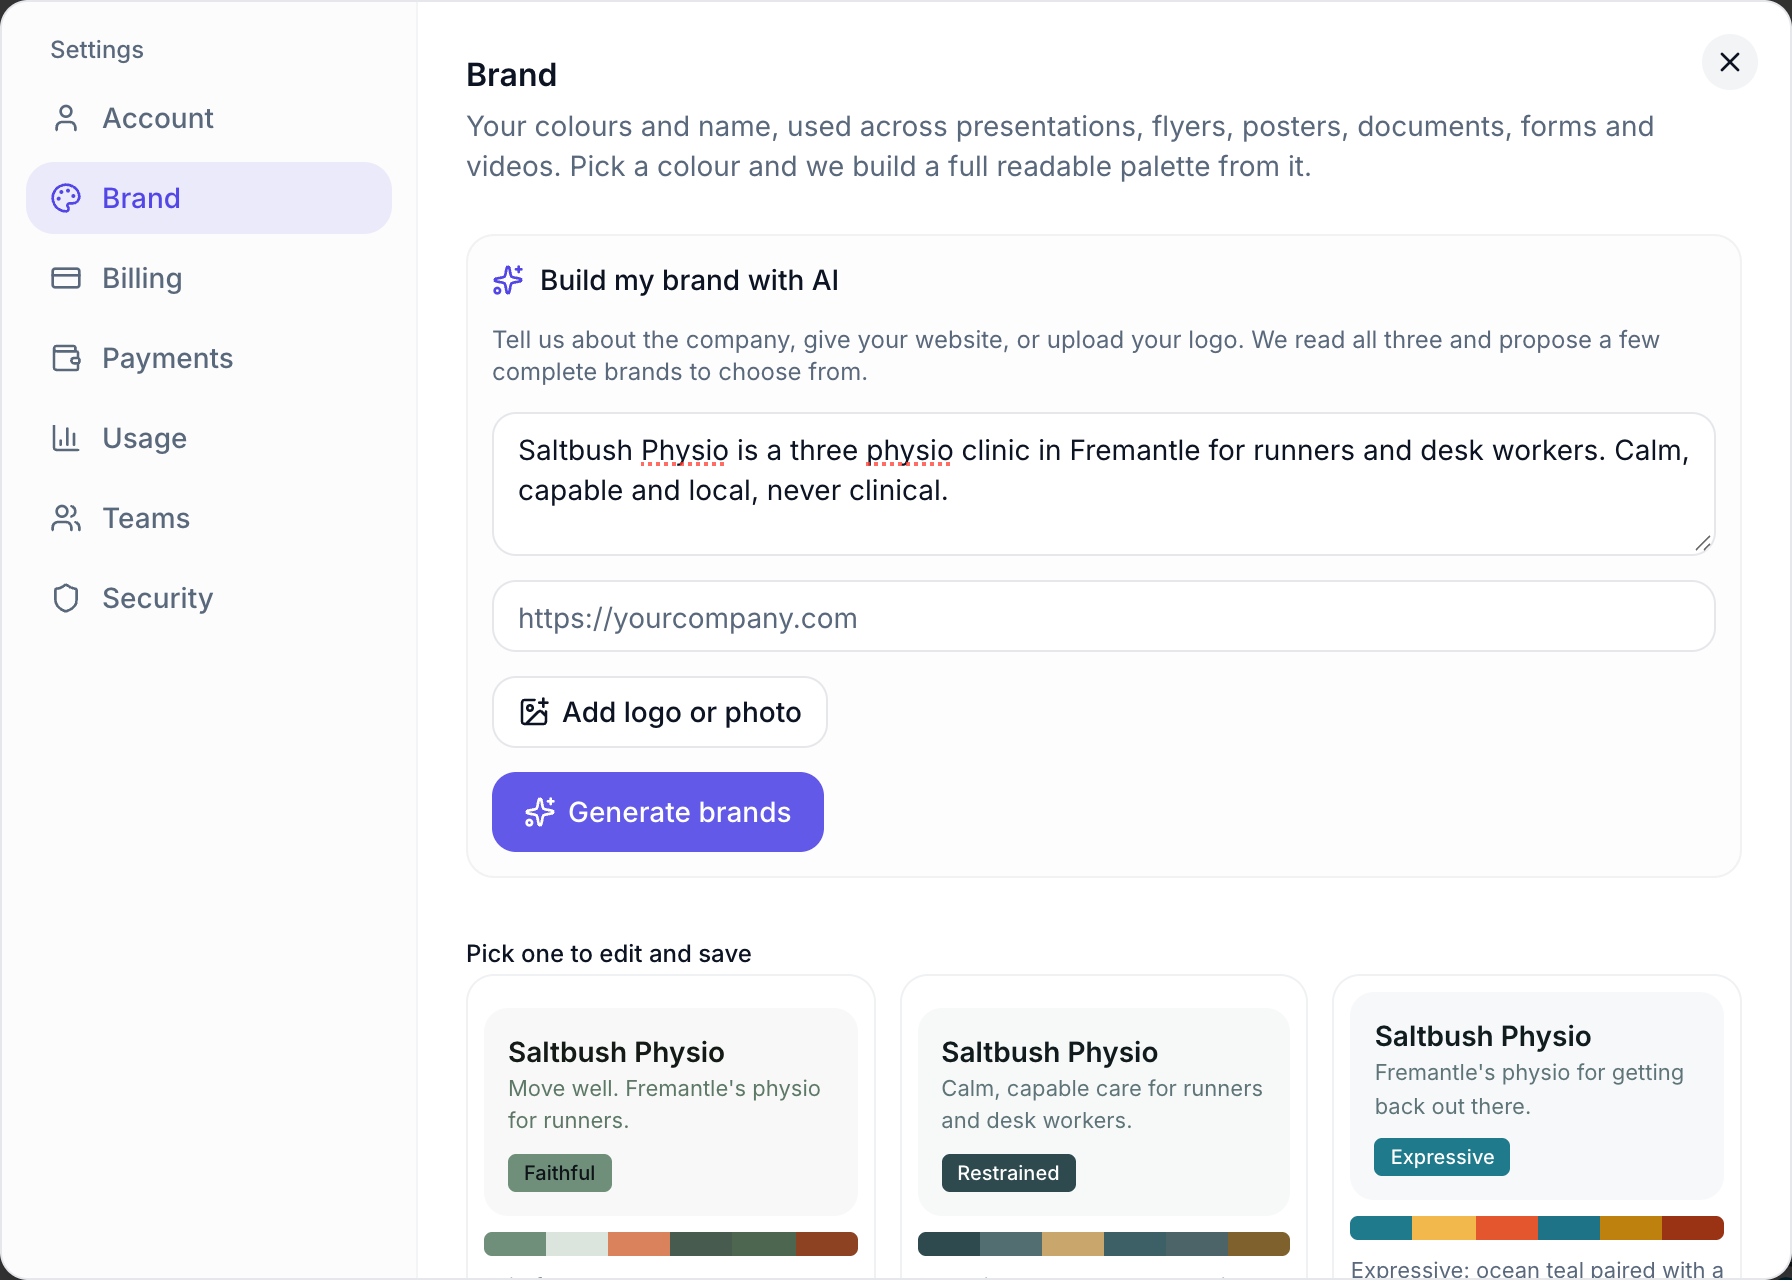 Faithful, Restrained and Expressive: three directions to choose from.
Click the one you like. Its name and colours load into the form below, where you can change anything before saving. Not quite right? Change the description and click Generate brands again.
Fine tune and save
Below the options:
- Logo: click Upload logo. It becomes the corner mark on slides, flyers, posters and videos, and sits in document and form headers.
- Brand name and Website (optional).
- Colours: Primary, Secondary and Accent. Only the primary is needed; OneCraft works out the rest and keeps everything readable.
- Preview: the full palette, plus a light and a dark sample of body copy and a brand button. The note beside it says Contrast checks pass, or how many colours were adjusted to stay readable.
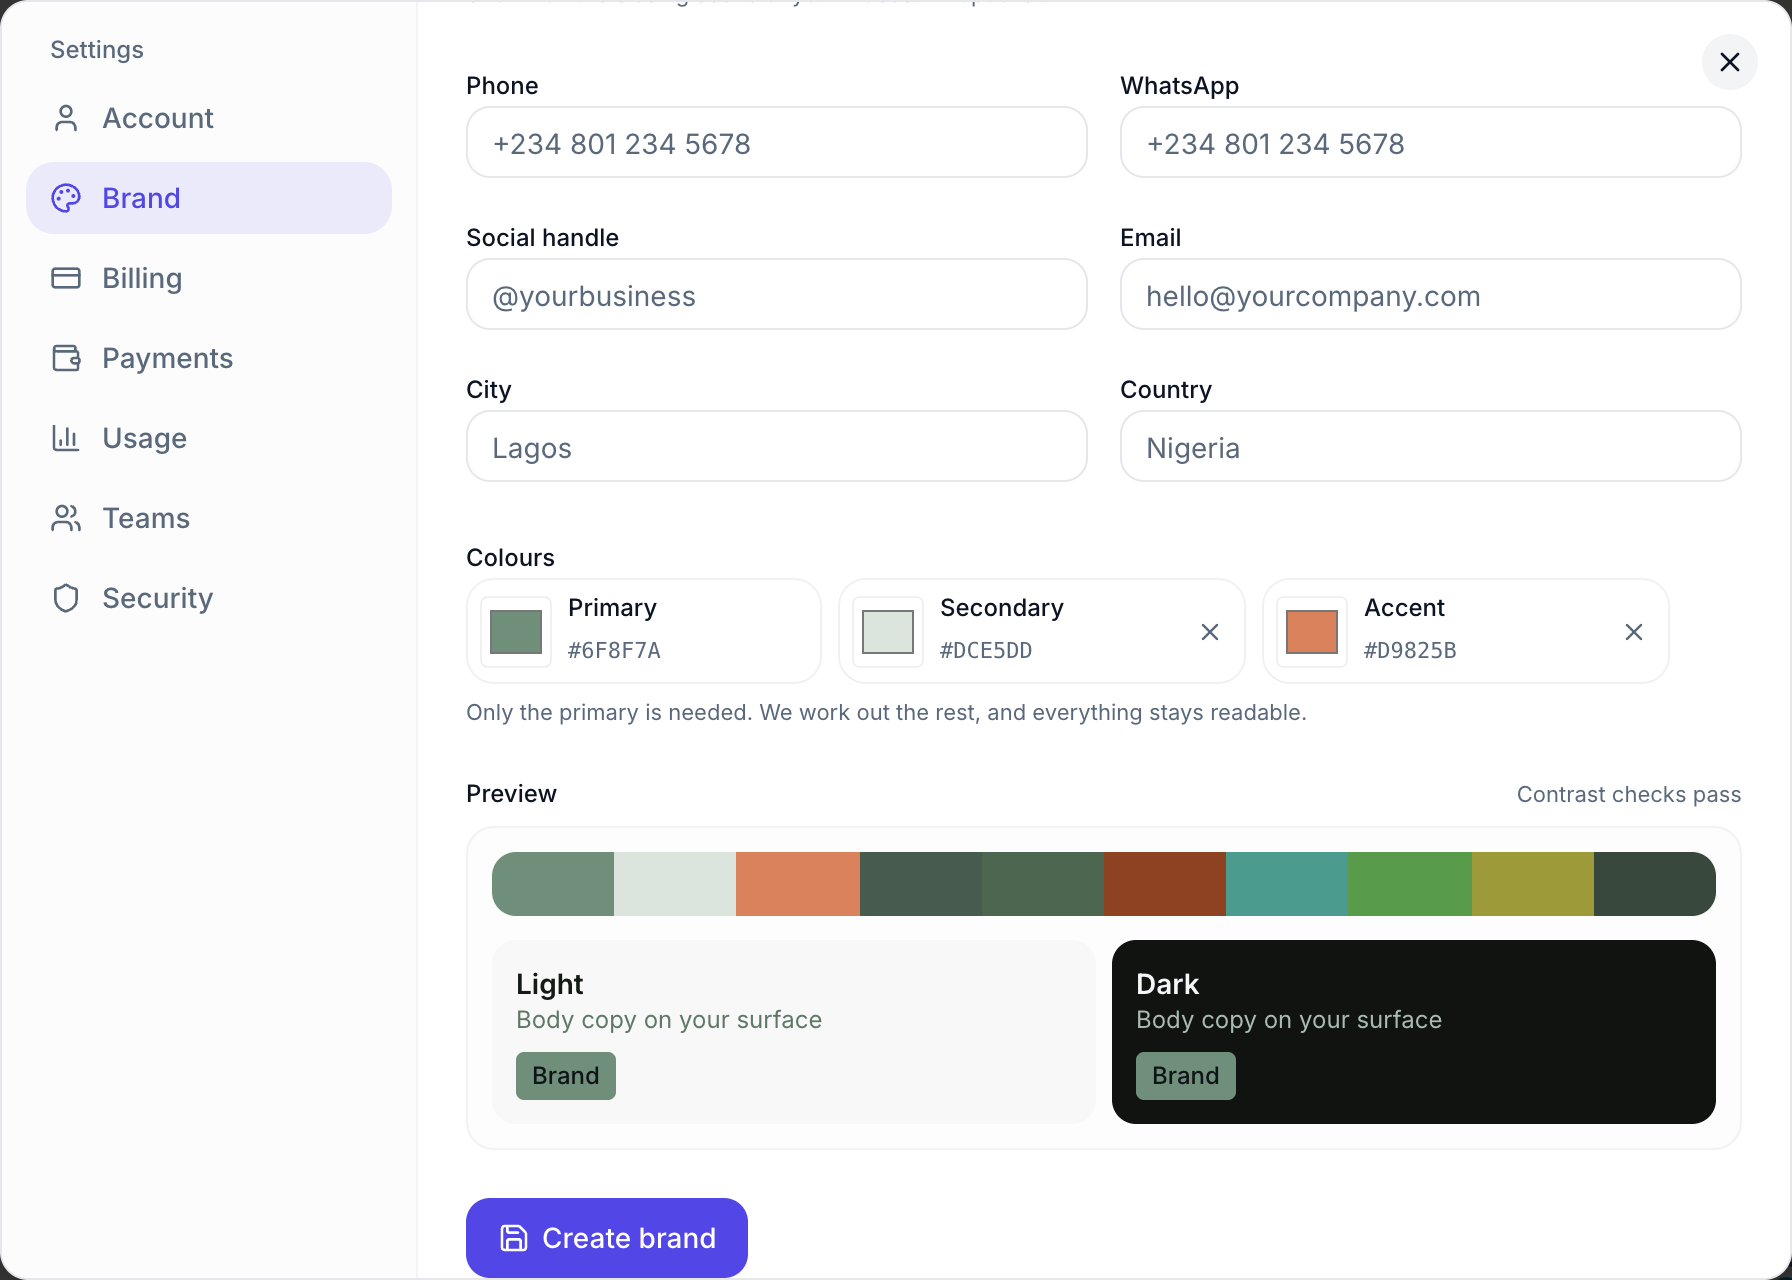 Check the preview, then click Create brand.
Click Create brand. It is added to Saved brands, where you can open it again, change it and click Save brand, or start another with New.
Use it everywhere
Your saved brands appear under Your brand in the theme pickers across OneCraft, so one click restyles a deck, a flyer, a document, a form, a video or a proposal in your colours.
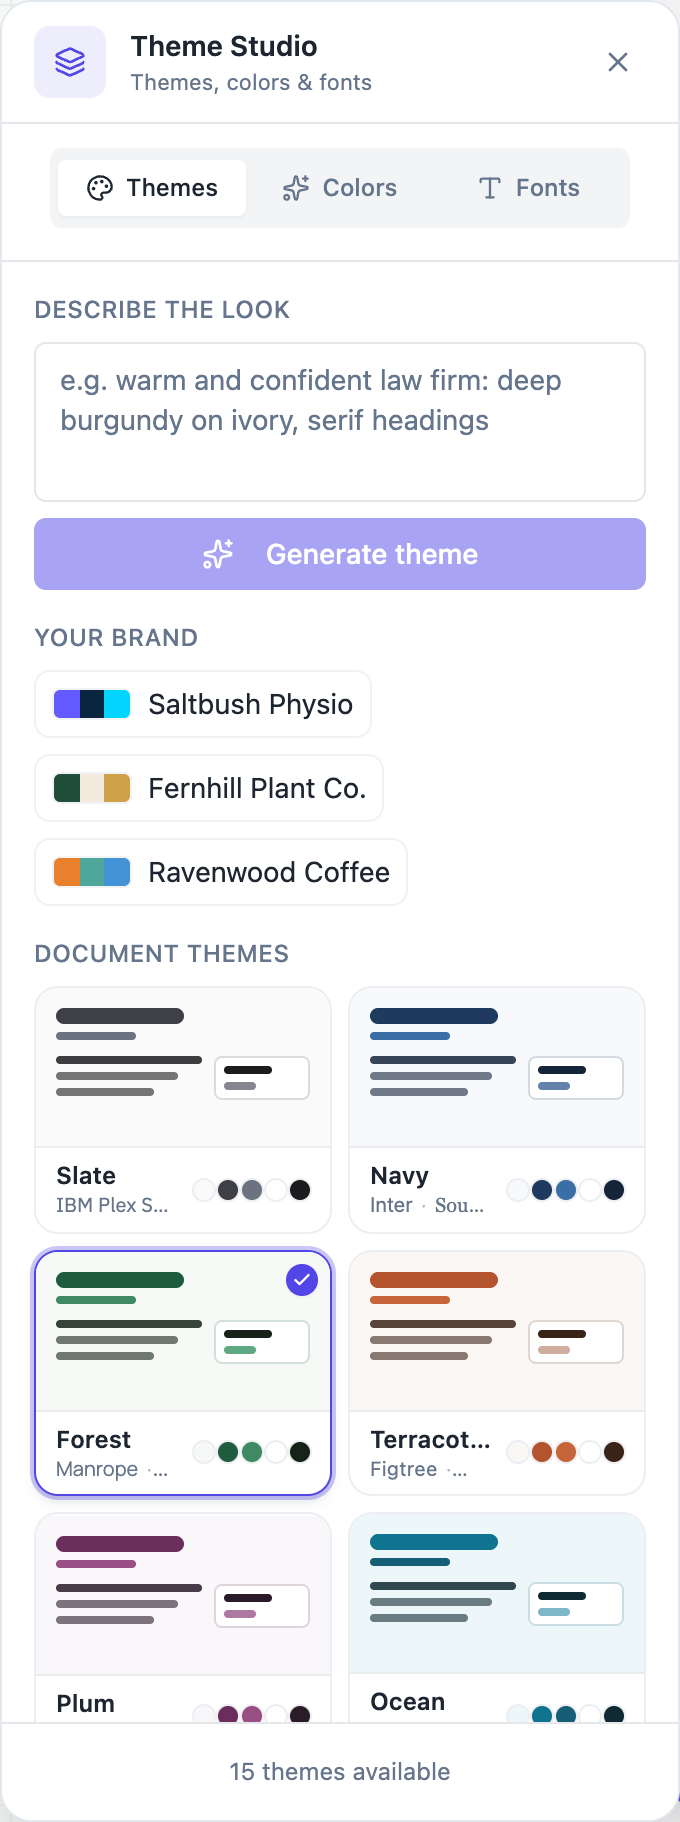 Your brands sit at the top of Theme Studio, above the built in themes.
In Proposals you can also choose the brand before anything is written: open Options in the generator and pick it under Brand kit. See create a quote with AI for that, and the proposal brand kit page for how it styles proposals.
Ready to try it yourself?
Start free. Describe what you need and let OneCraft do the first draft.
Get startedSee it in the product
More everything together tutorials
- Ask OneCraft from Slack or WhatsAppConnect Slack or WhatsApp once, then ask for flyers, slides, videos, documents, proposals, forms and websites in a message, approve email replies with one tap, and post finished work to your social channels after you have seen the caption.
- Add a cover page to your documentTurn on the cover page, pick one of seven layouts, and set the title, eyebrow, date and who it was prepared by.
- Add a pricing table with optional extrasSet up the items in a proposal or quote, mark some as optional extras, let the client choose quantities, and control how the pricing table looks on the page.